Bronte Bride is a local West-Canadian wedding publication and resource dedicated to inspiration, education, and collaboration.

We want to offer something
new to the modern couple;
We aim to not only share incredible local inspiration, but to educate, collaborate, and grow our creative community.

We have an amazing community of vendors here at Brontë Bride, and we are so excited to share them with you! From FLORISTS TO  photographers to venues, we have every vendor you'll need to help make your special day even more special!

search now!

follow us

SUBSCRIBE

SEARCH INSPIRATION BY COLOUR

nude

blush

pink

dusted rose

wheat

toffee

terracotta

taupe

red

burgundy

bright pink

dove
grey

white

plum

lavender

dusty
blue

classic
blue

navy

teal

leaf
green

olive

forest

mustard

yellow

peach

coral

pale
yellow

mauve

black

berry

seafoam

pale
blue

brown

sky blue

orange

charcoal

bright green

sage

tangerine

SEARCH INSPIRATION BY LOCATION

We are a local canadian wedding publication and resource that LOVEs to share INSPIRATION, REAL WEDDINGS, and industry vendors FROM ALL OVER WESTERN CANADA!

SEARCH FOR WEDDING INSPIRATION IN SOUTHERN ALBERTA

SEARCH FOR WEDDING INSPIRATION IN The rockies

SEARCH FOR WEDDING INSPIRATION IN BRITISH COLUMBIA

calgary

edmonton

lethbridge

red deer

waterton

banff

canmore

drumheller

lake louise

okanagan

kelowna

fraser valley

Vancouver

jasper

Search Our
InspirationArchives

Find Your Wedding Vendors

welcome to the

Blog

sponsored by Parabo Press

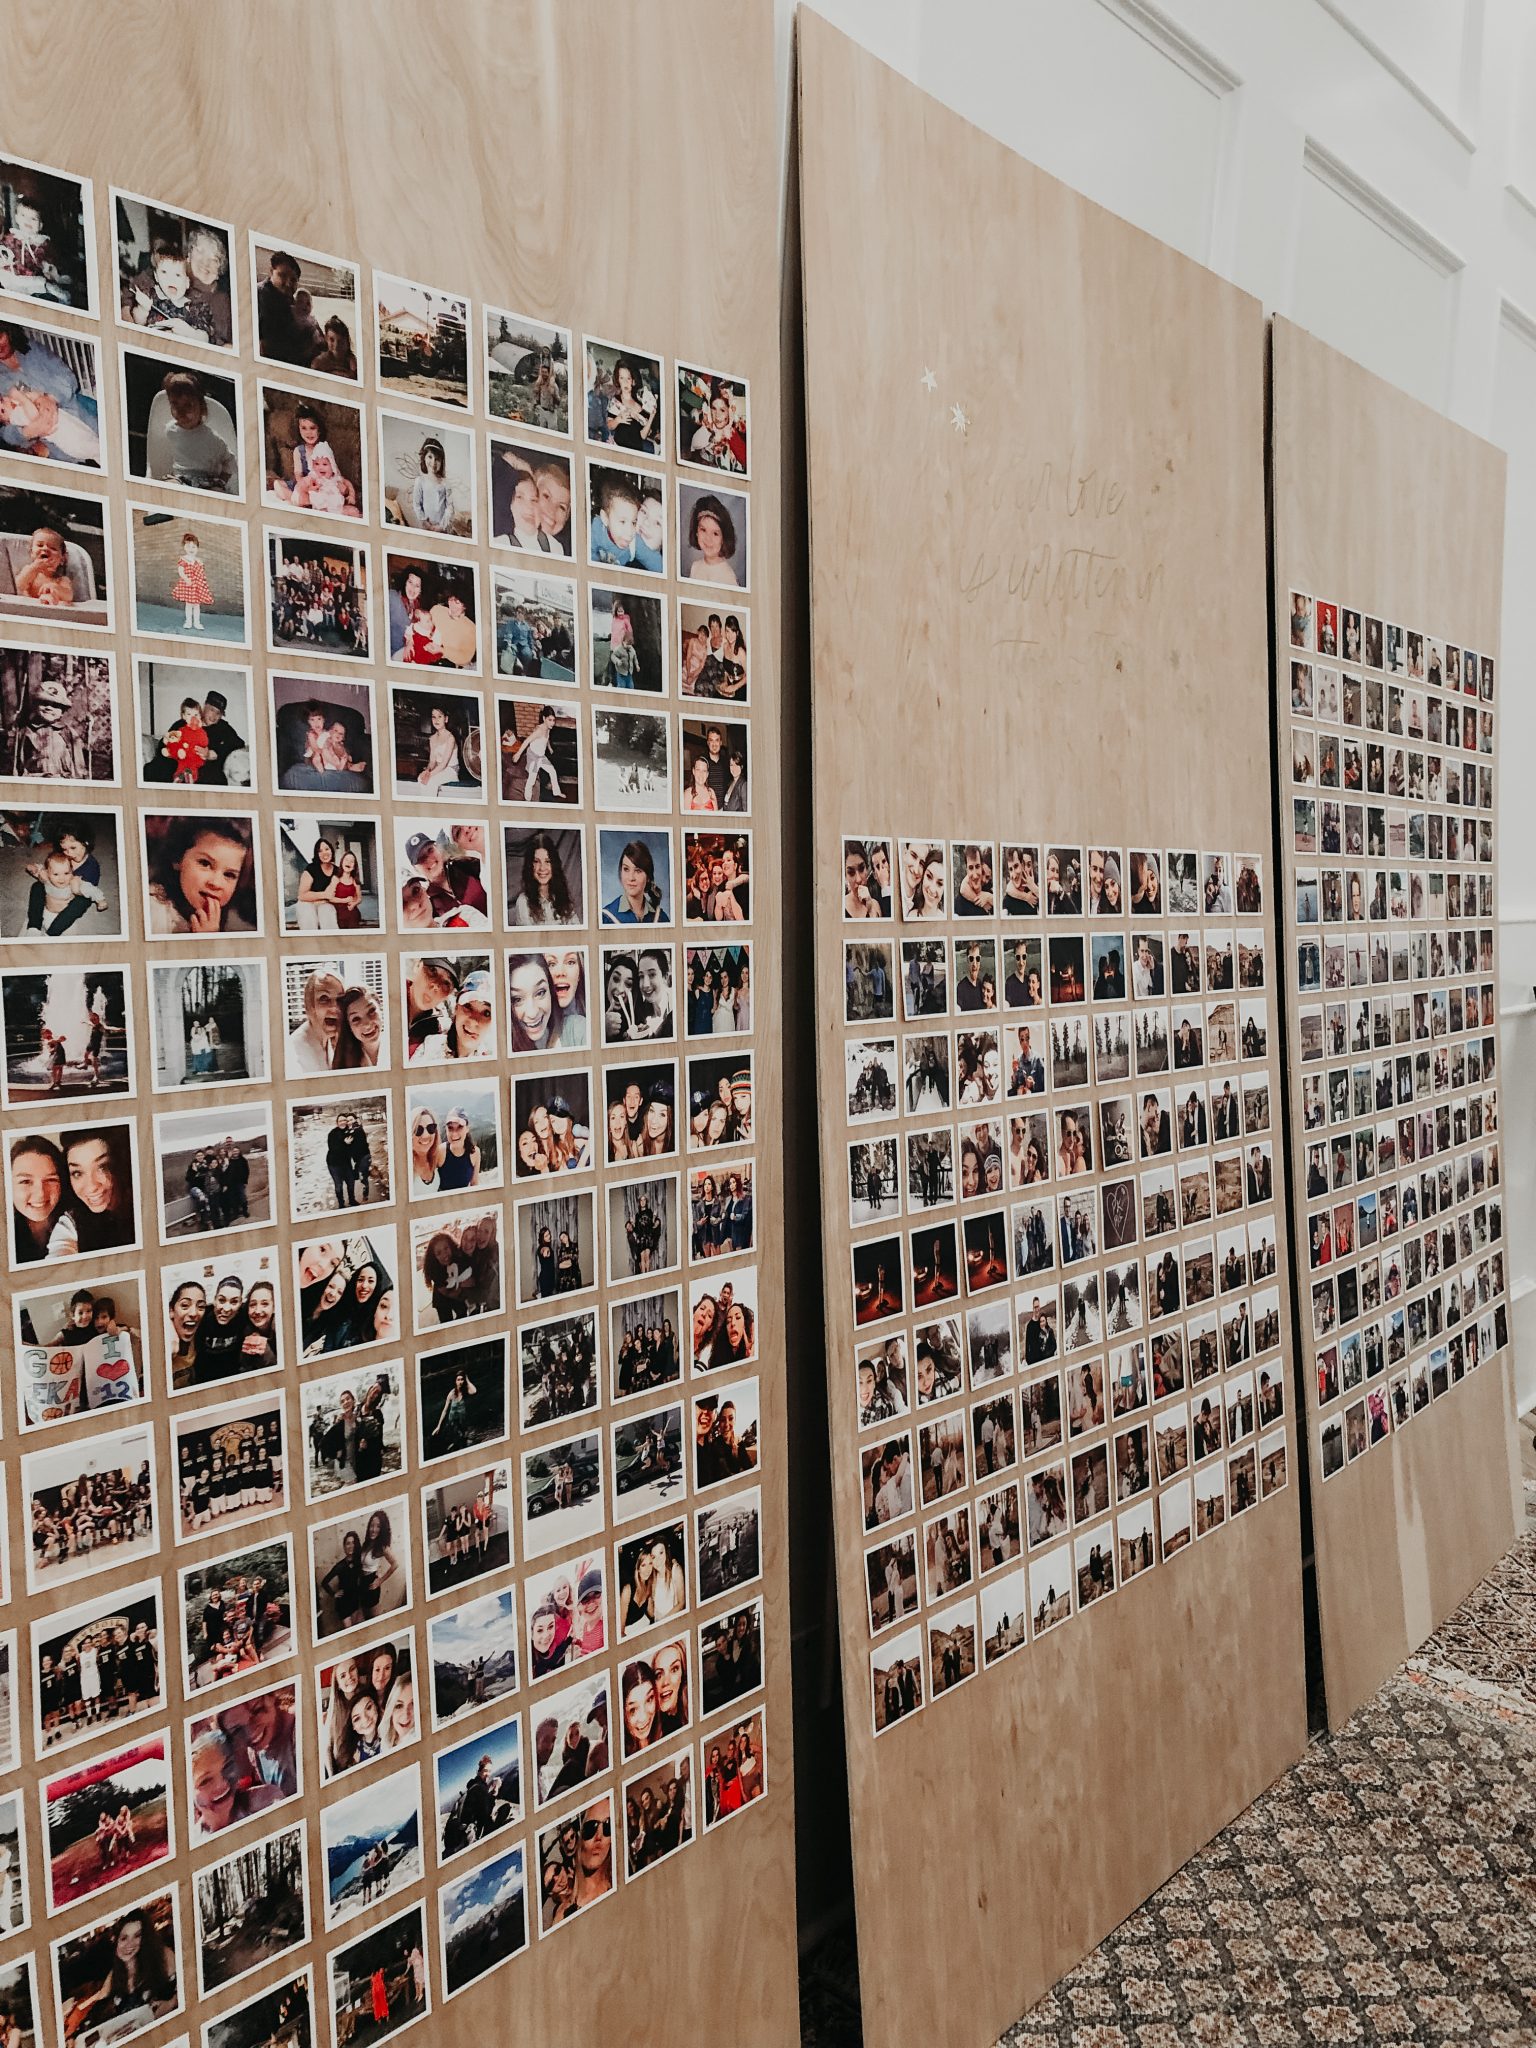
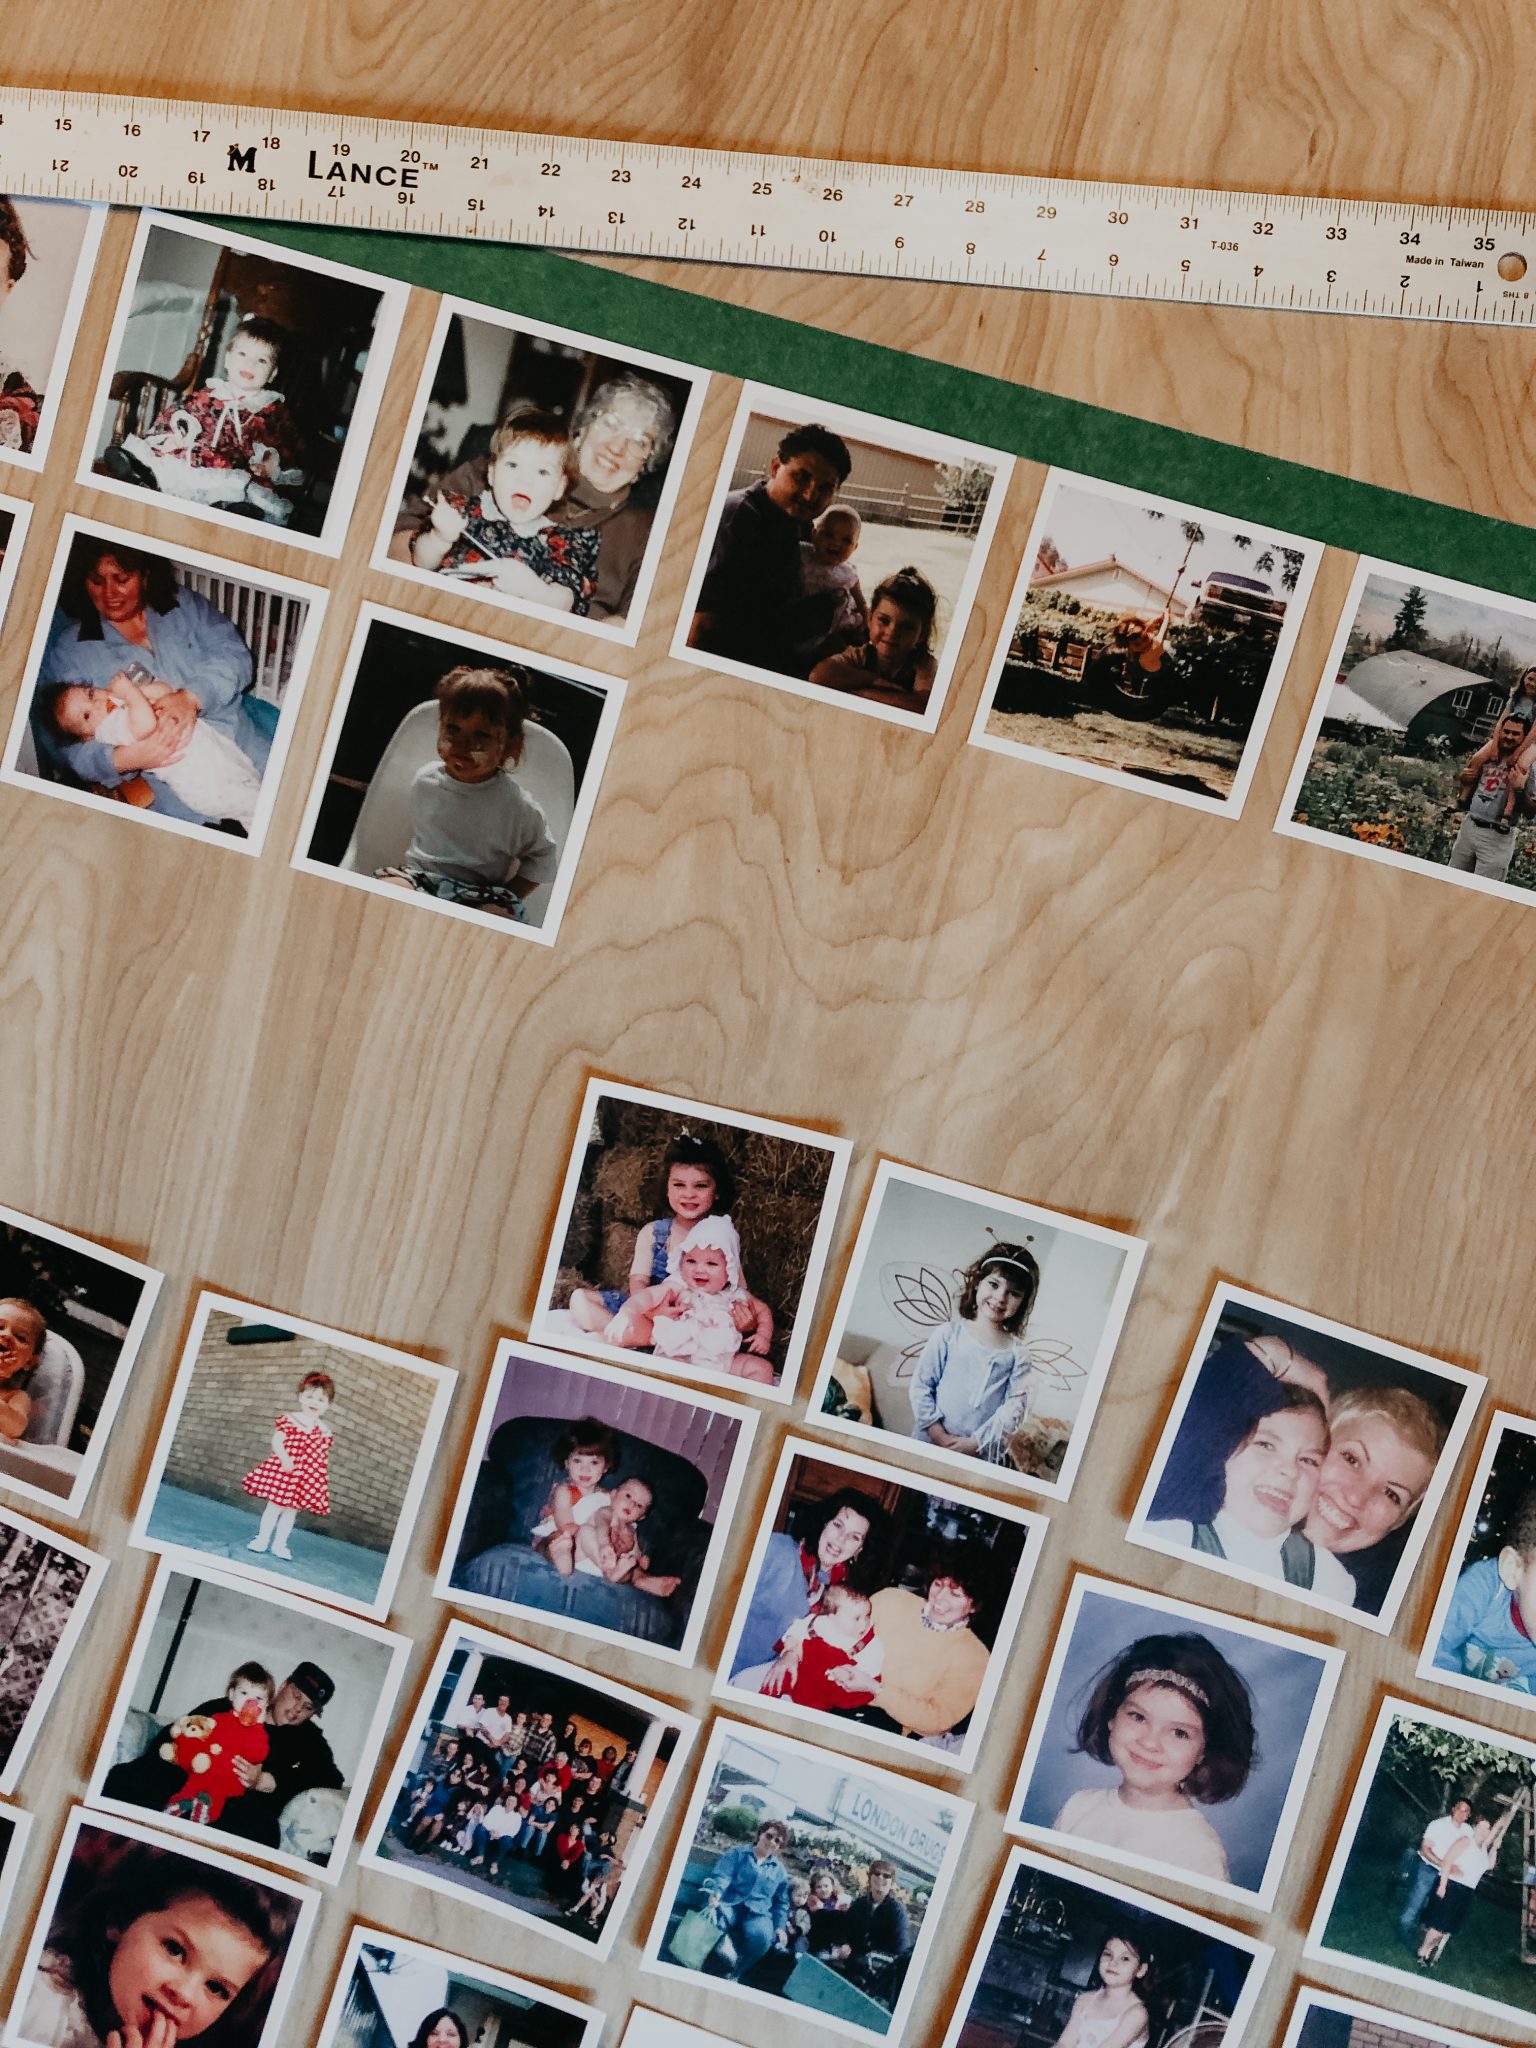
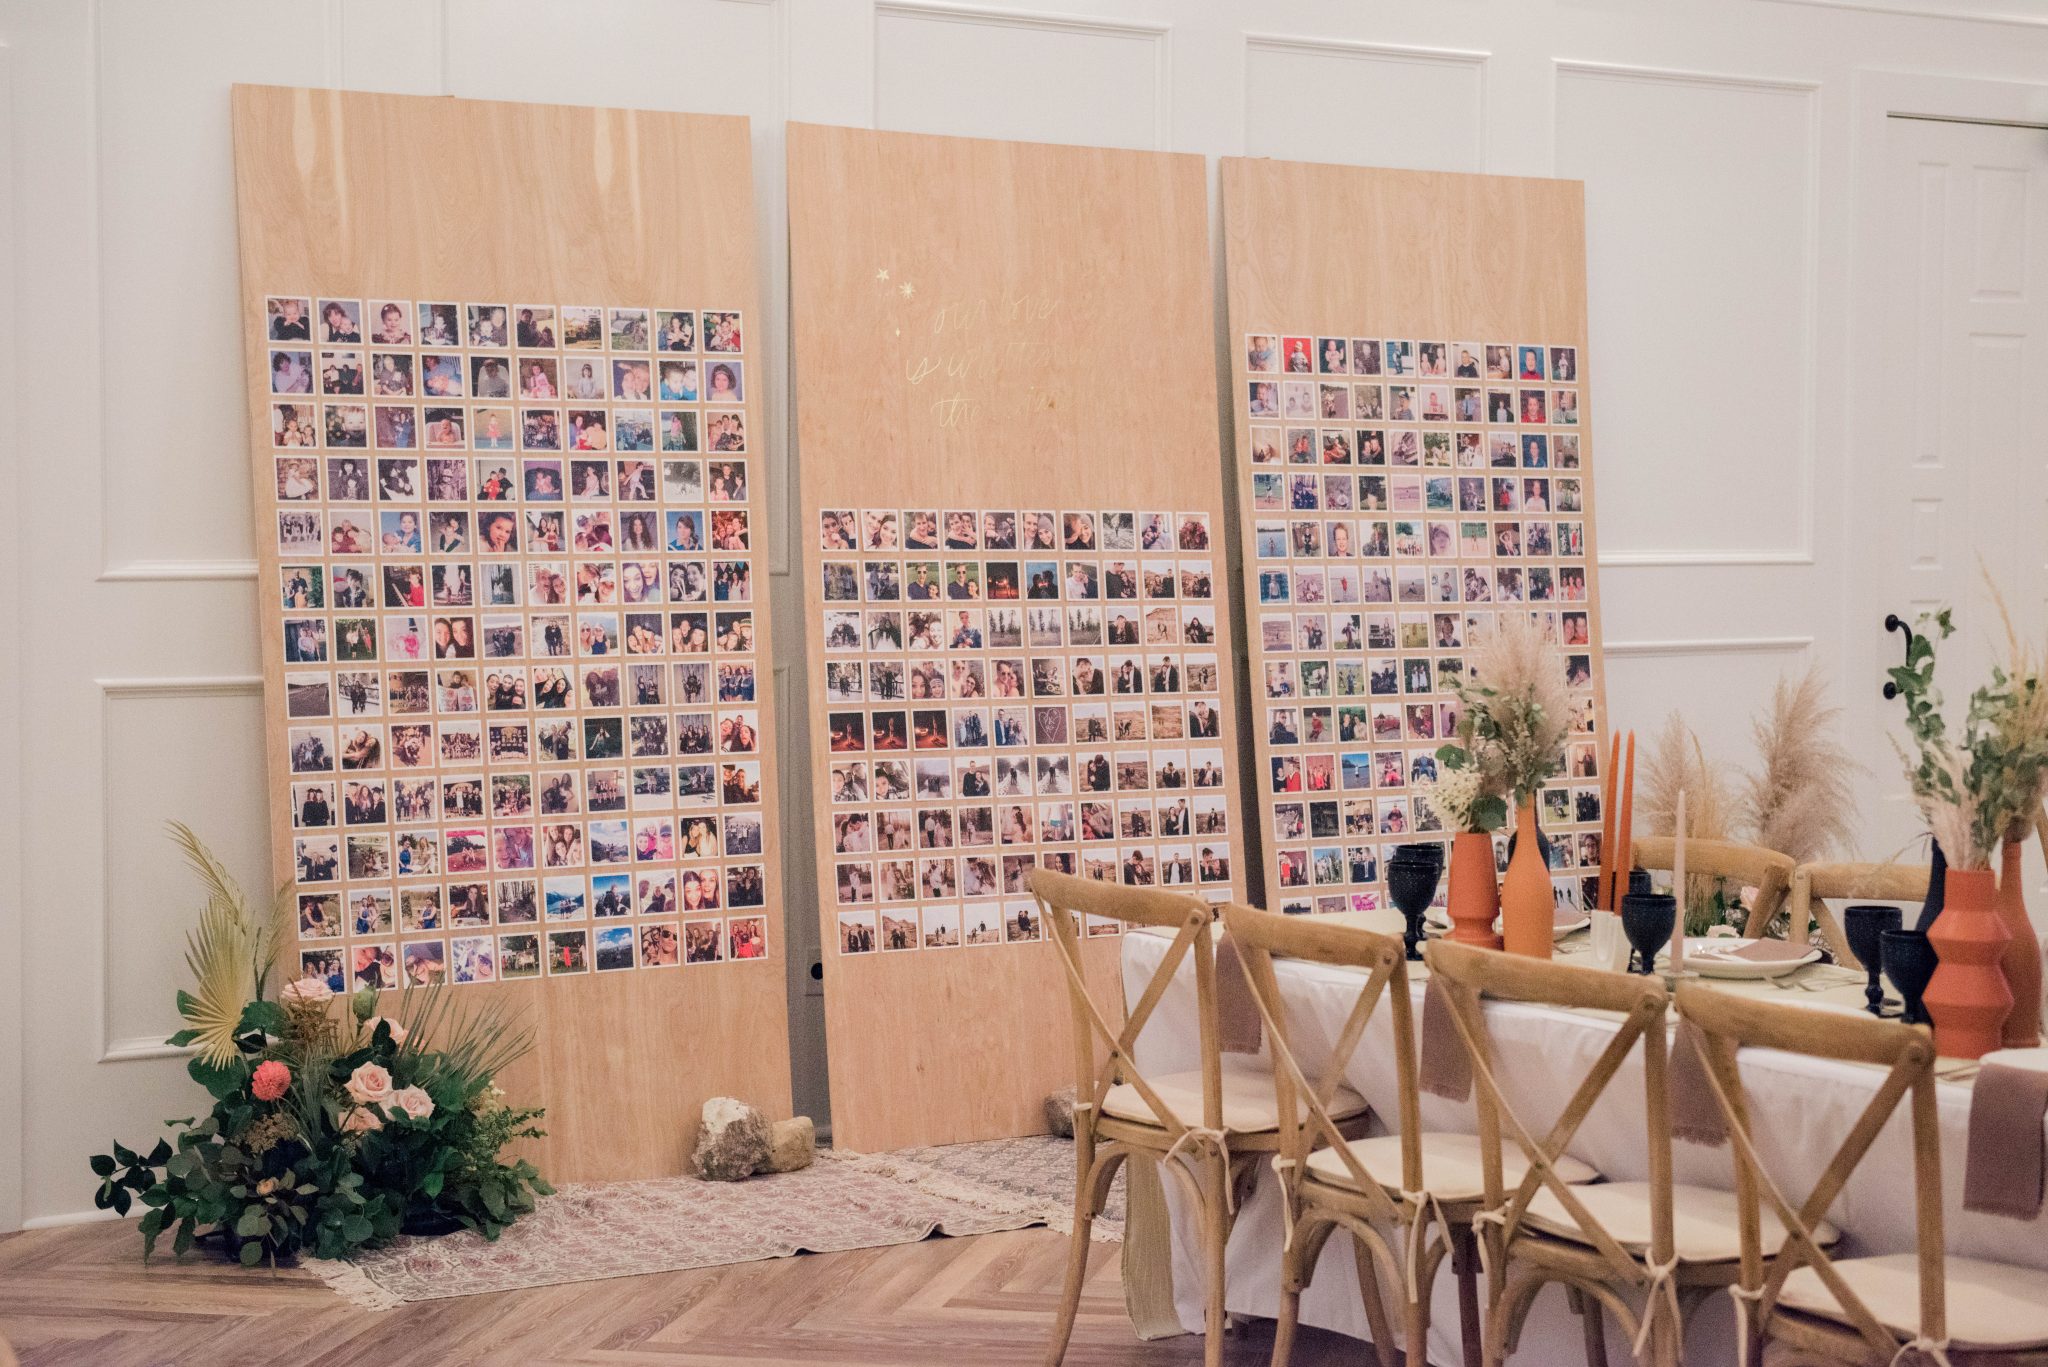
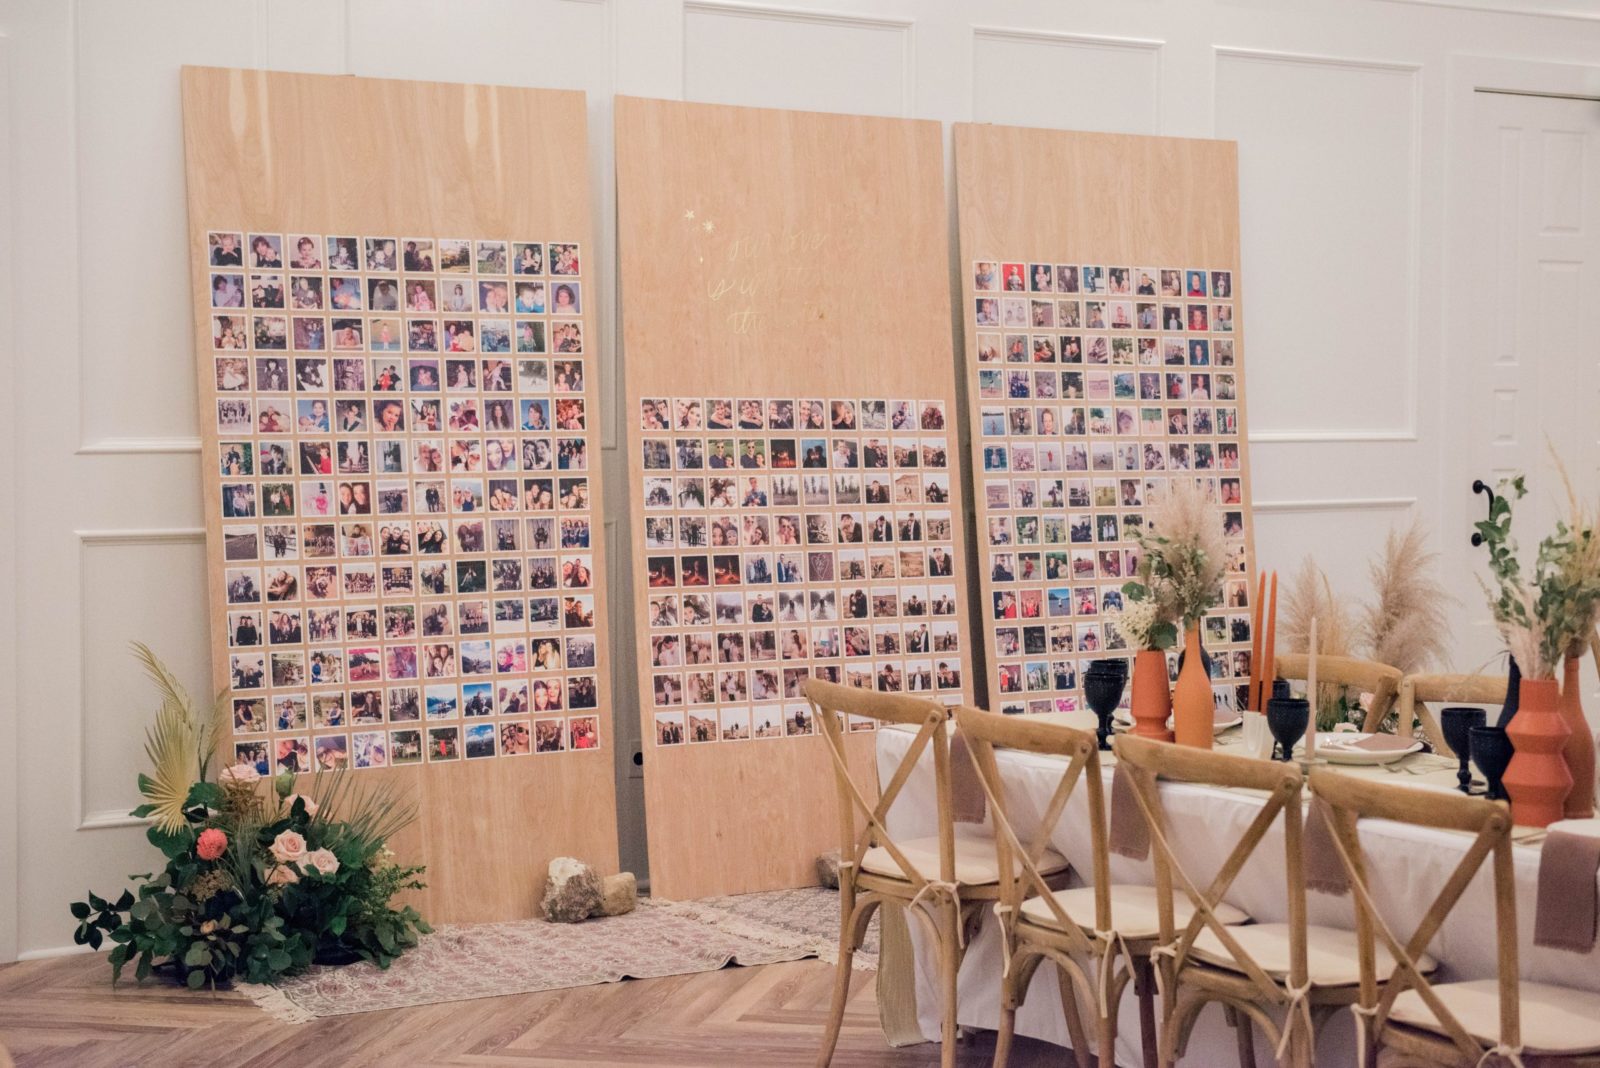
For our wedding, we wanted to have an interactive gallery wall display for our guests to be able to look through images of our childhoods and us together. Our guests could come up to wall, look through old memories, and find themselves in some of the old photos! It was an awesome decor element that added to the guests’ experiences!Rebekah Bronte

See below how we made our wedding gallery wall display with Parabo Press square prints, and how you can make your own too!


Step One

Figure Out Your Design


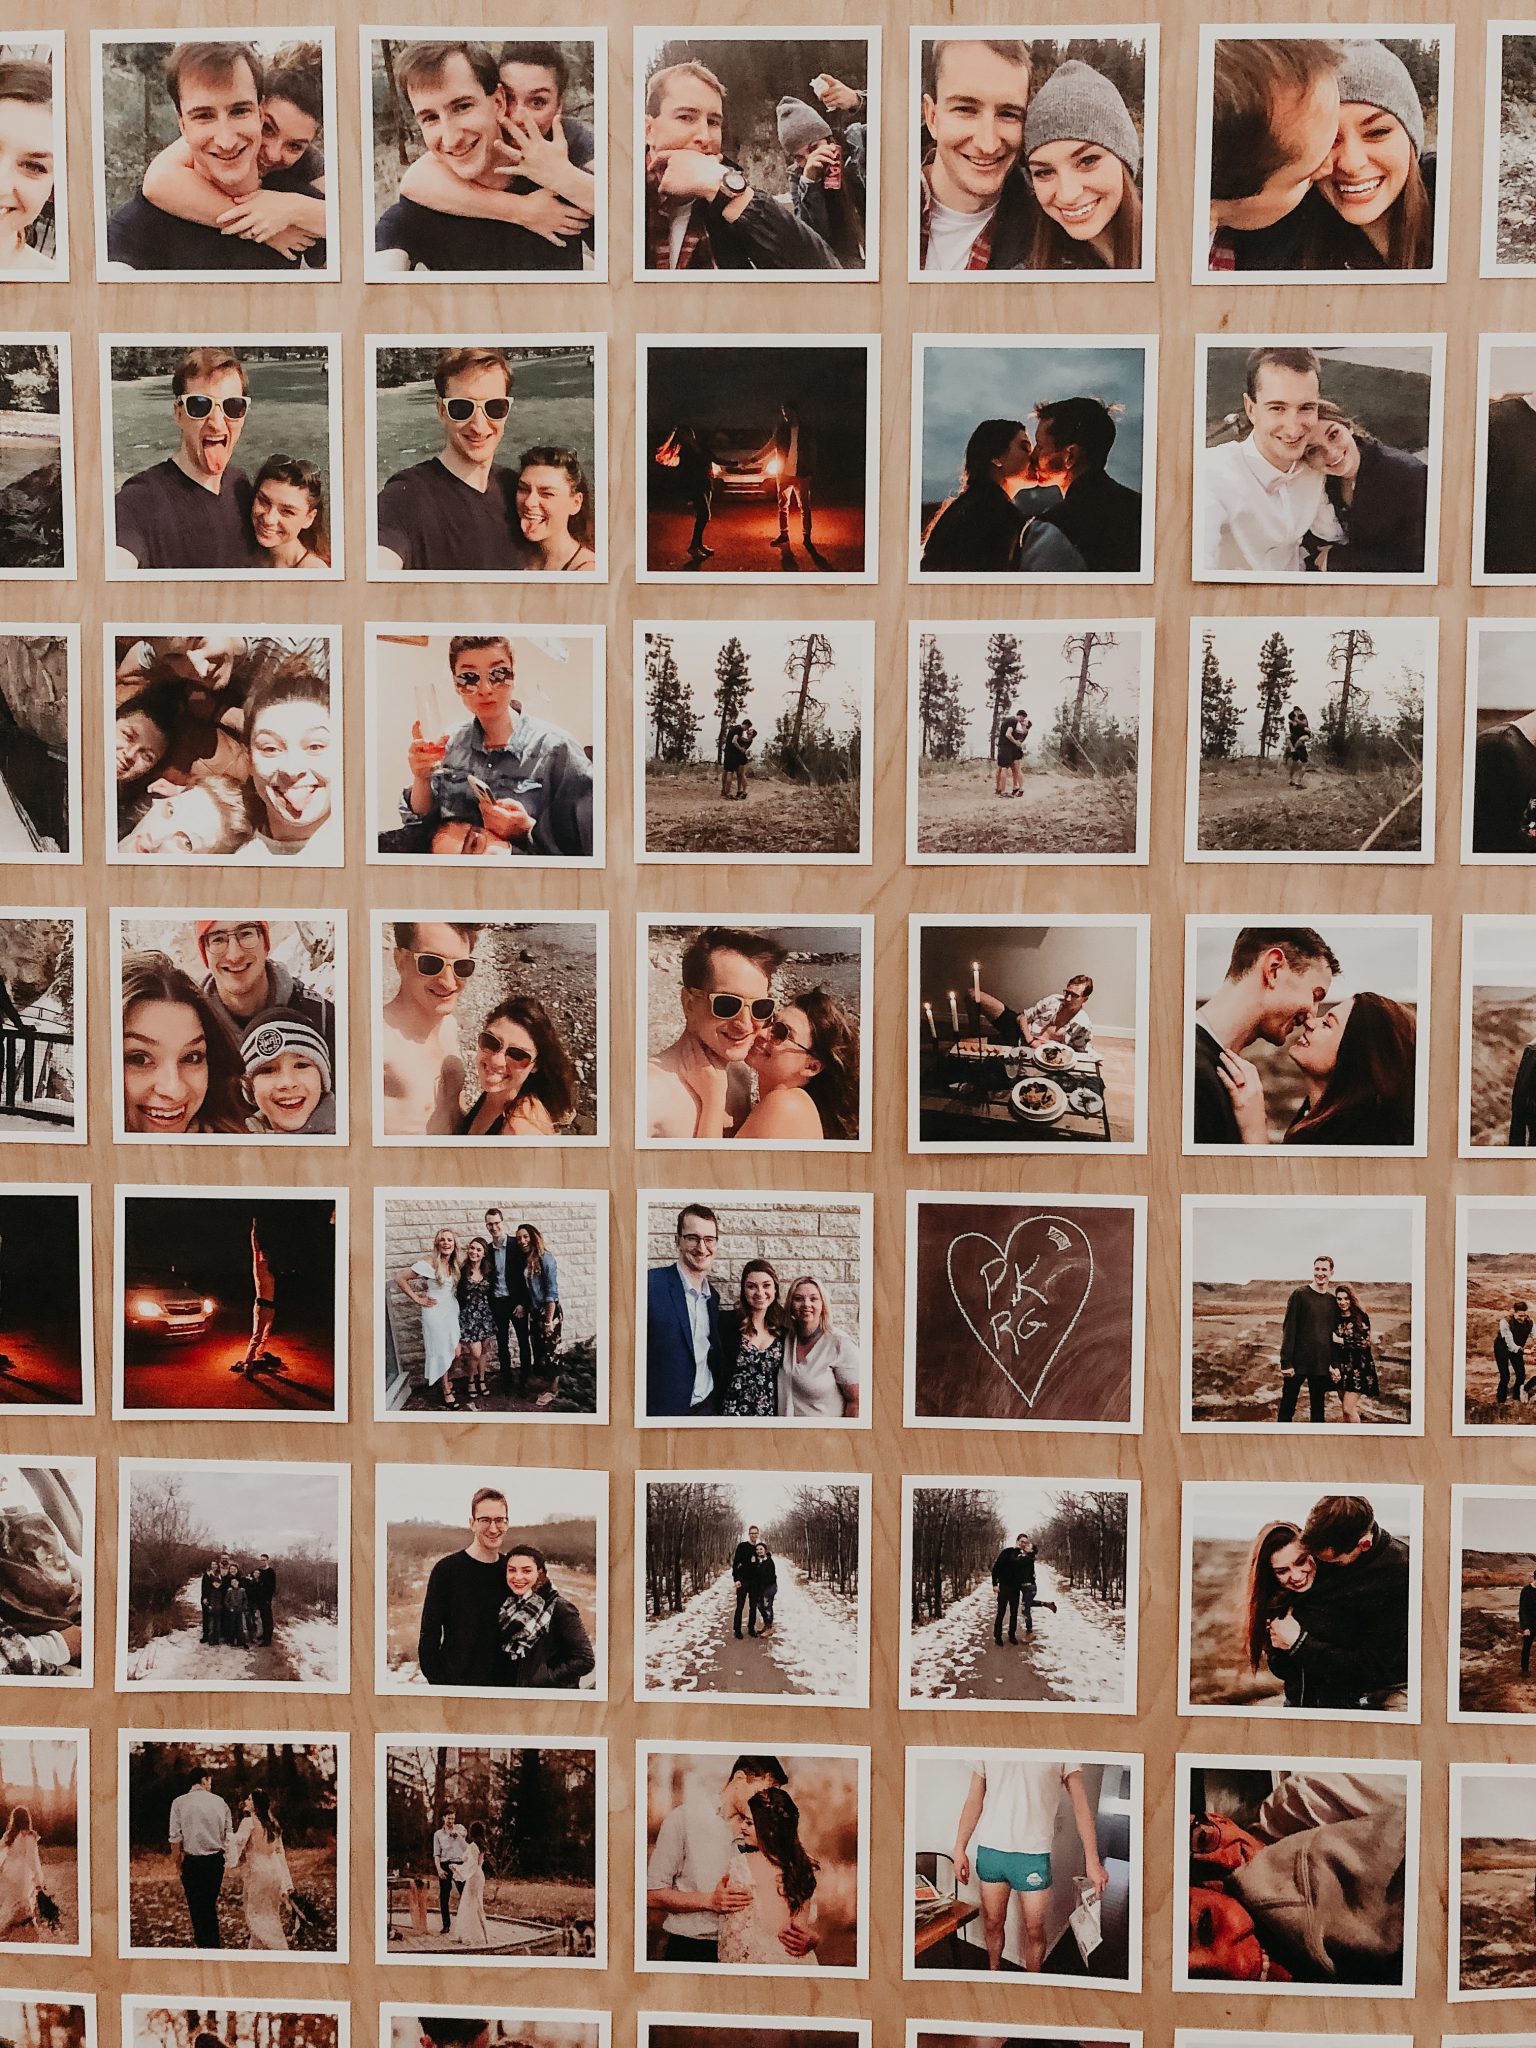
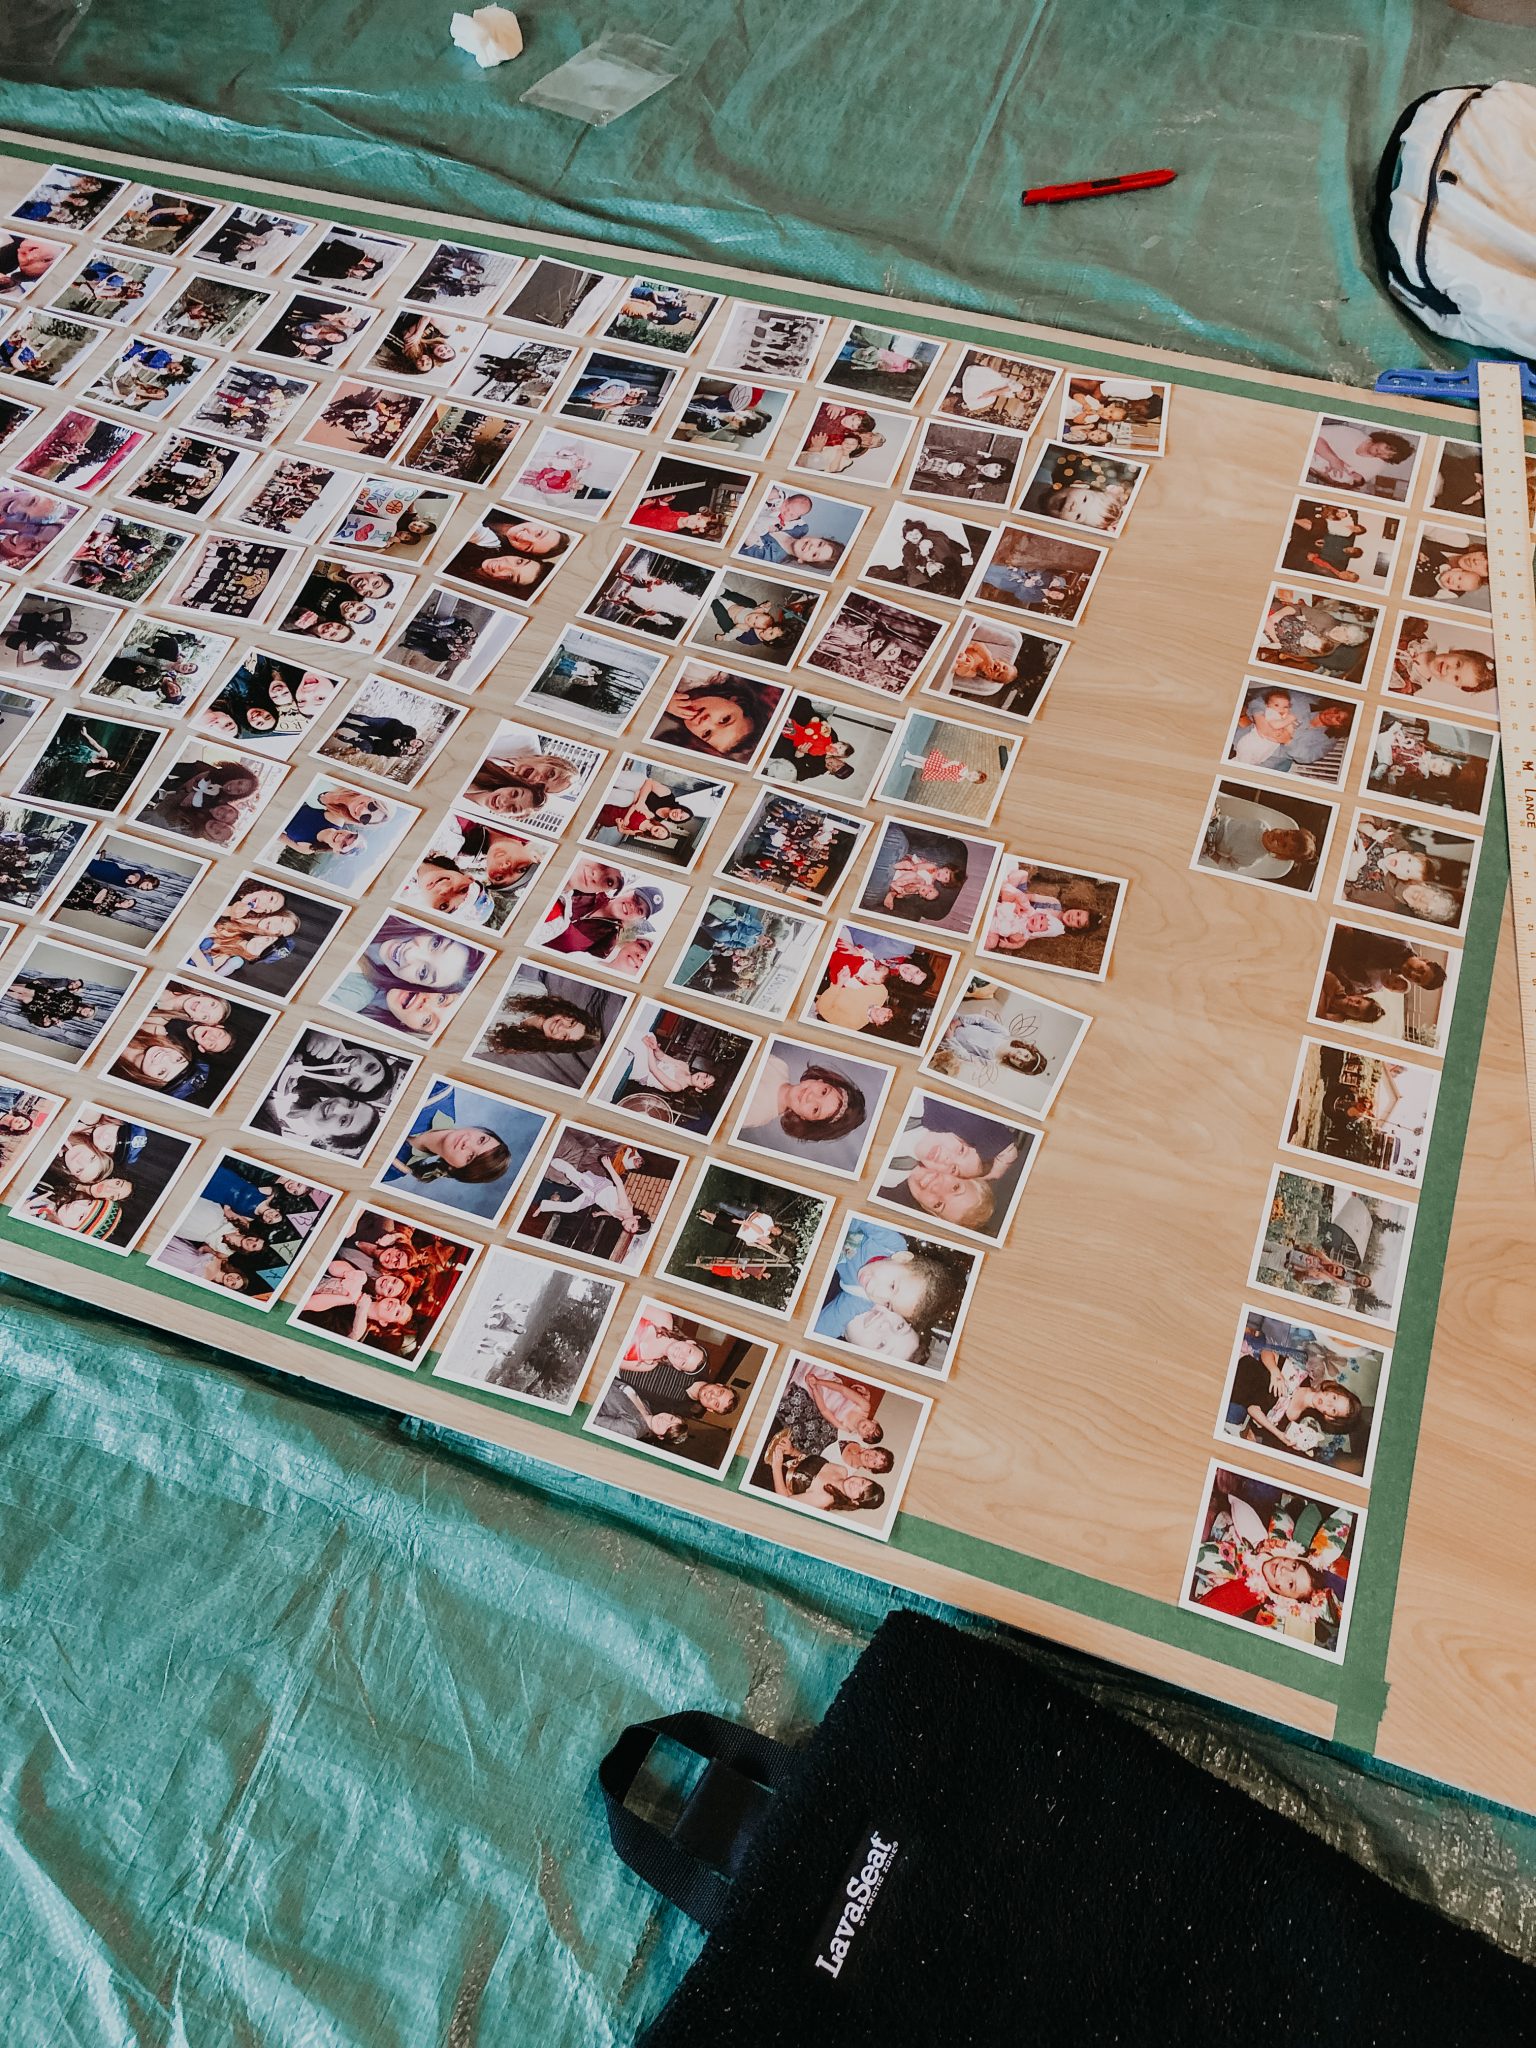
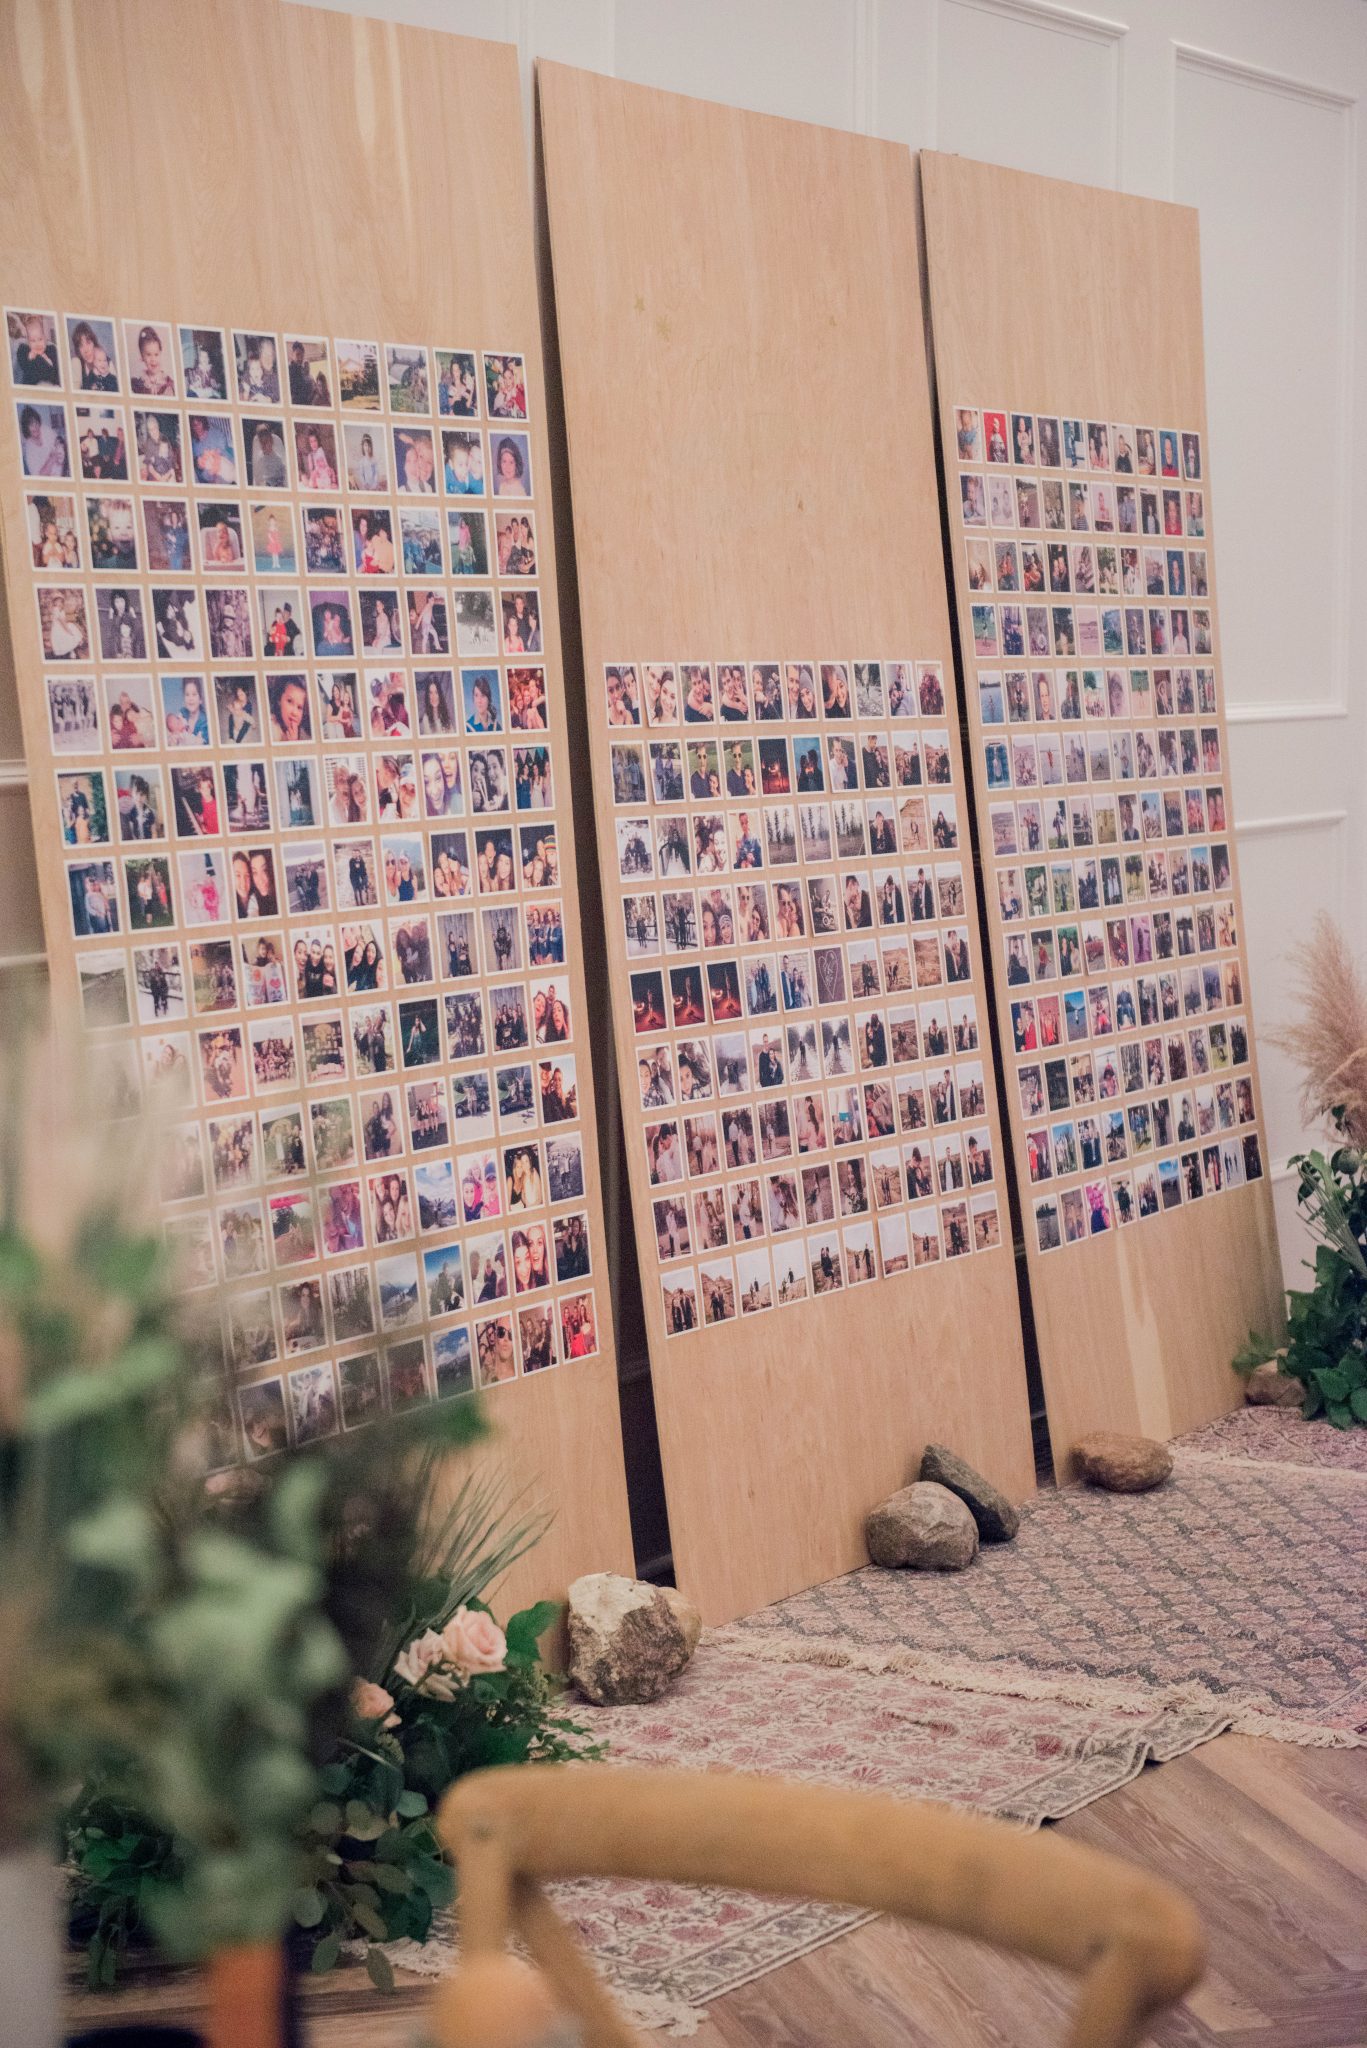
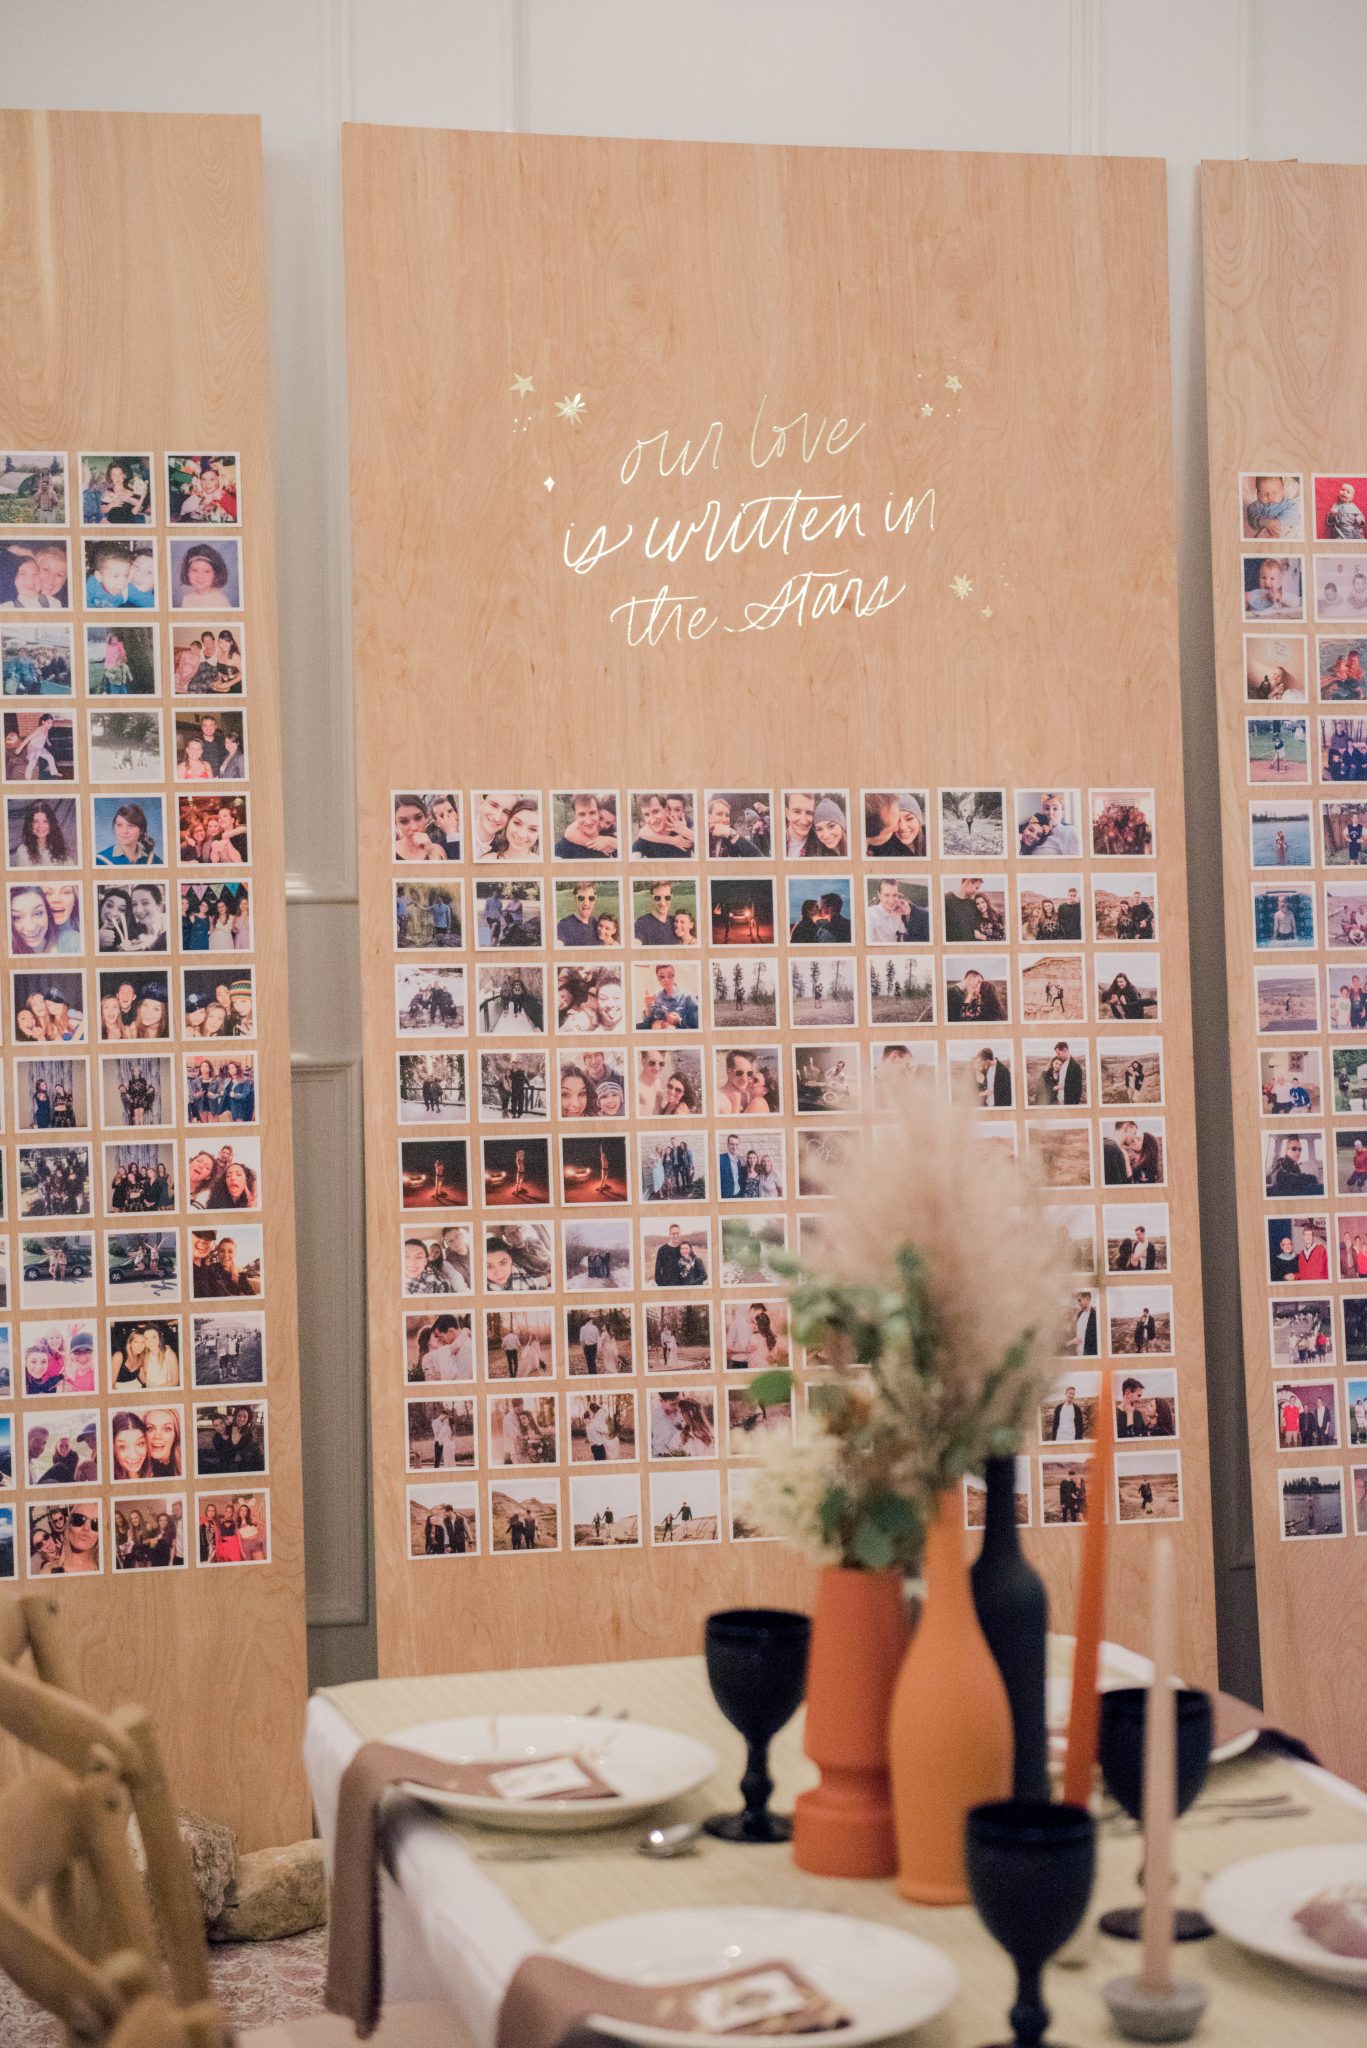
We decided to use 3 large plywood boards (4 feet by 8 feet), divided into 3 categories of images: the bride’s life on one side, the groom’s life on the other, and images of our life so far together in the middle!


Step Two

Choose Your Images & Order Online!


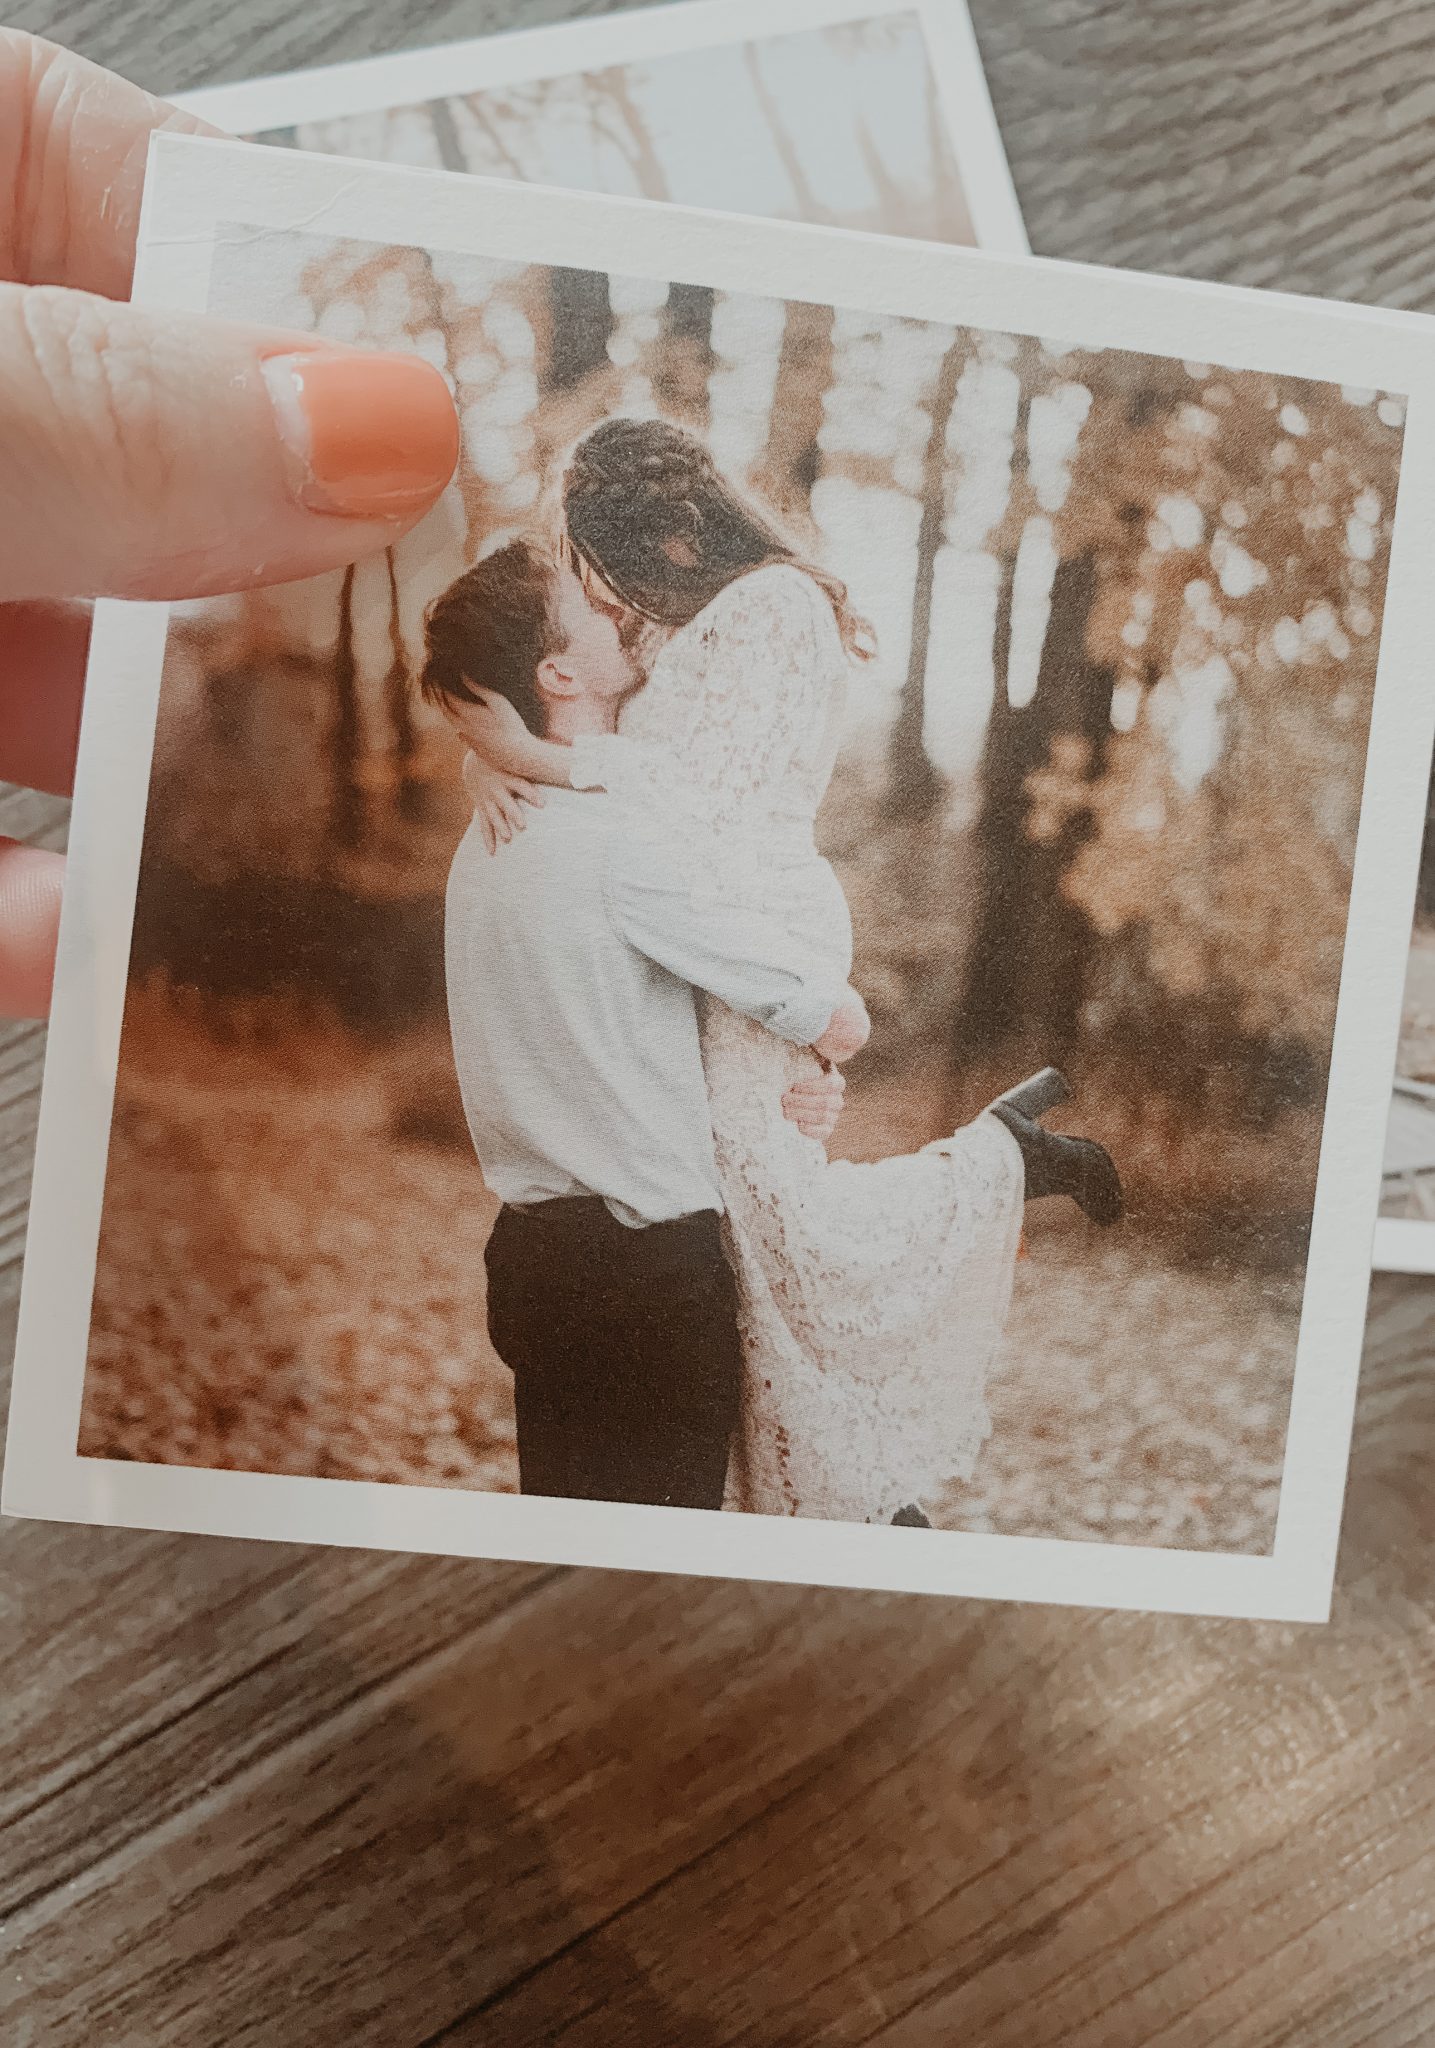
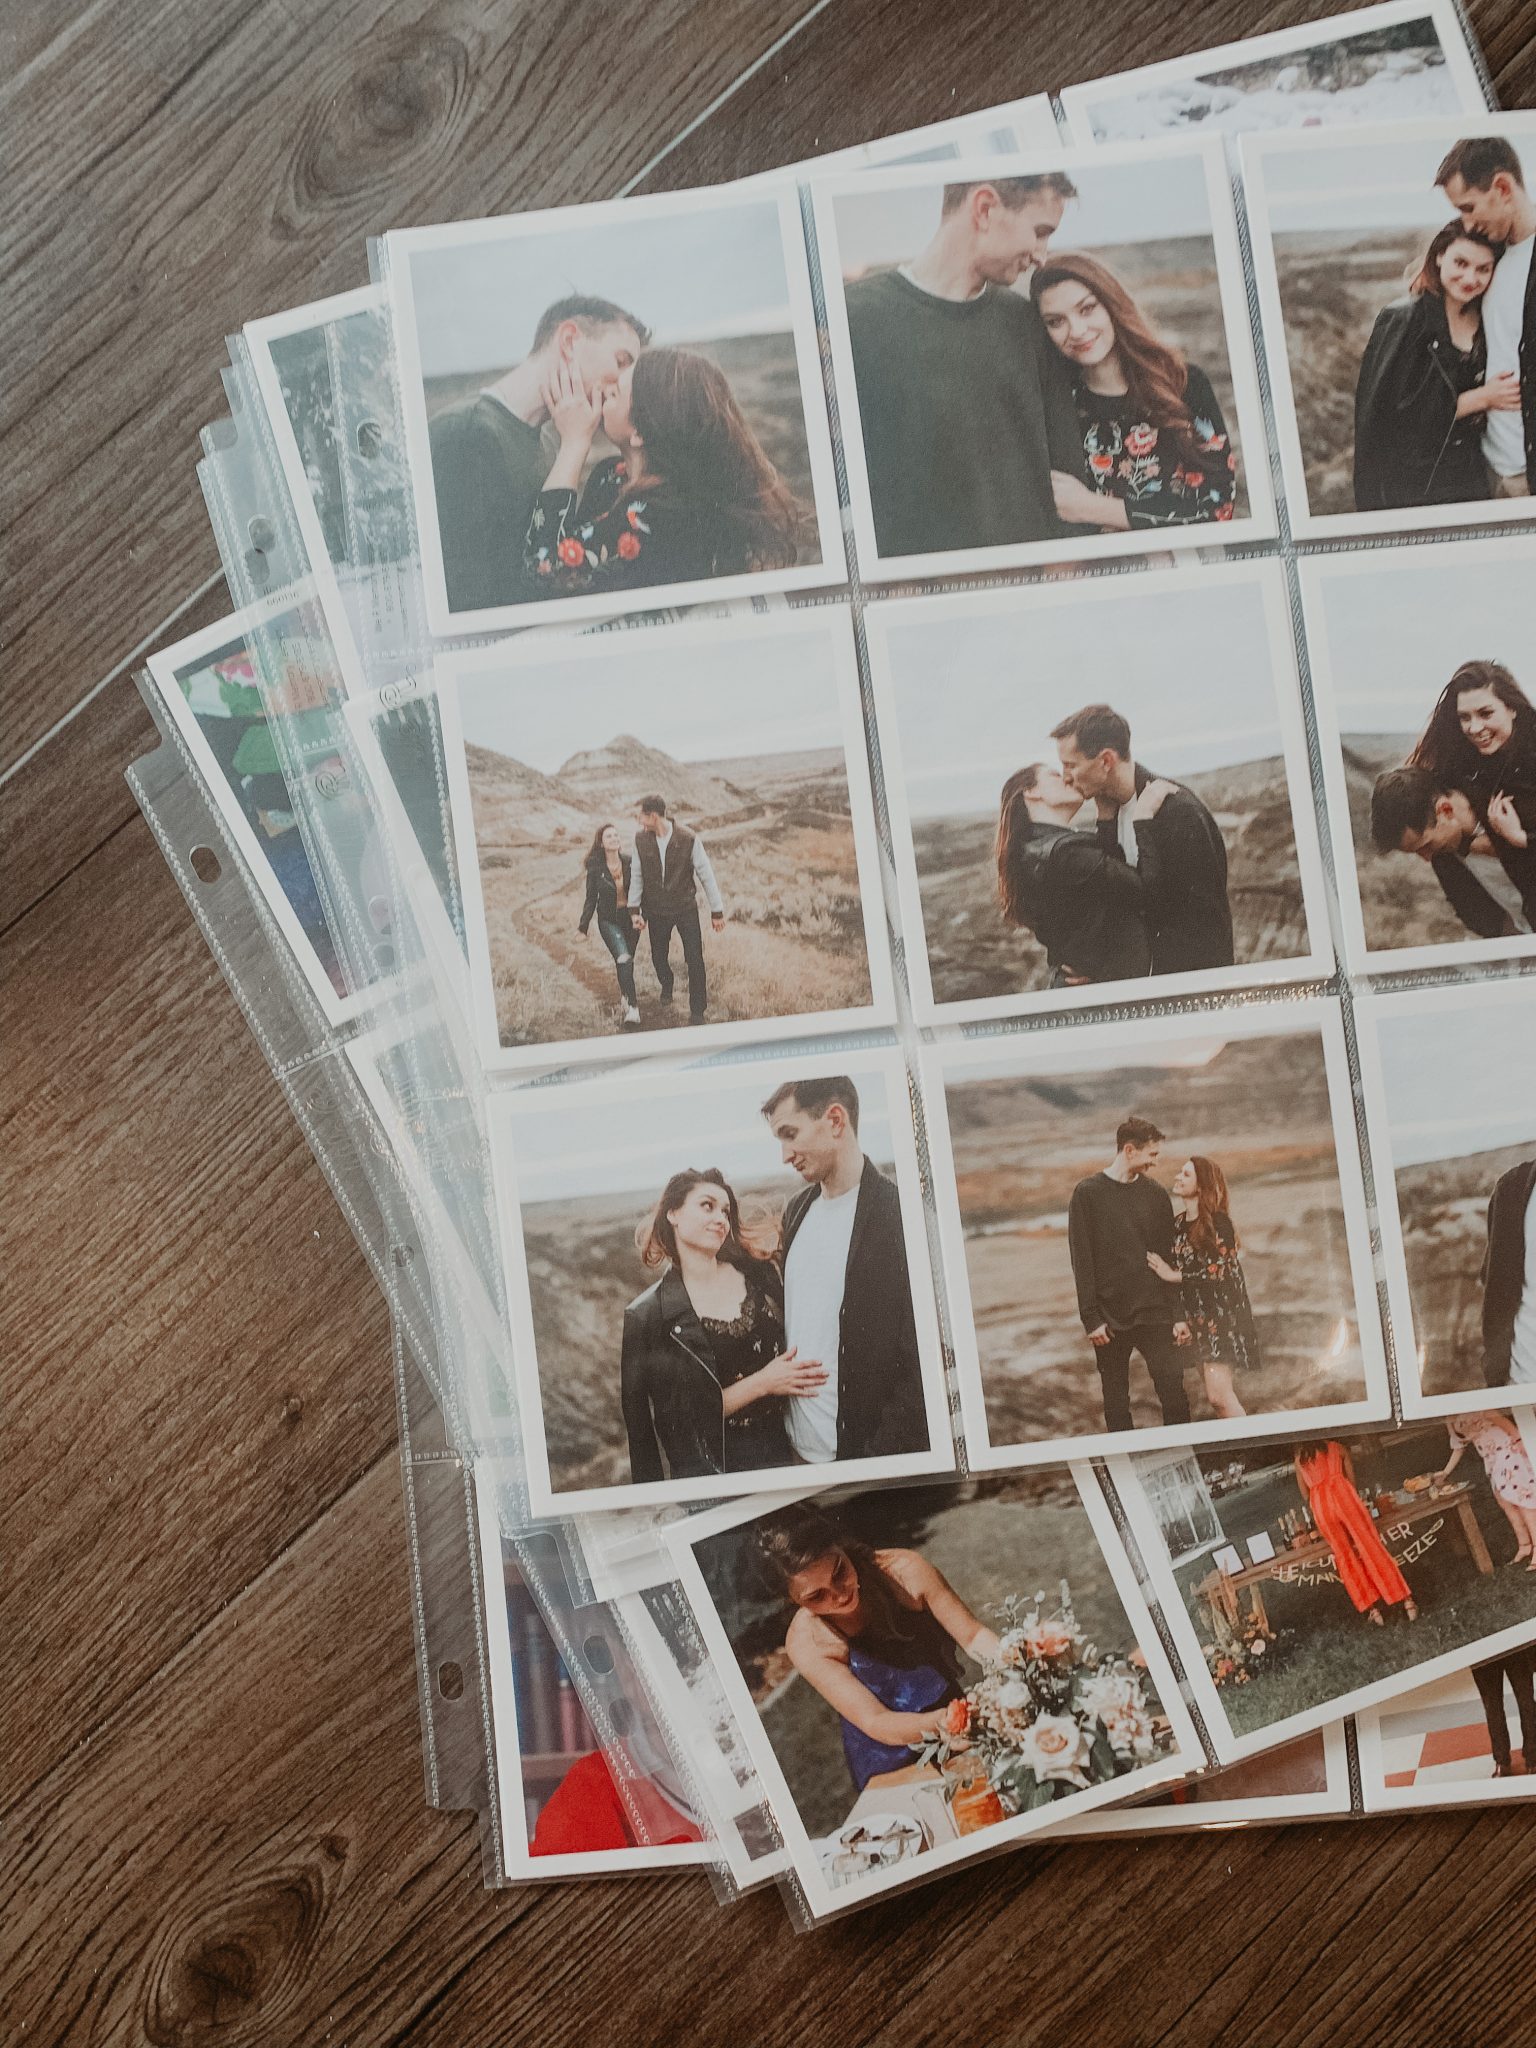
I loved using Parabo Press to print all our favourite images! Their square prints are affordable and printed on high-quality matte stock! You can choose to have the white border, or full bleed, or even add a gold foil border!


Step Three

Layout Your Images in Your Chosen Design


We went to our local hardware store and bought 3 sheets of plywood. We were going for a more natural look so we kept the natural wood, but painting your backgrounds black or even one of your palette colours would look great too!


Step Four

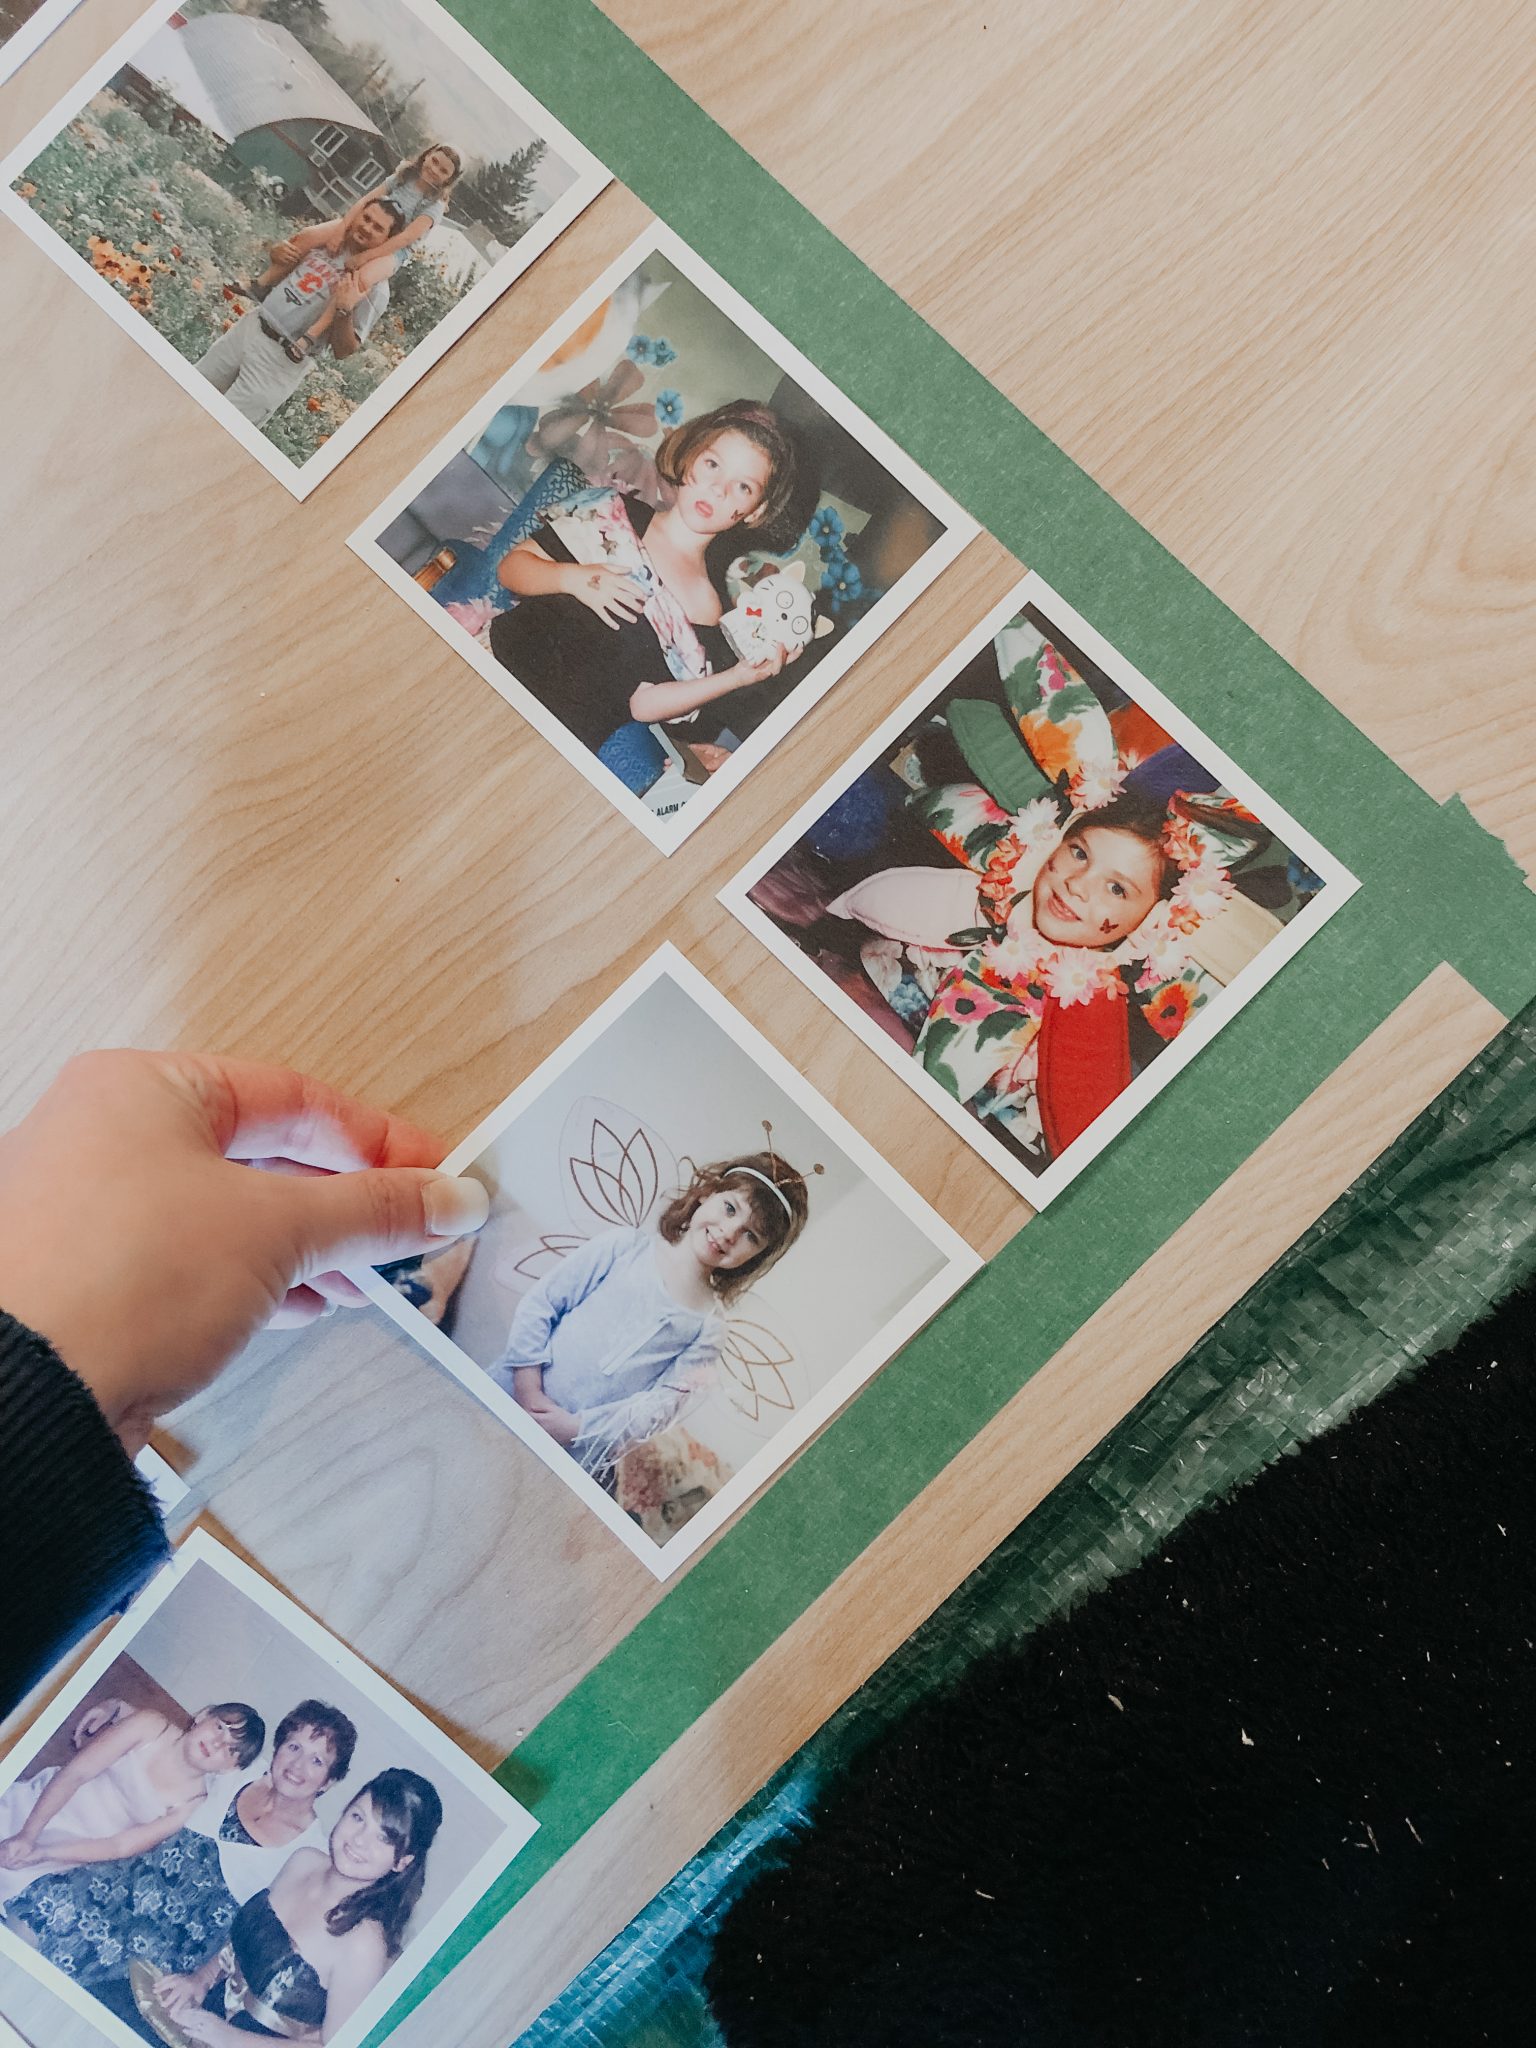
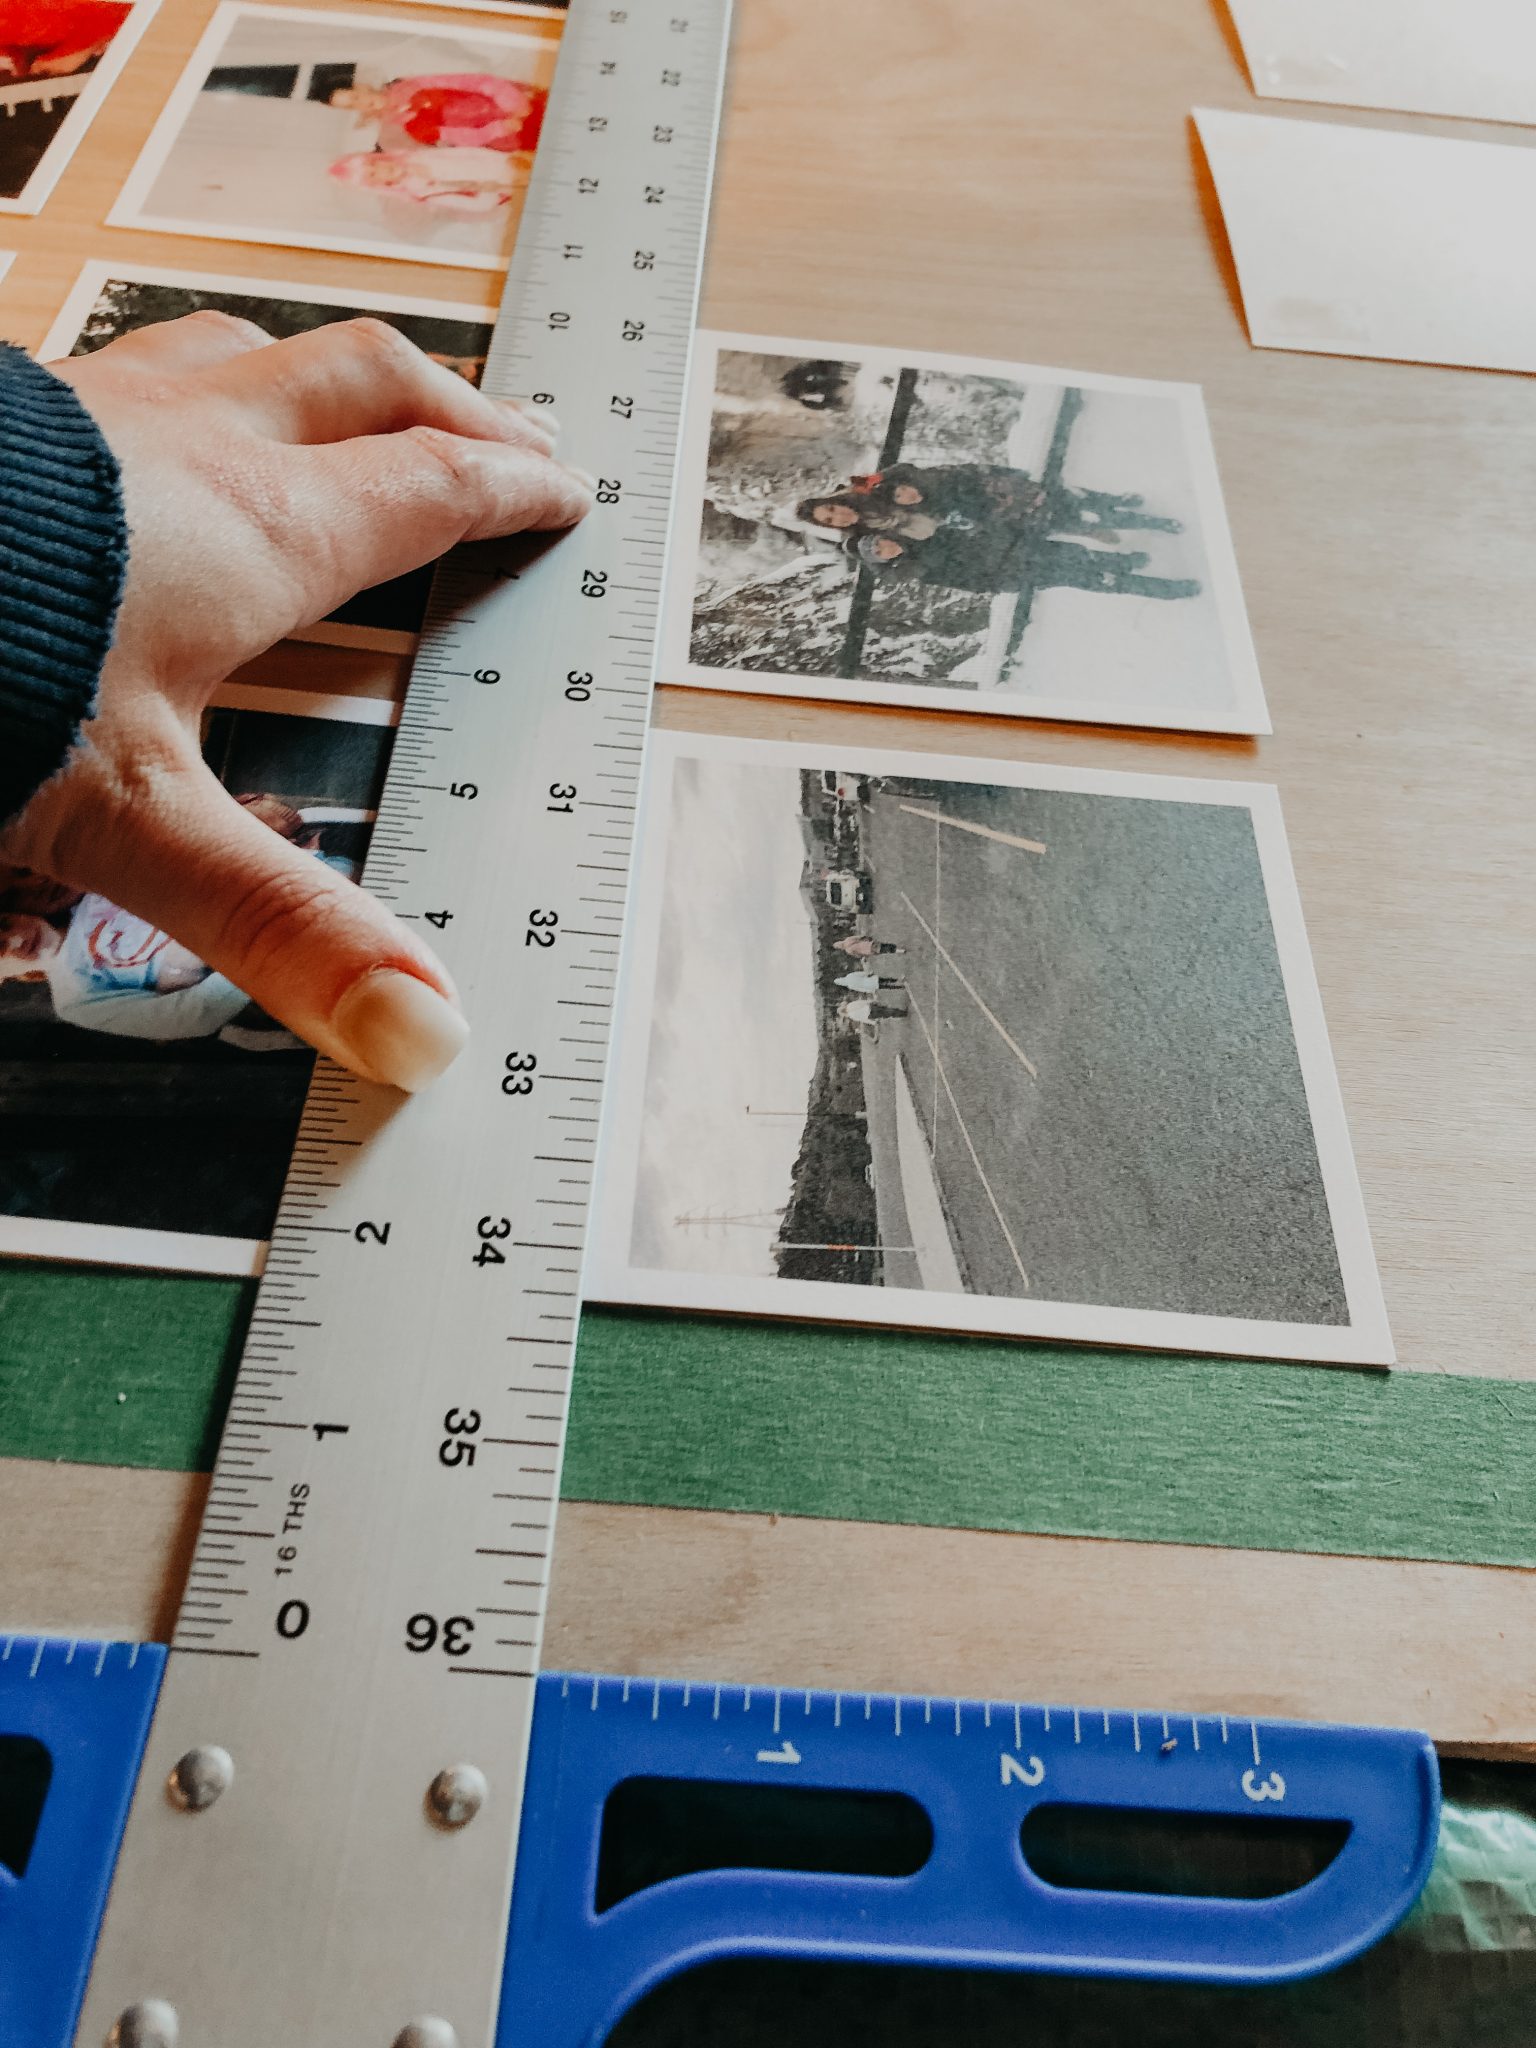
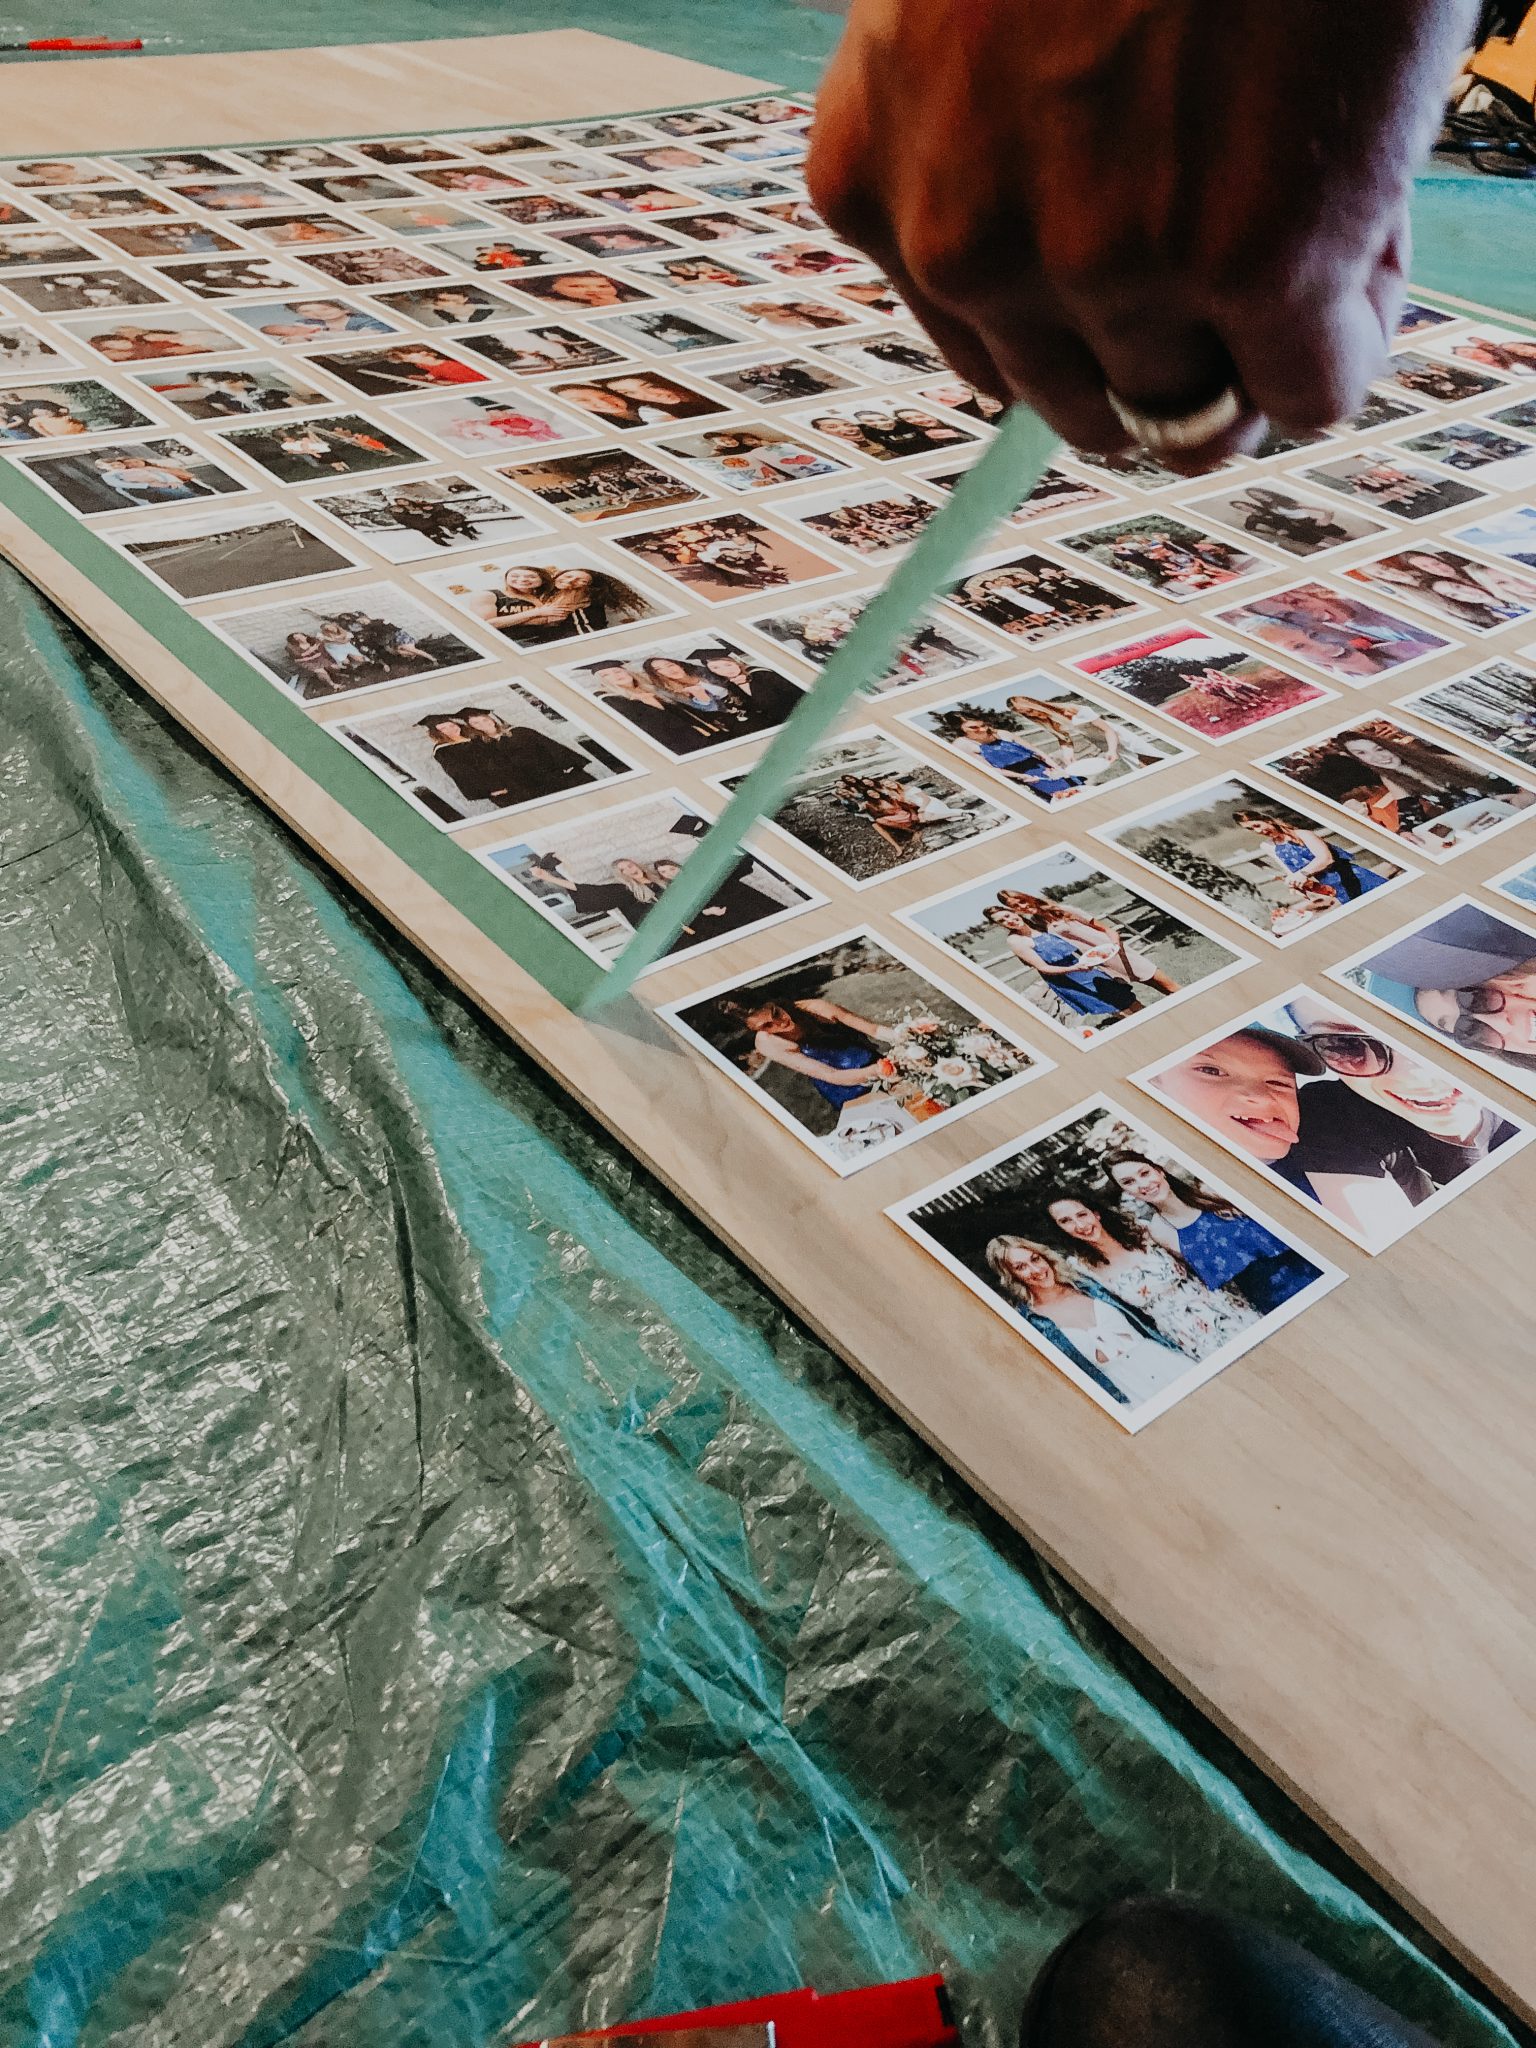
Tape off Your Borders, Measure The Spacing, & Tape The Images Down as You Go!


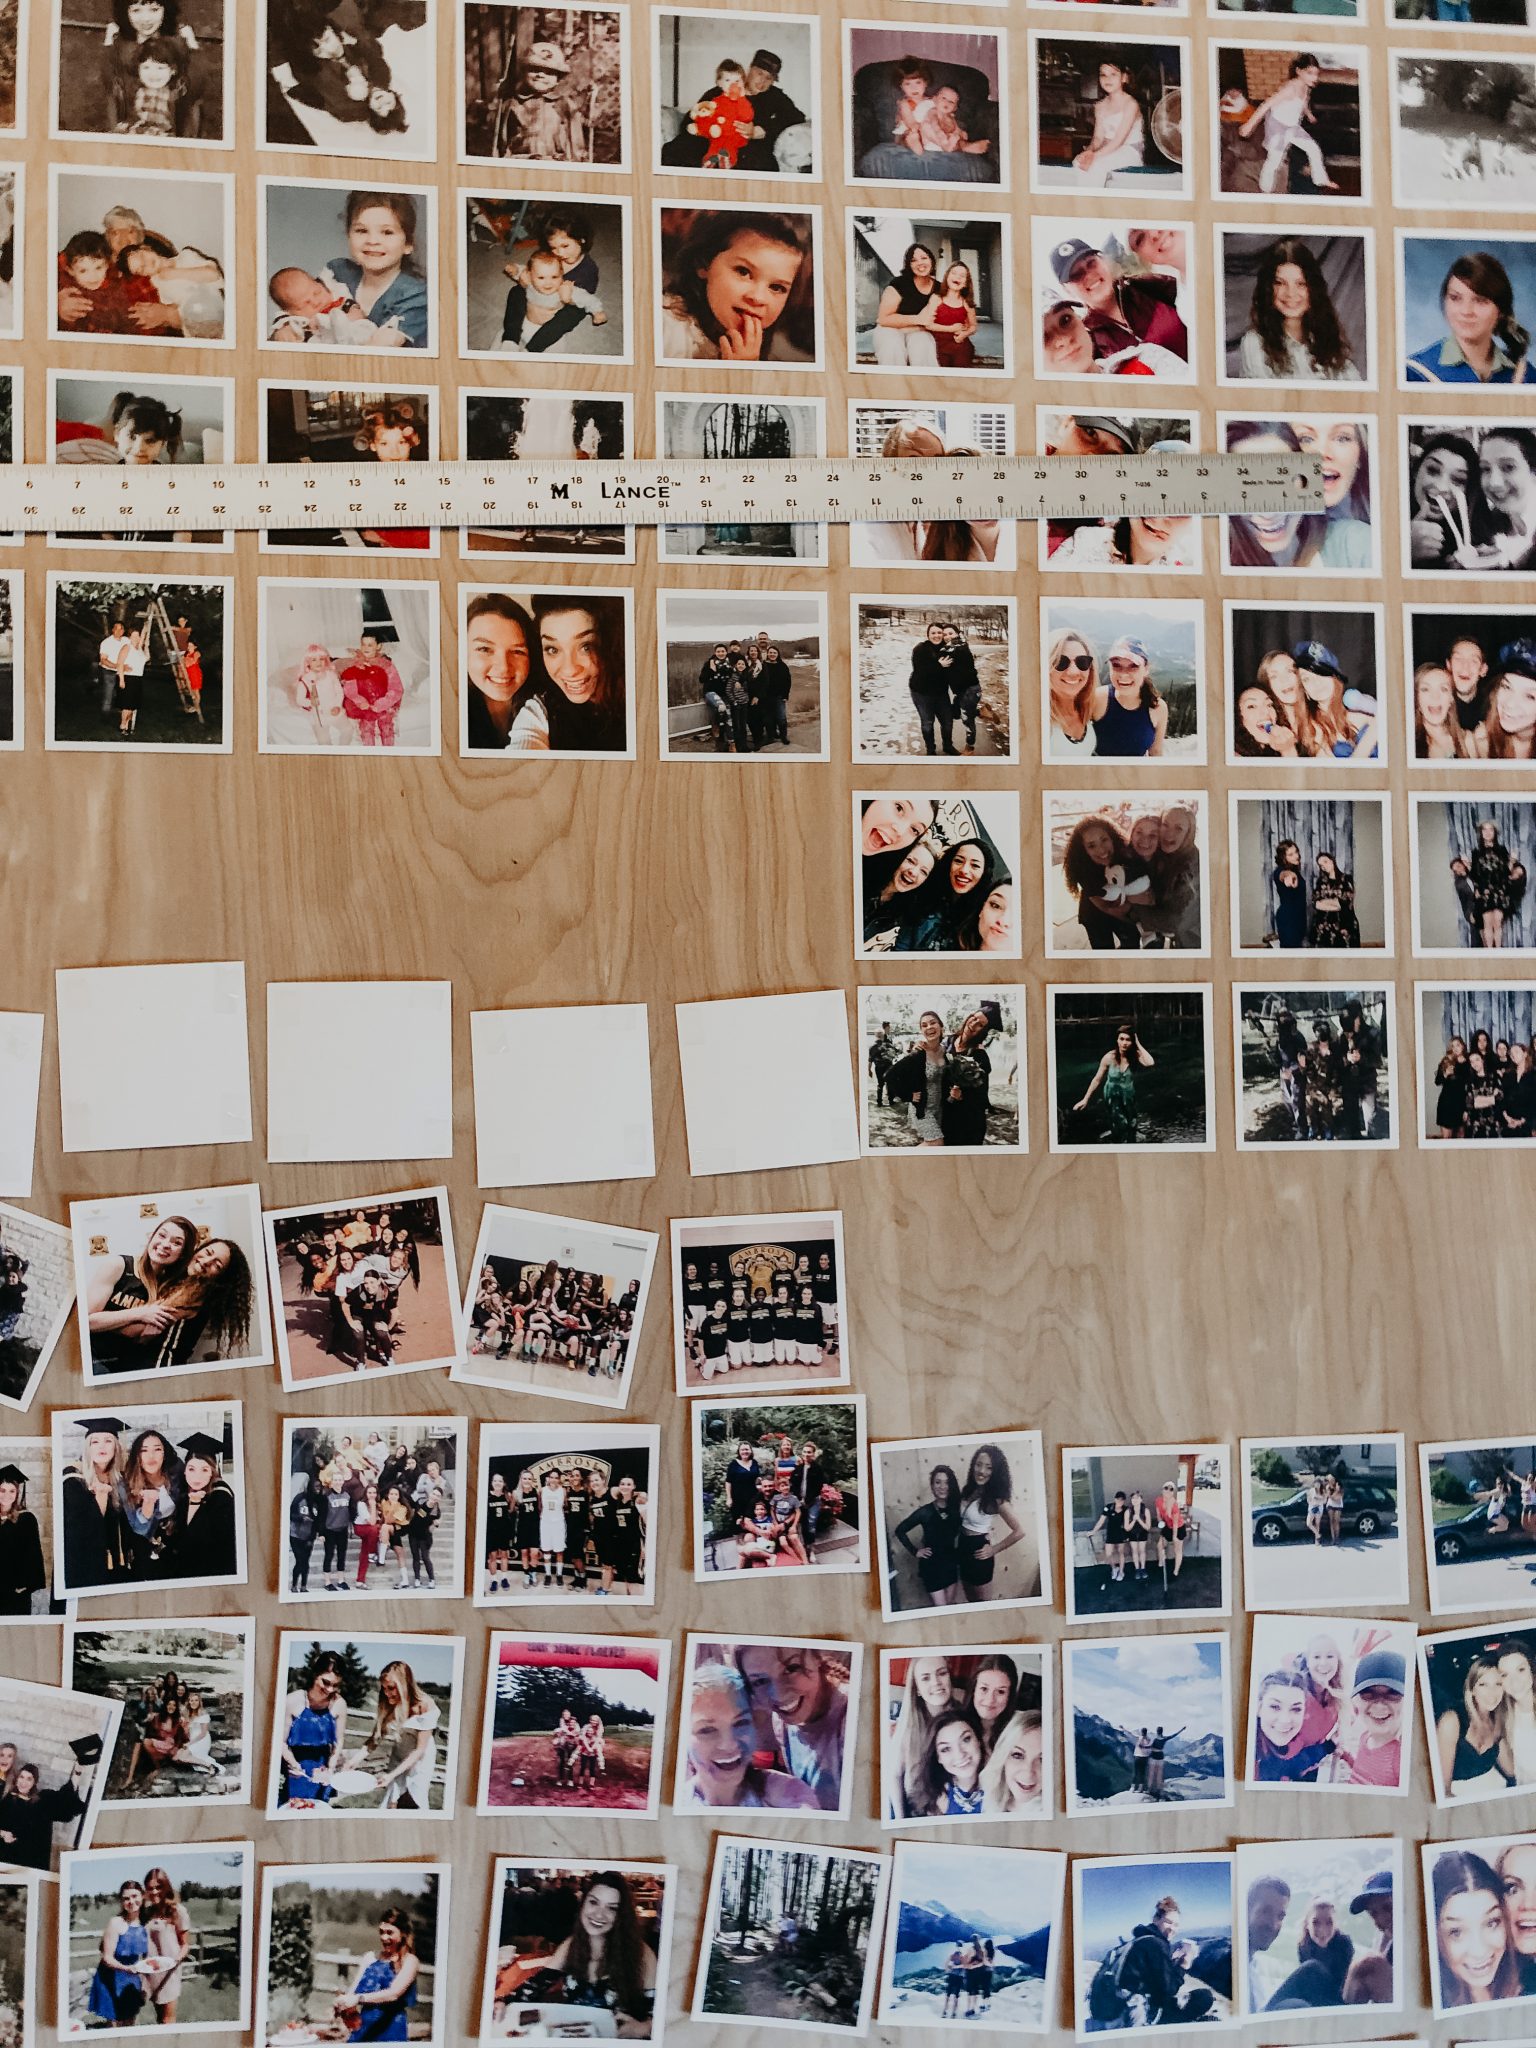
After laying out all the images how we wanted them, we made sure to measure out all the spacing. We put double sided tape on the back of the prints, and taped down 1 row at a time; I used my T-ruler to line up the edges of each row and double check the spacing as I went.


Step Five

Remove Tape Guides & Add Custom Lettering or Signage!


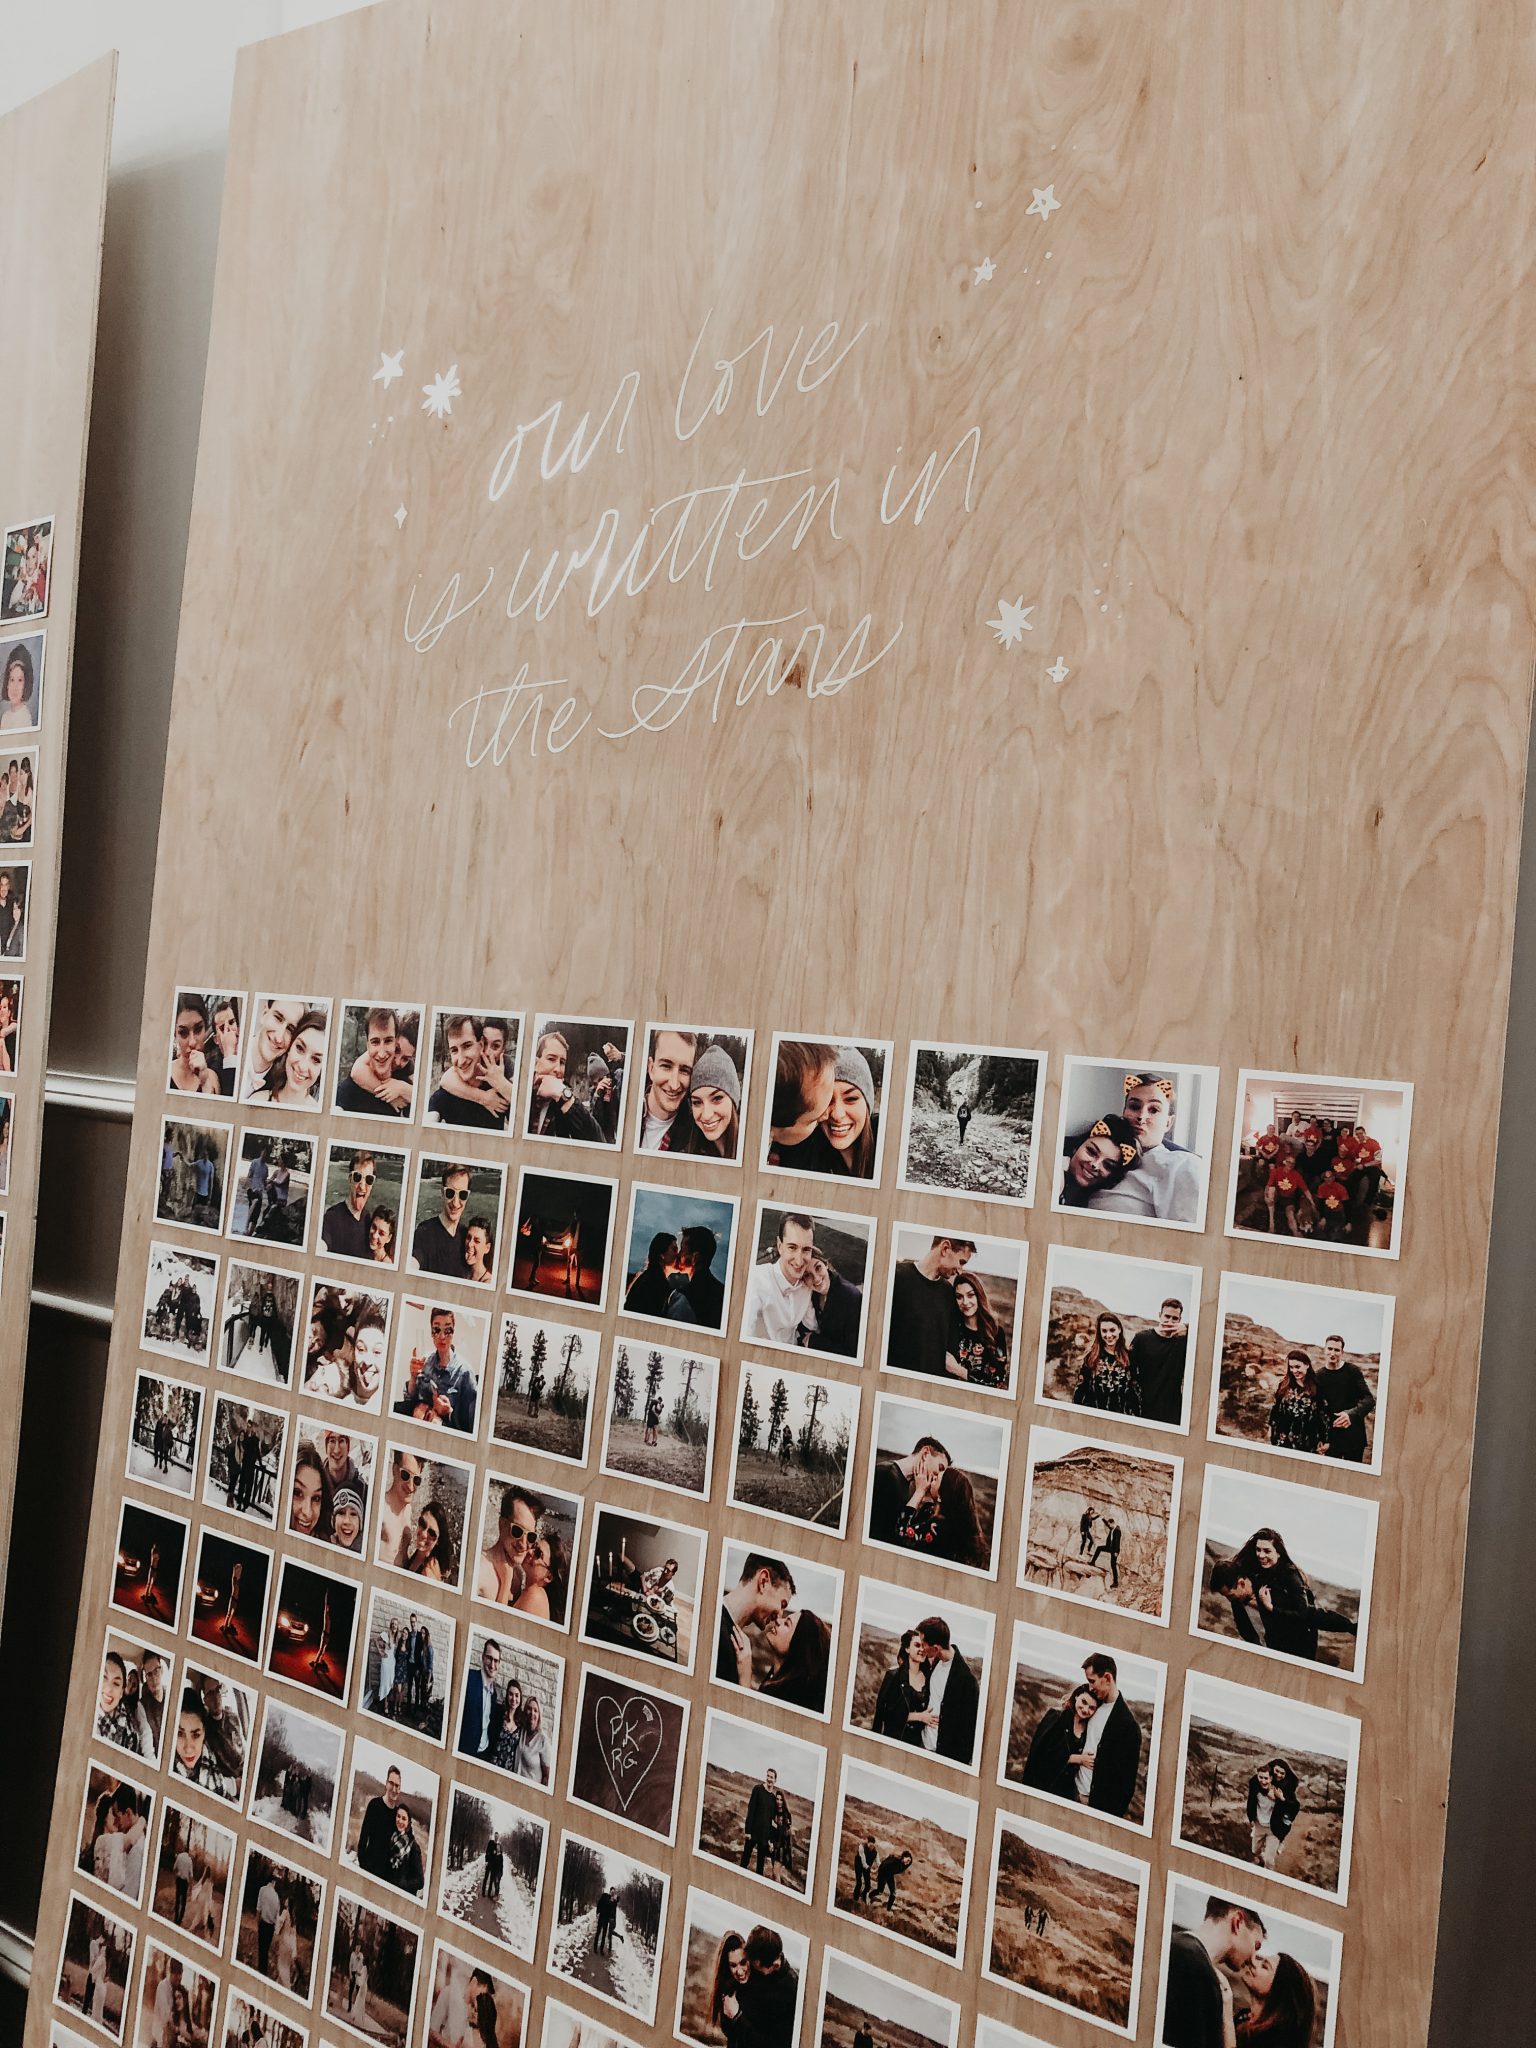
You can add custom lettering in vinyl like we did, or just have the gallery wall speak for itself!

When we displayed them at the wedding reception, we added rugs underneath and propped the boards up with rocks and floral installations to add to our earthy aesthetic.


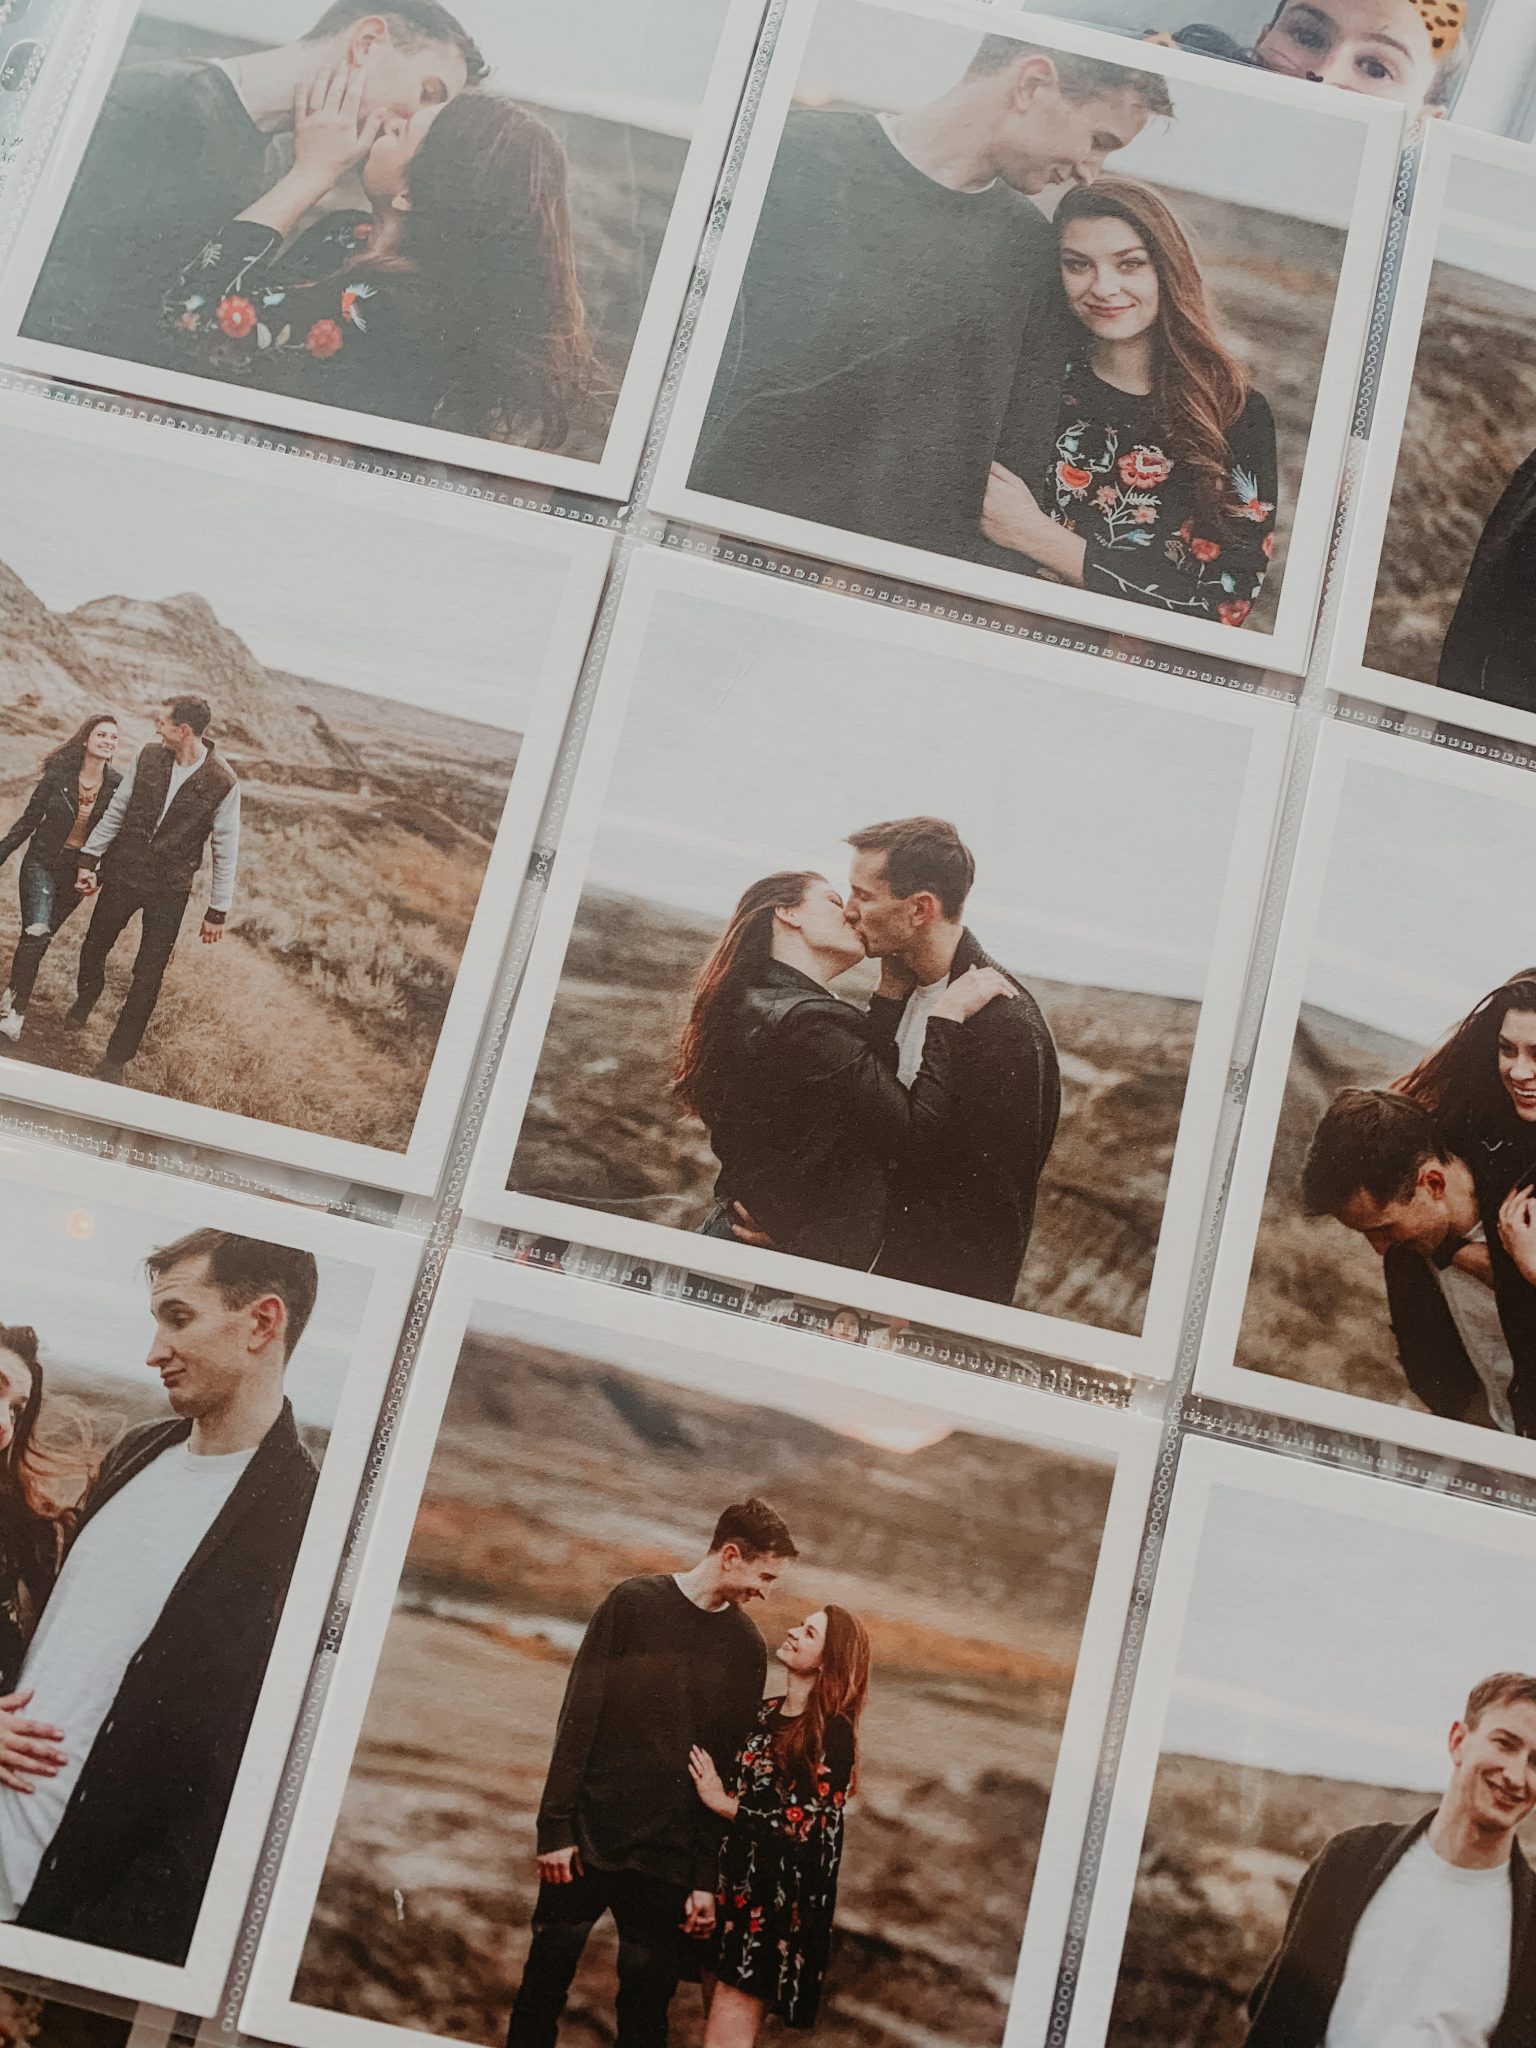
Afterwards, we put all the images in protective sleeves and added them to a 12×12″ memory album!

Want to see more from this Wedding Reception at Flores & Pine?
Check it out here

comments

Leave a Reply

Your email address will not be published. Required fields are marked *