Your wedding bouquet is such a beautiful memento to save from your special day. And we love all the different keepsakes we’ve seen brides make from their dried wedding blooms!
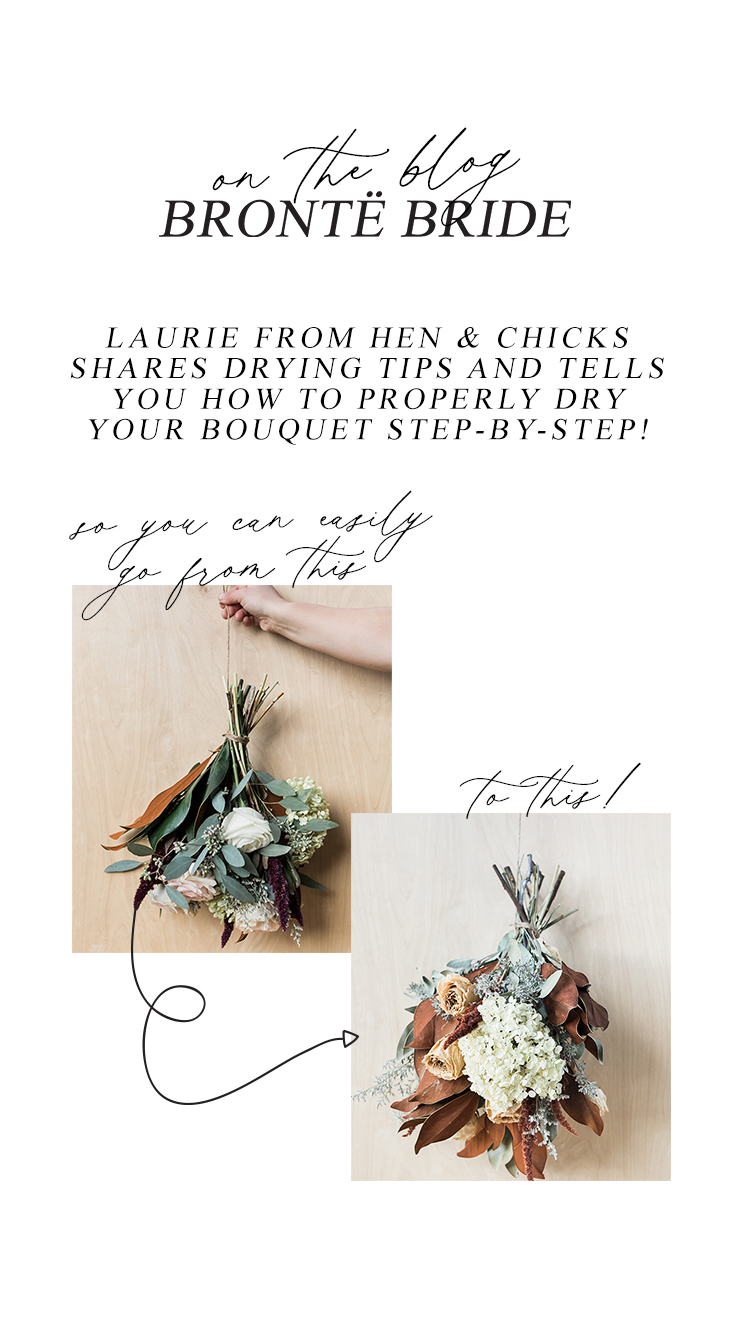
But if you don’t know how to dry your bouquet properly, you could end up with misshapen or discoloured blooms, or even mould. So today, we are so happy to have local florist, Laurie from Hen & Chicks sharing her drying tips and tricks, as we show you the step-by-step process of how to dry your wedding bouquet!
photography by Sarah Beau Photo
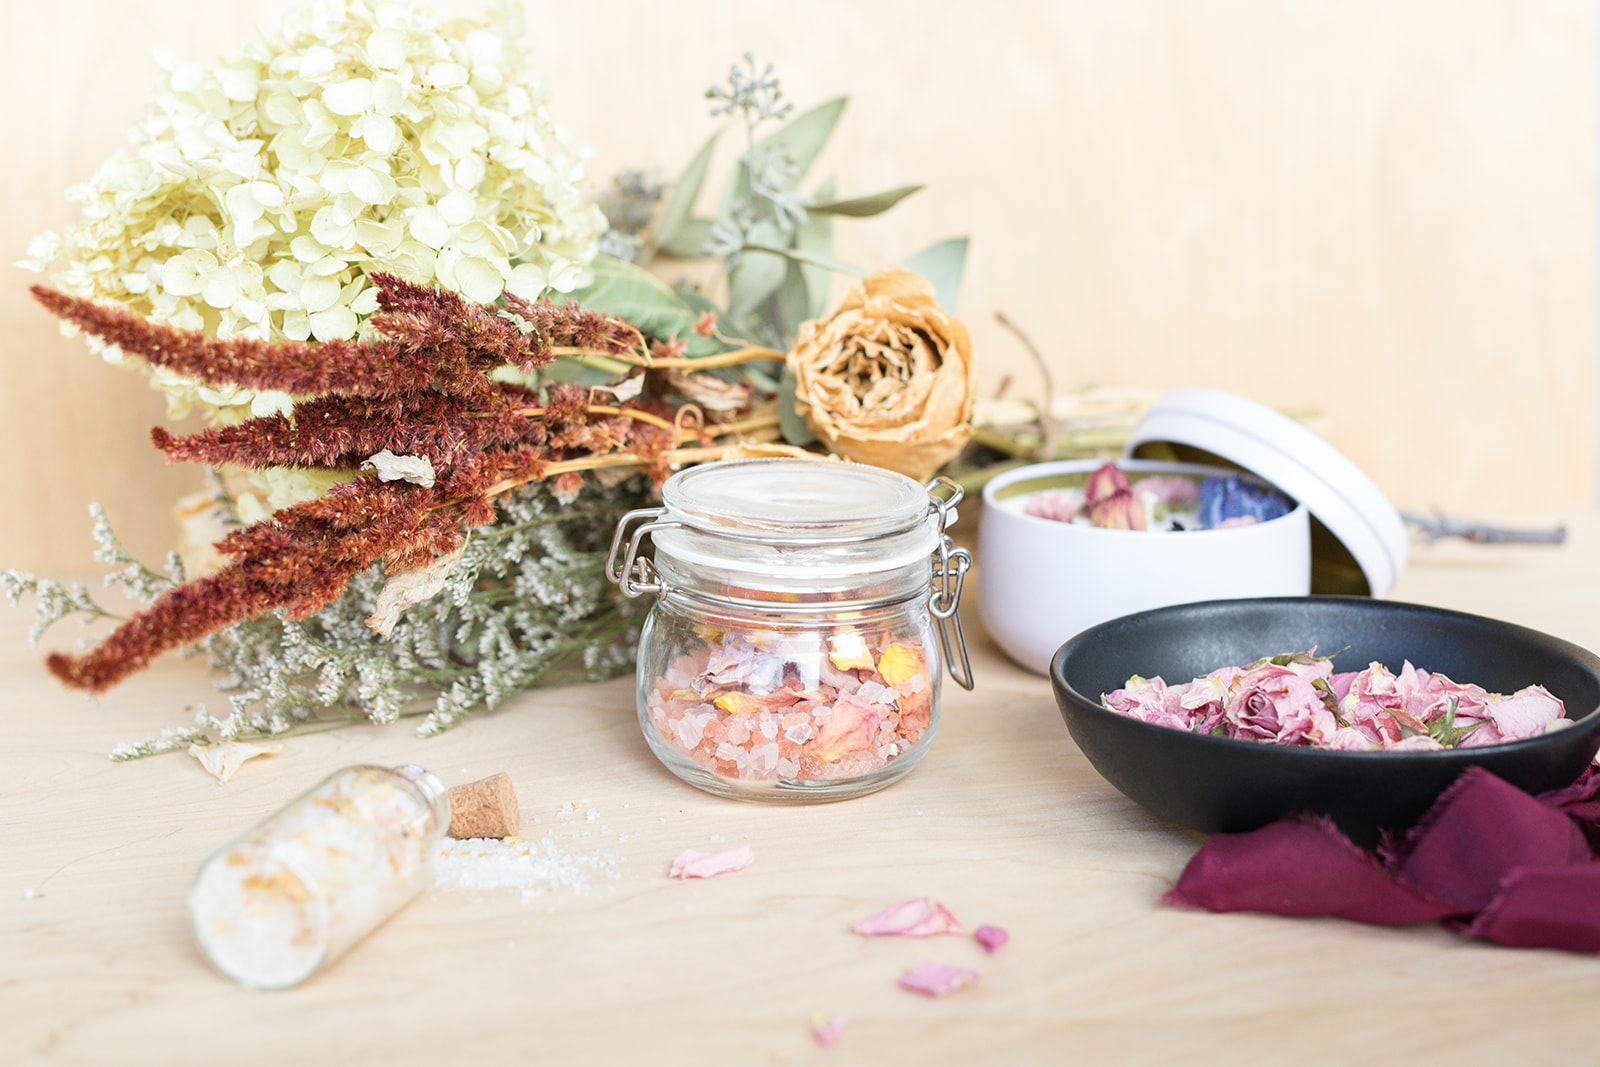
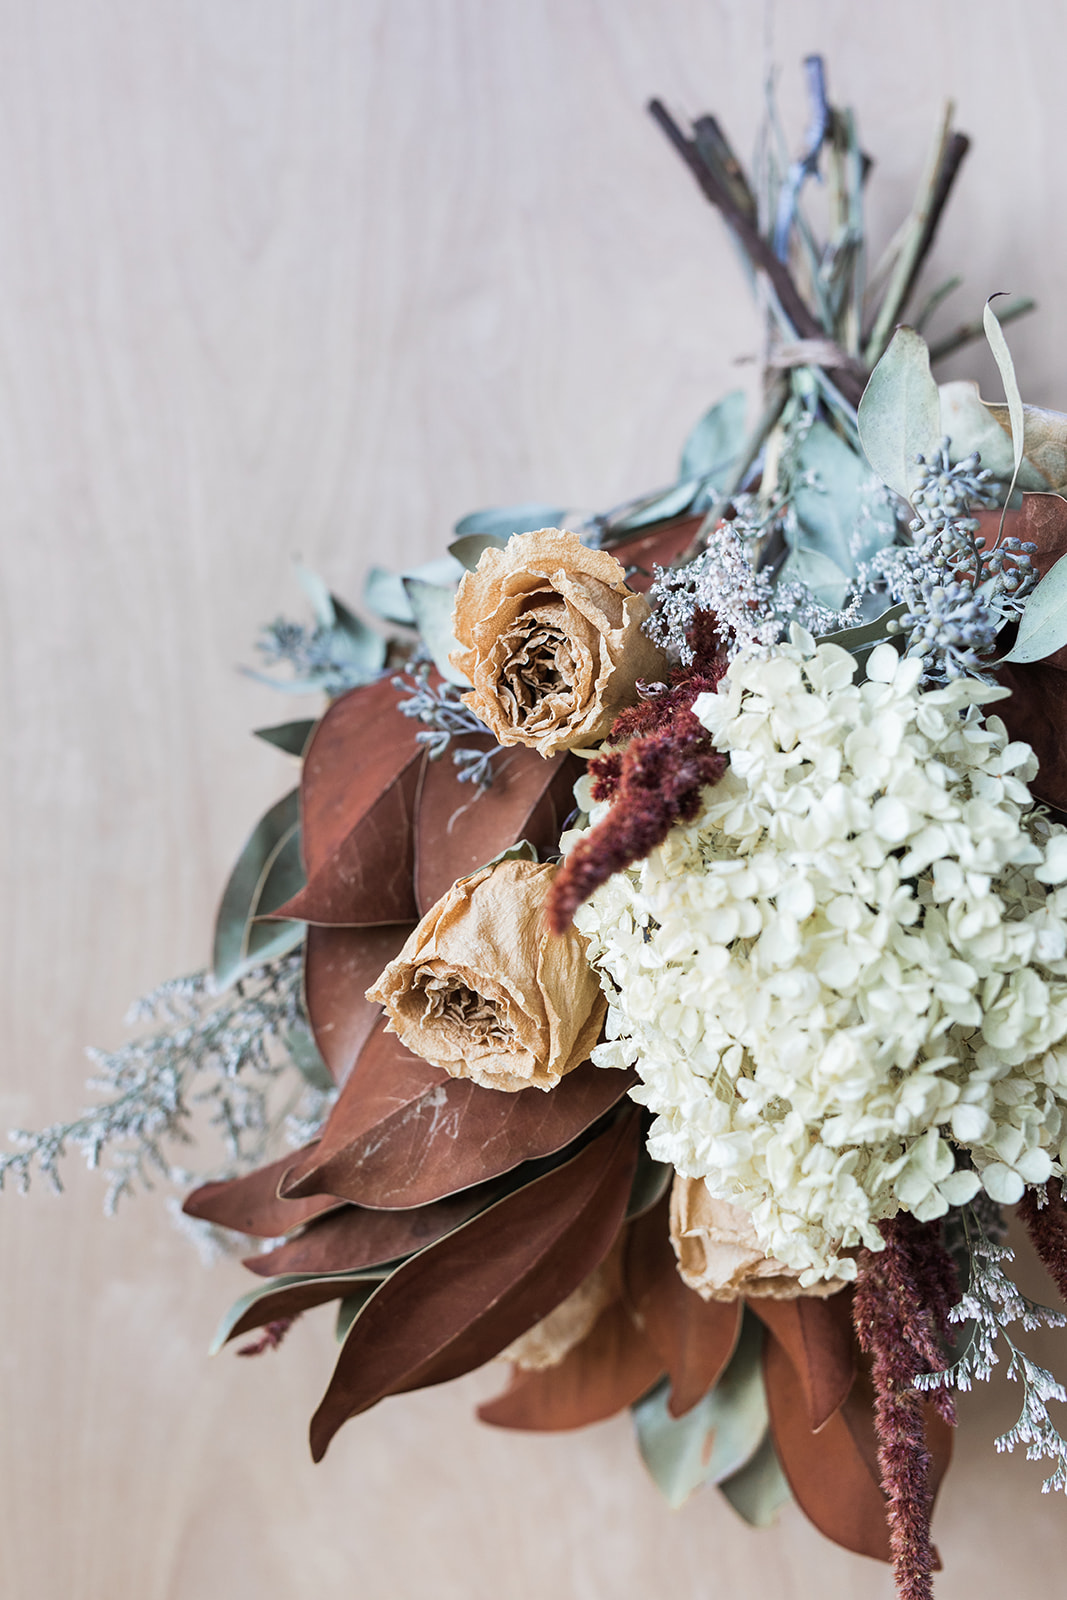
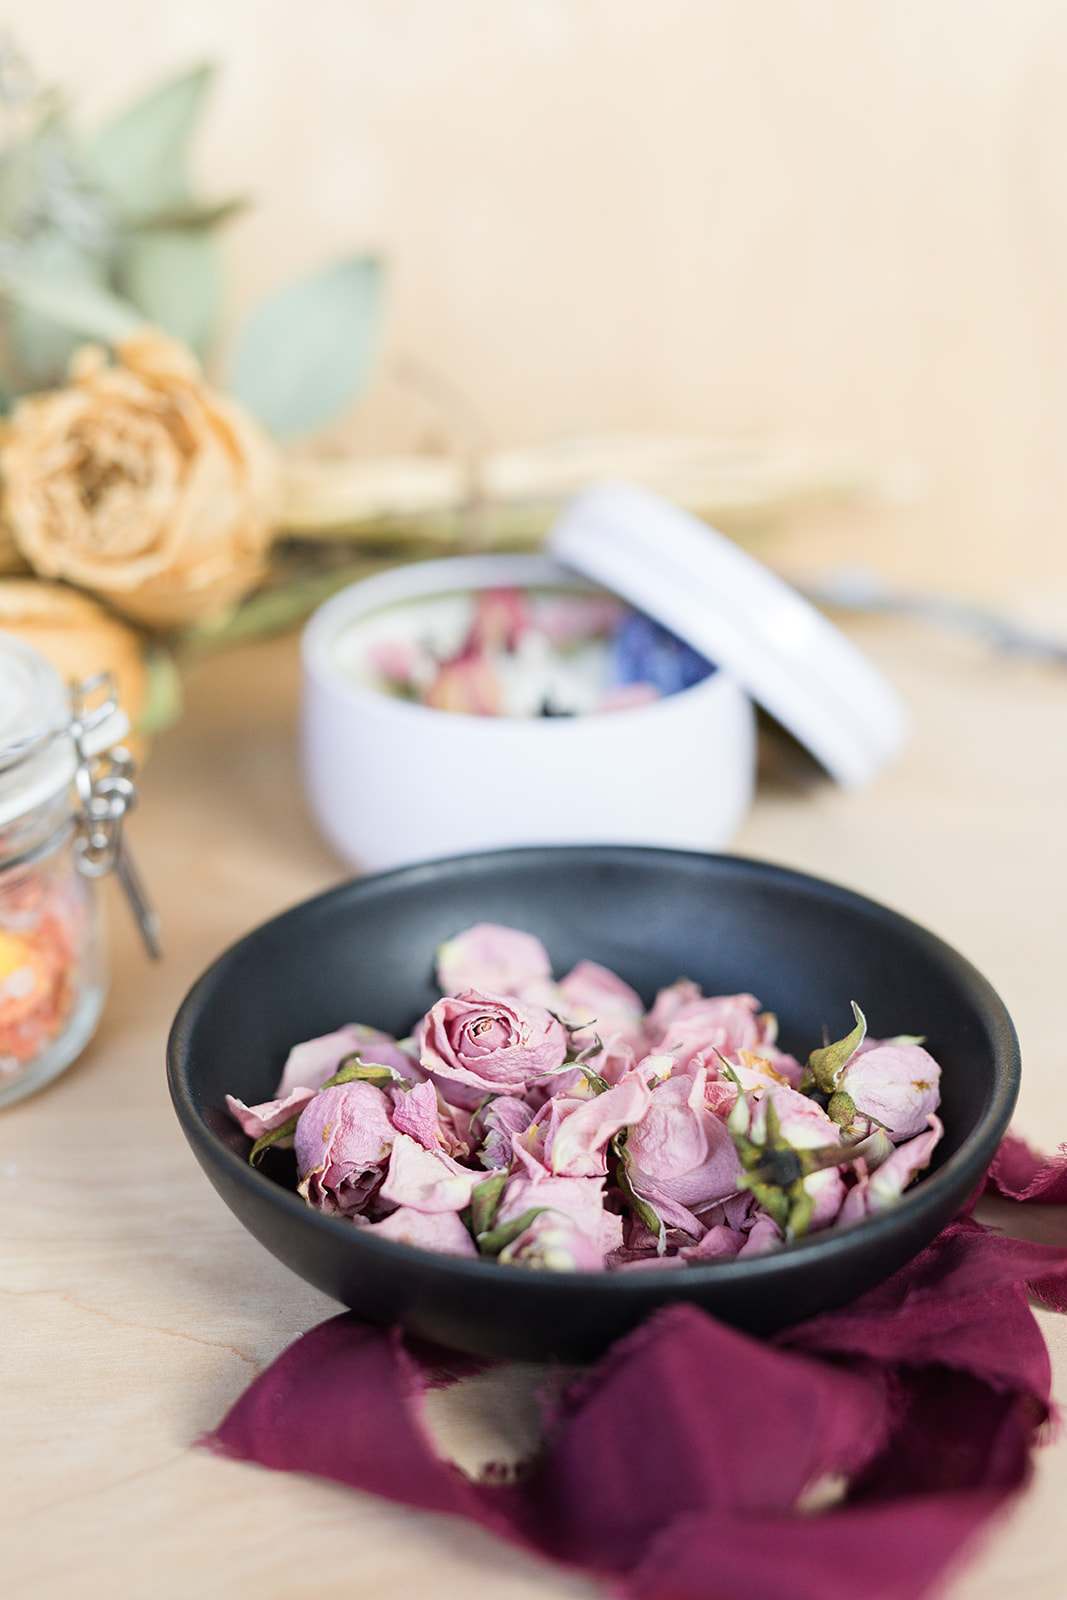
Before you go about drying your bouquet, you should decide what you’ll be doing with it once it’s dried! (like which type of keepsake you would like to create from it). Some keepsake ideas we love are: drying the bouquet whole and displaying it in a vase, creating pressed artwork, hanging the dried florals upside down in your kitchen or bedroom, making botanical candles or custom potpourri, or even using petals in your bath salts!
The type of keepsake you’re wanting will help you determine the way you should dry your flowers.
Step One
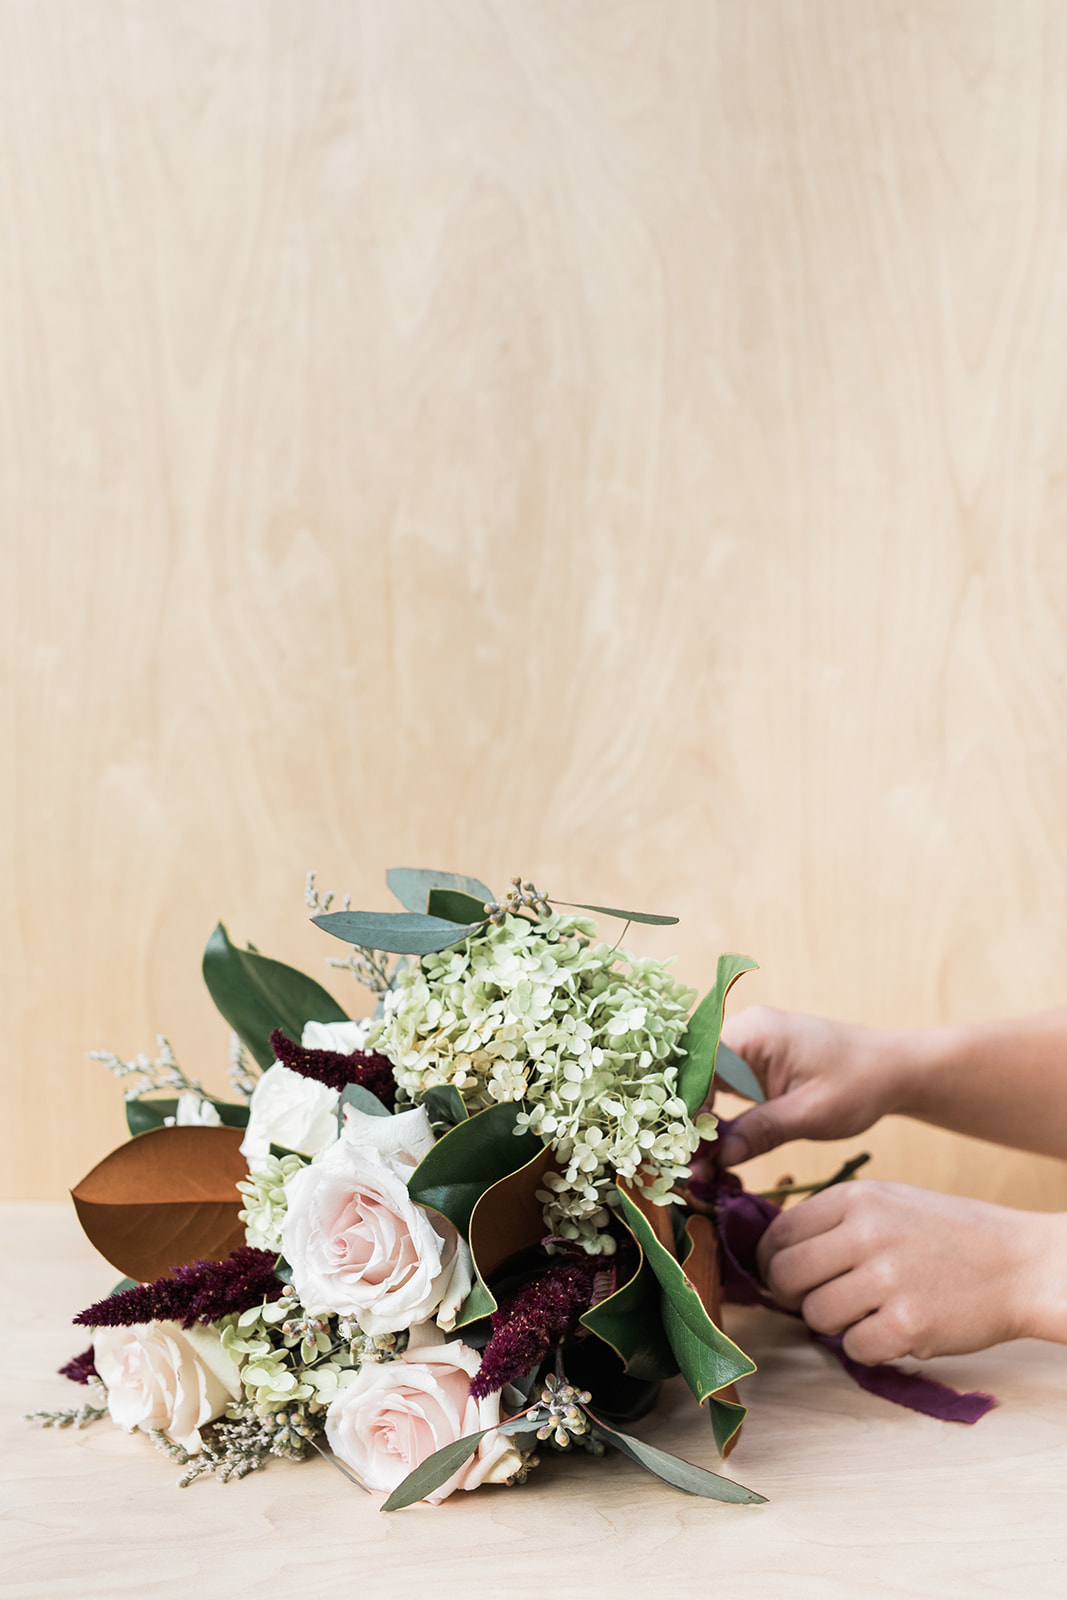
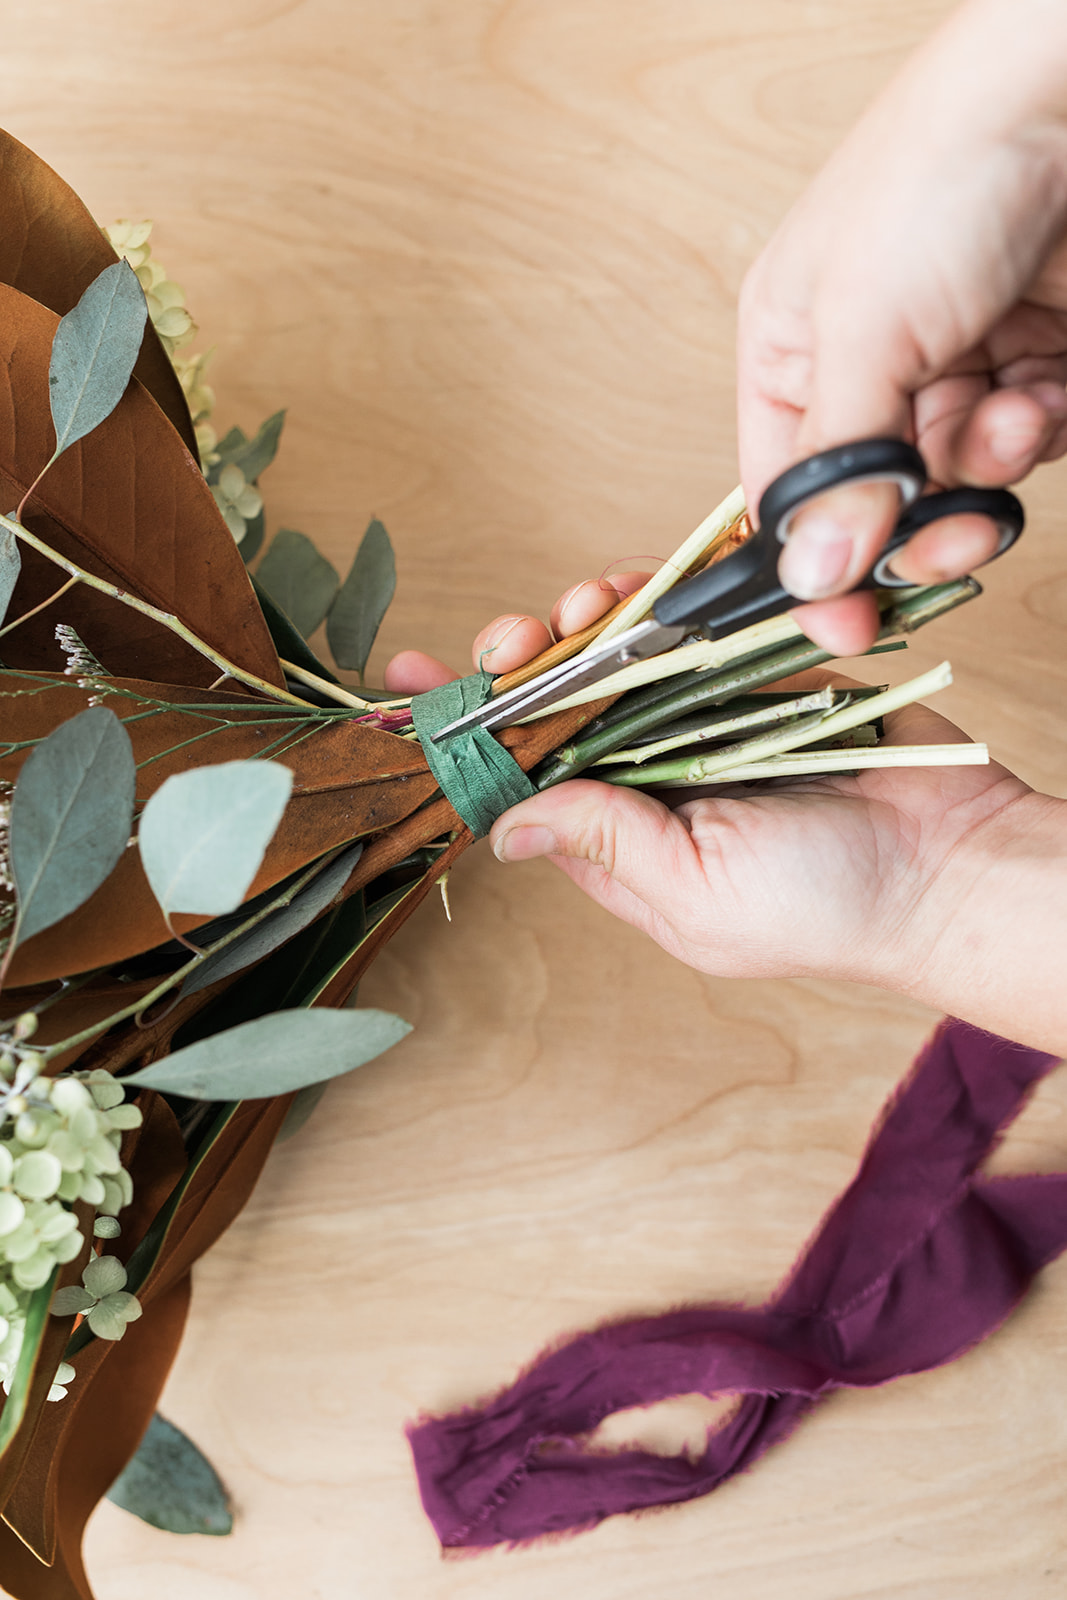
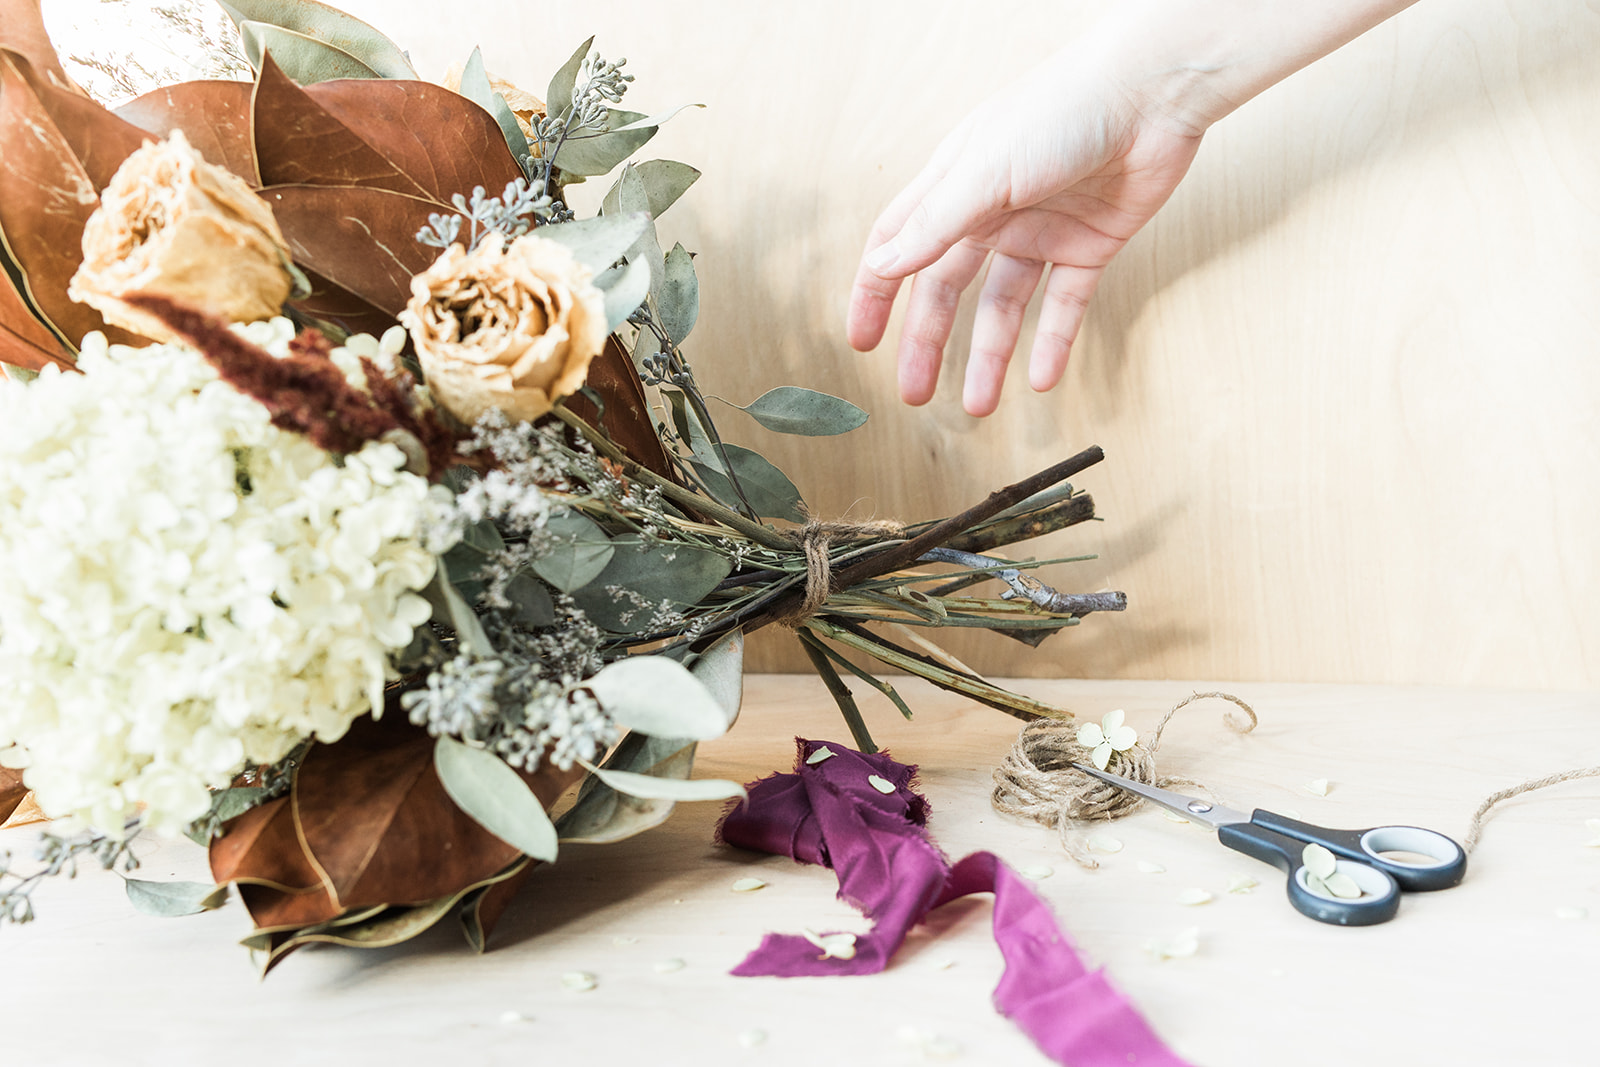
Remove ribbon and any florist tape or bind used to hold bouquet together. This helps eliminate any moisture left by the tape and/or ribbon.
Step Two
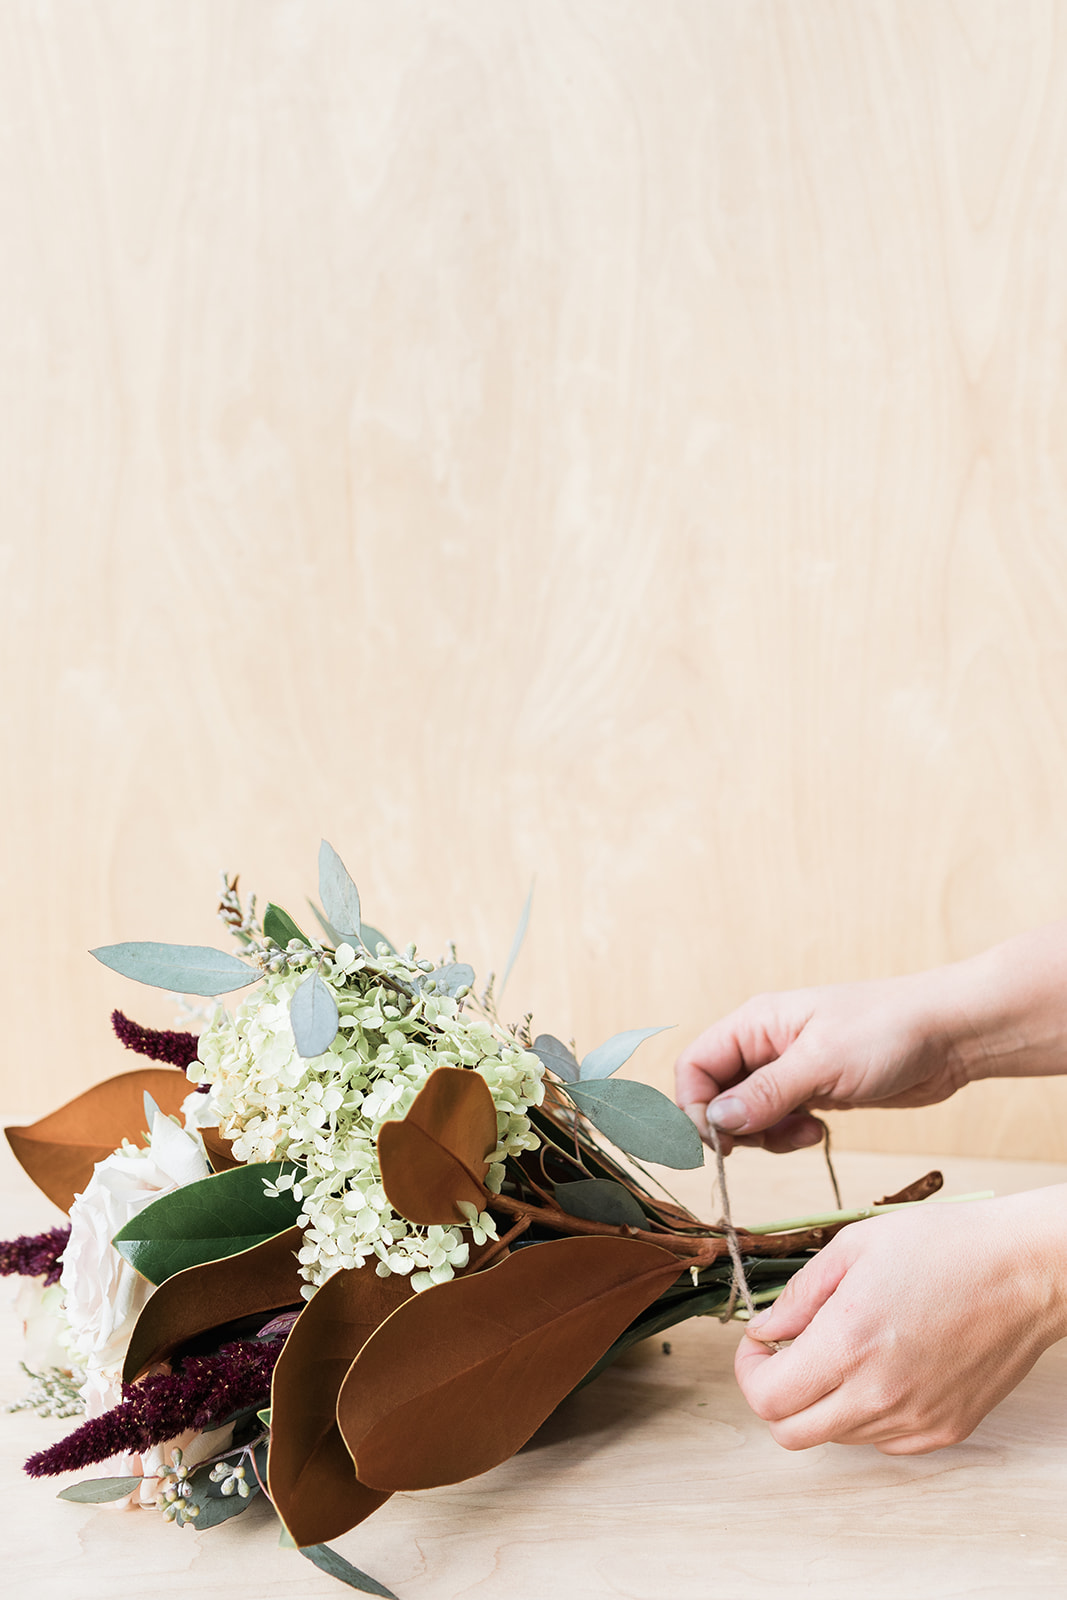
Remove any unwanted or wet foliage from the stems; Gather the stems and tie together with clean dry twine. Make sure to tie the stems off tightly and leave enough length of twine to hang the bouquet easily.
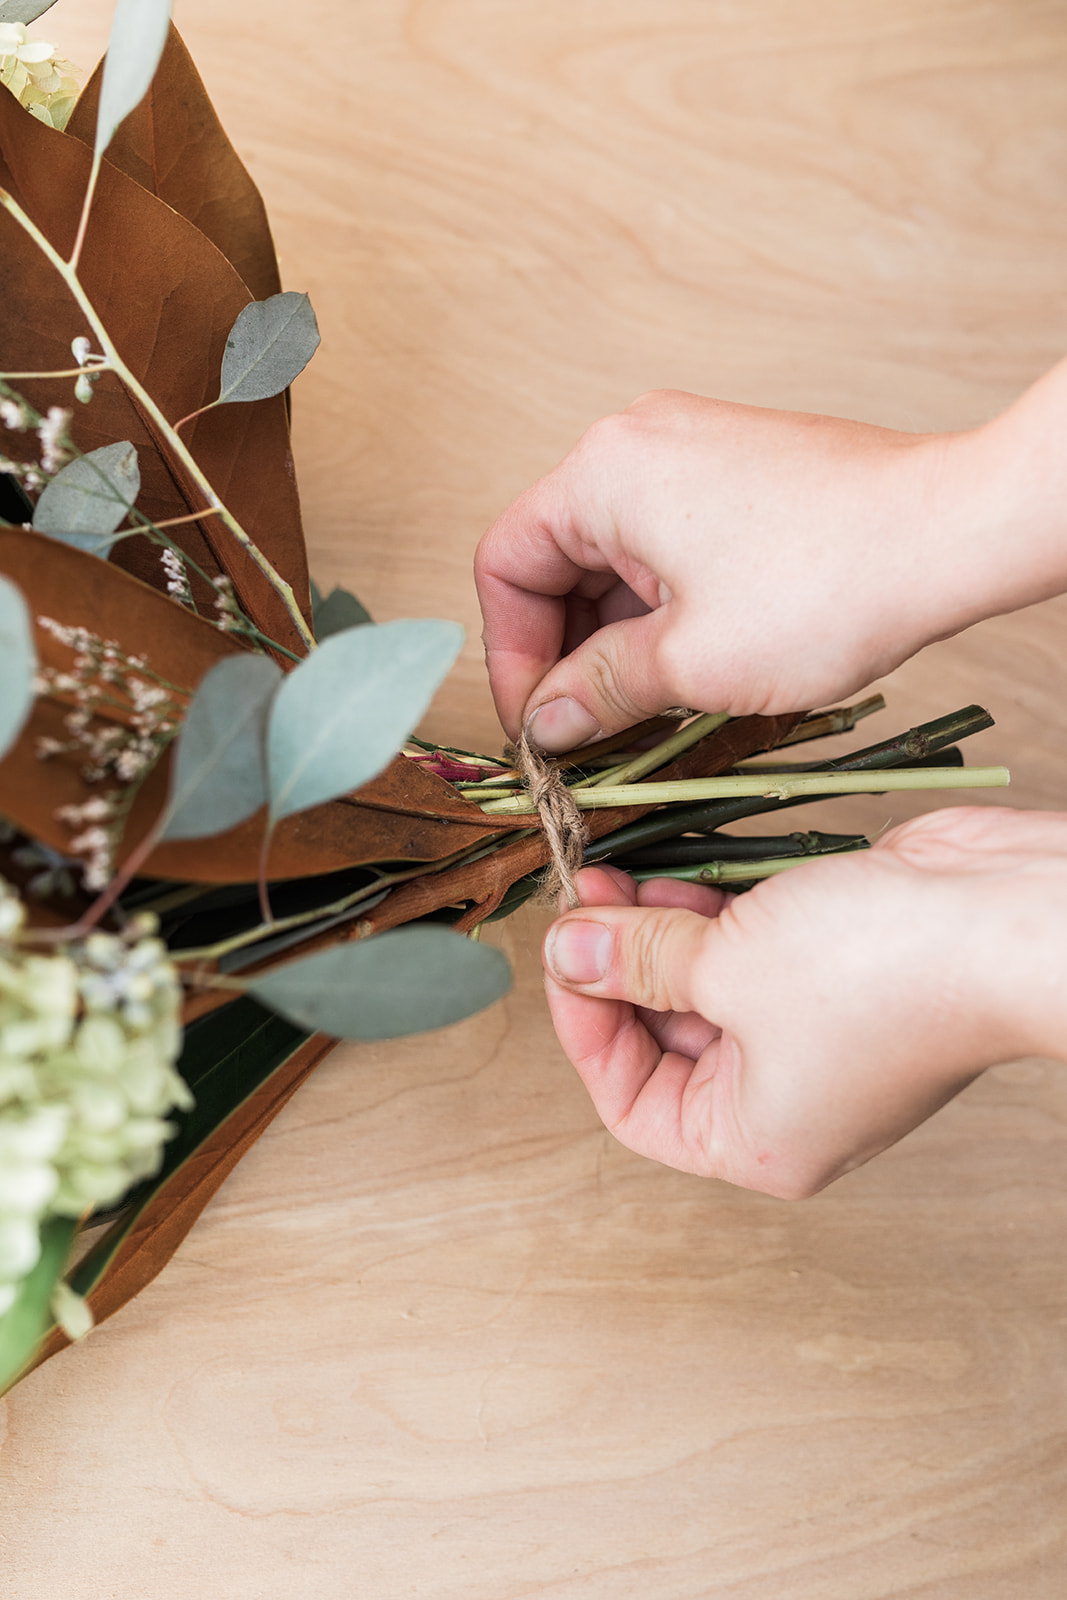
Step Three
Hang upside down in a dry, cool and dark place.
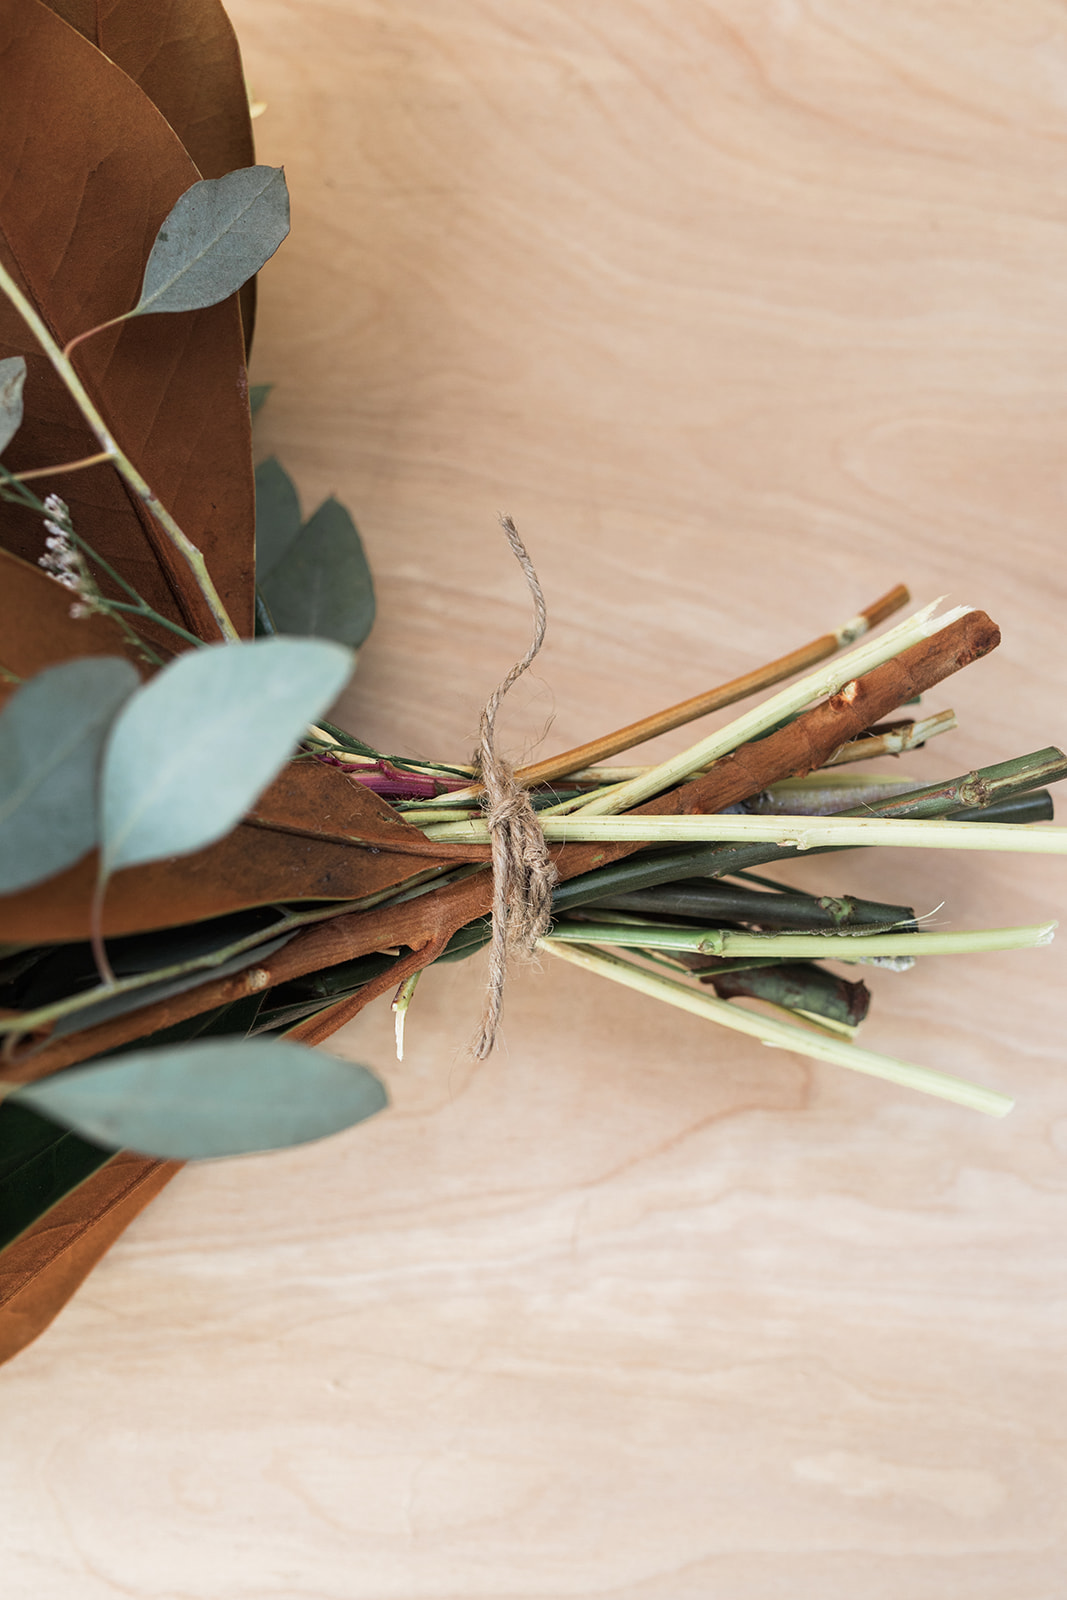
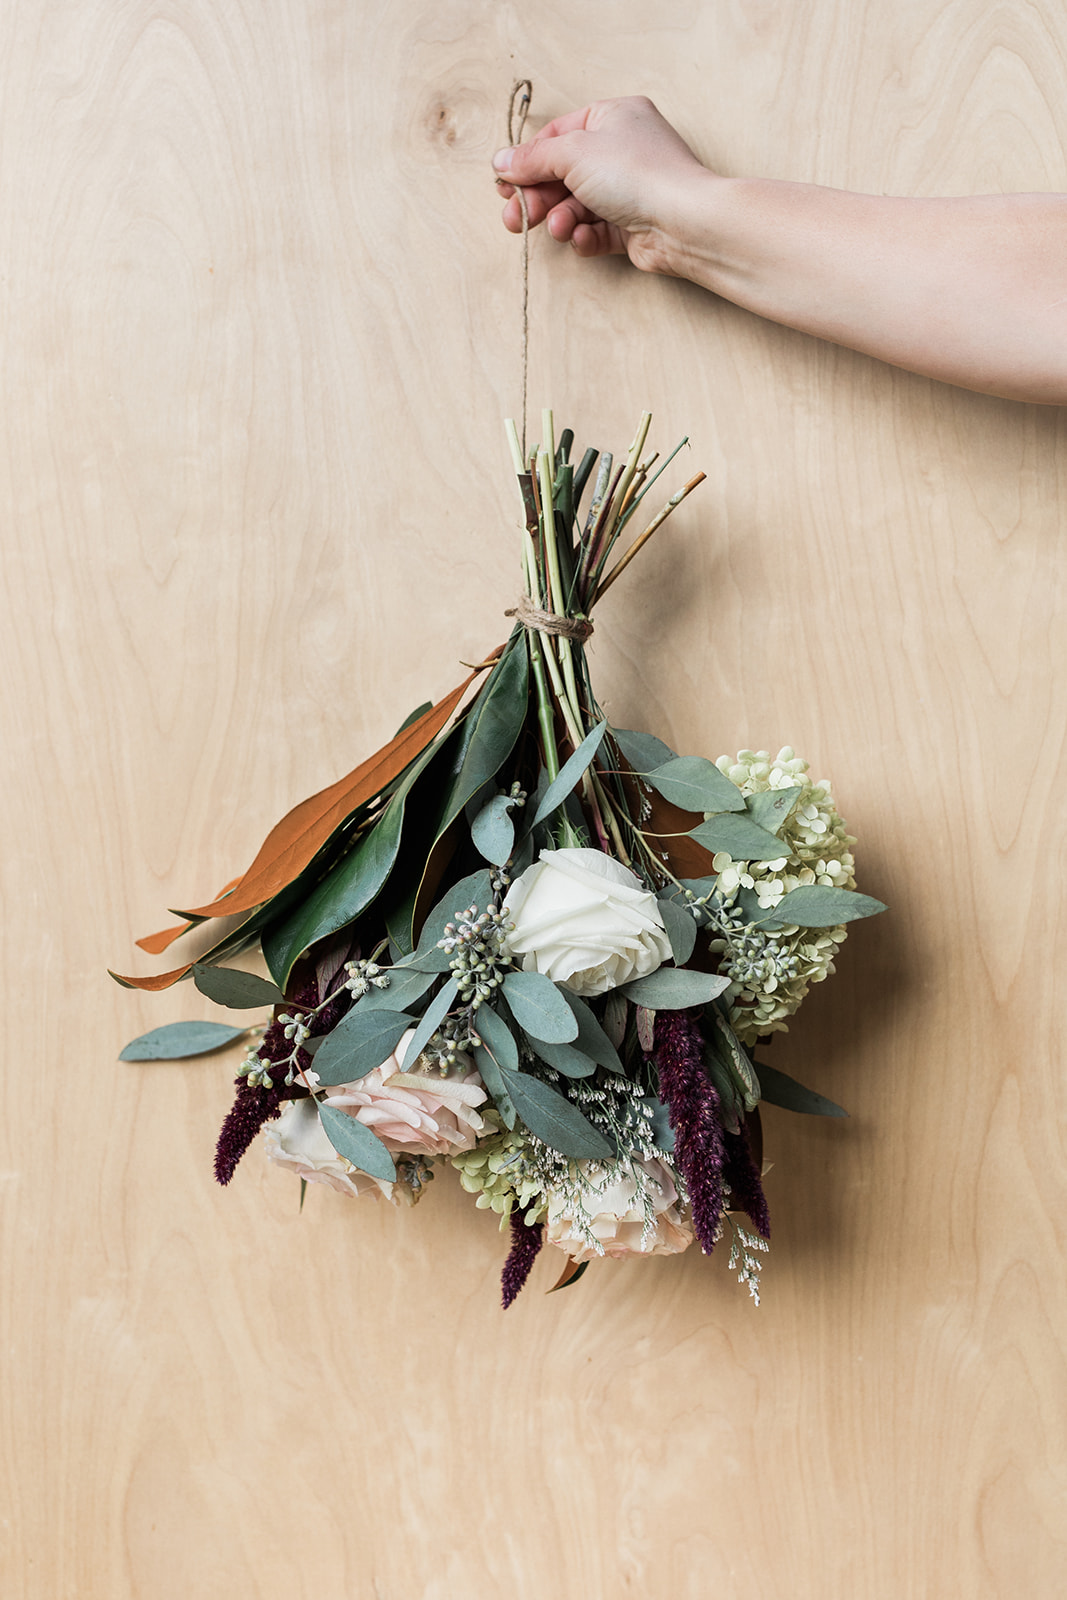
Step Four
Allow to dry fully for at least 3 weeks.
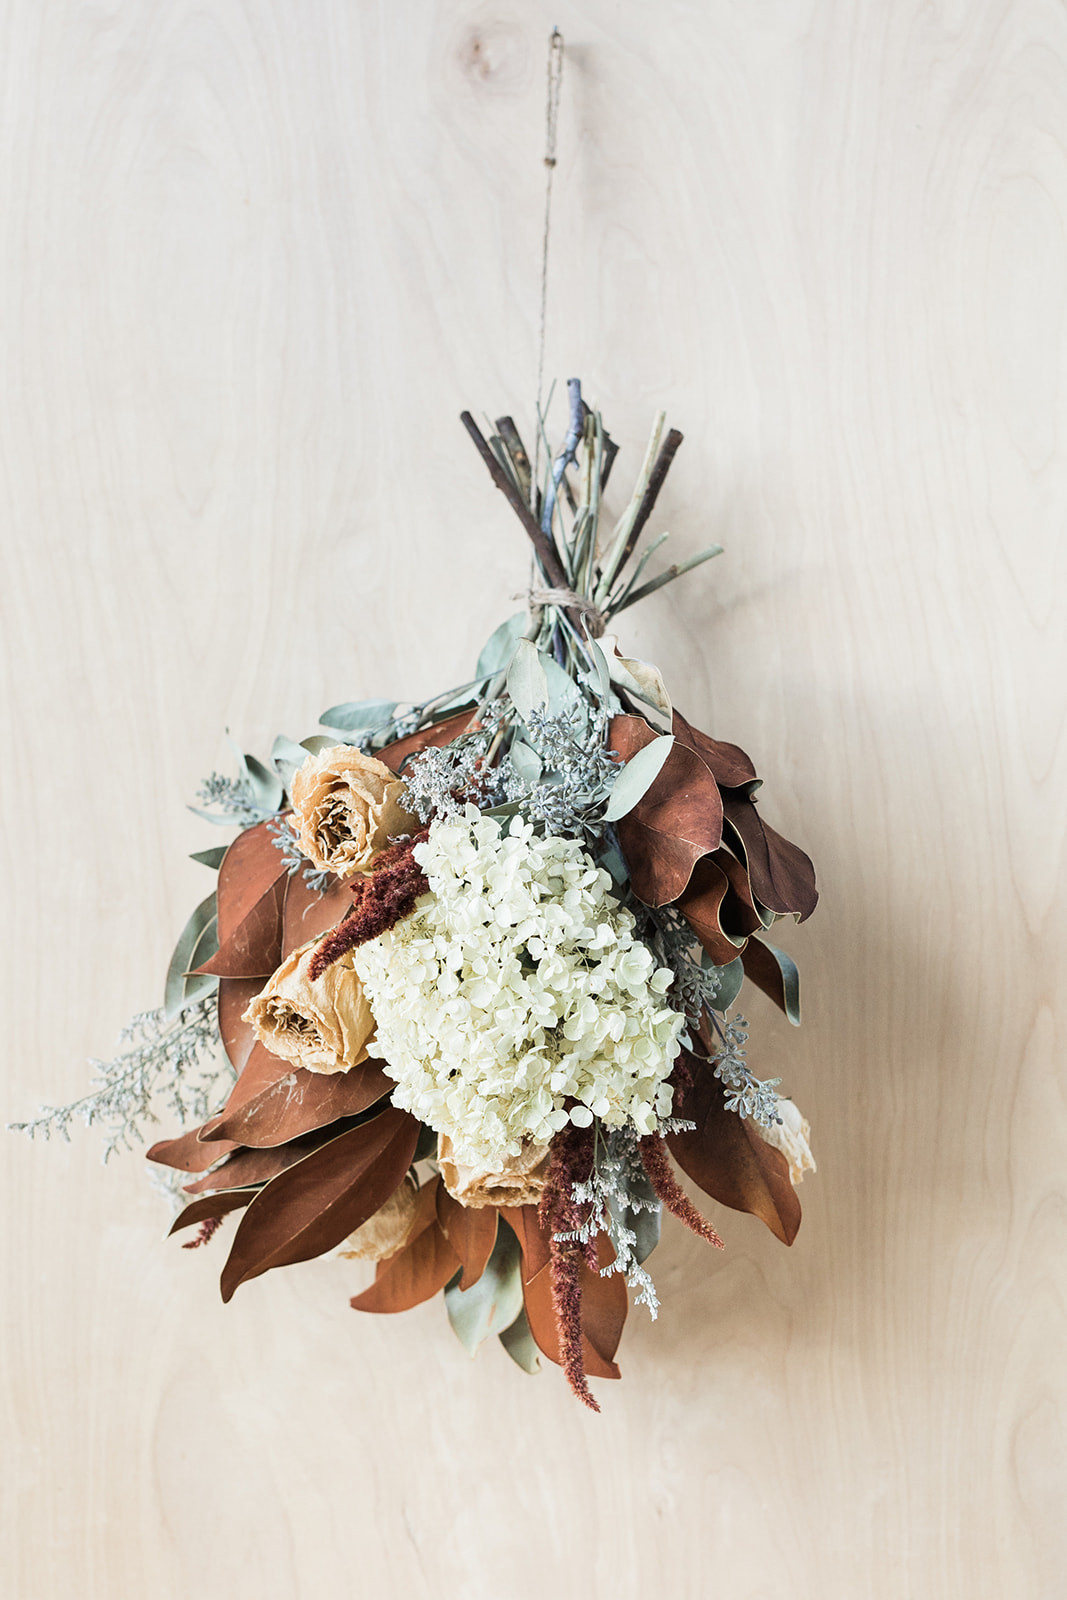
An Alternative Method
Another great way to dry your bouquet is to take it apart and separate the flowers and stems into smaller bunches of the same kind/variety before you hang them upside down. This method is especially useful if you’re wanting to use your bouquet to create a piece of art, or use different bouquet elements for different keepsake projects (rather than keeping your bouquet whole)! It also really takes care of the individual blooms and their appearance.
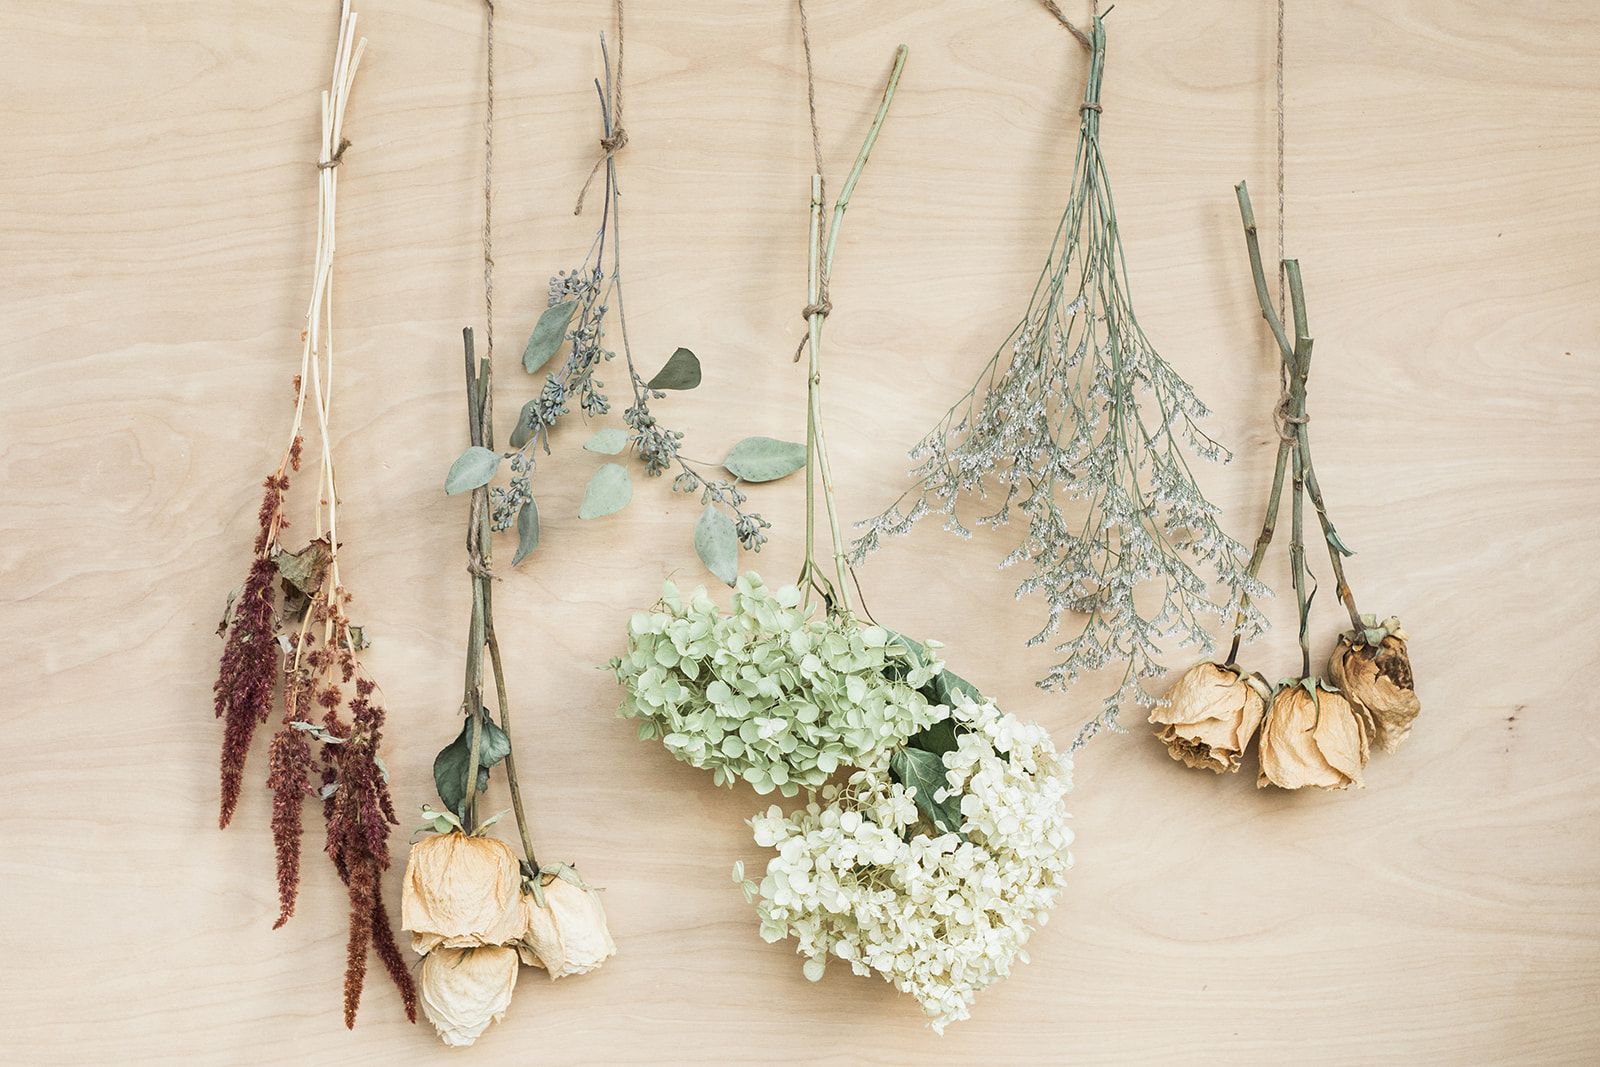
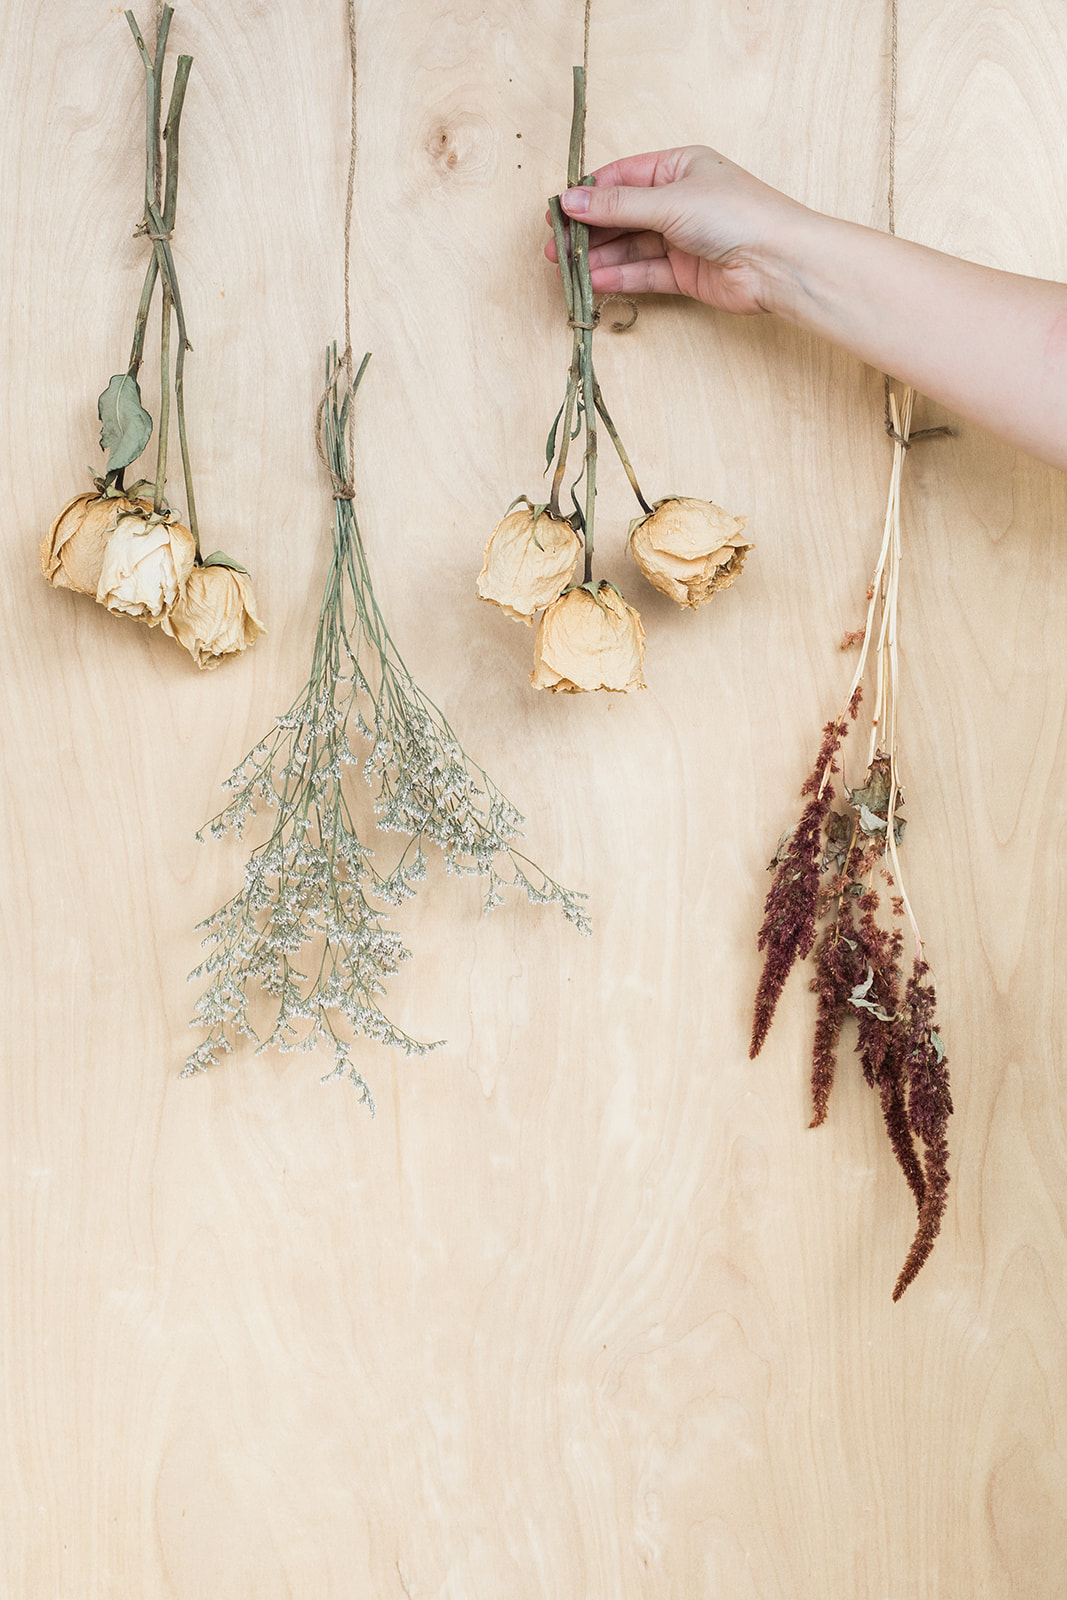
Pro tip: Stagger the stems when you tie and hang them so they are not sitting too closely together, or “squishing each other”. This will ensure they dry nicely and keep their shape!
For larger headed blooms like Hydrangea, dahlia, peonies and sunflower, you could use chicken wire grid on top of a clean dry vase and allow the heads of the blooms to sit flush on the wire. Allow them to dry for at least 3 weeks as well.

Here Are Some Drying Tips From Laurie of Hen & Chicks!
1. Try to think about how you’d like to keep your bouquet afterwards (whole bouquet or using the petals in a candle, etc). Telling your florist about your intentions to dry your bouquet as a keepsake will allow them to help guide you on flower choice, or ensure they choose flowers and foliage that will dry well.
2. Make sure you keep your flowers hydrated during and after the wedding. It is important that they are properly hydrated before you start the drying process so they can be preserved at their best!
3. You don’t want to wait too long to begin drying your bouquet! The day after your wedding is actually the most ideal time, as fully bloomed flowers will likely fall apart during the drying process.
photography by Sarah Beau Photo
Pin For Later
comments