


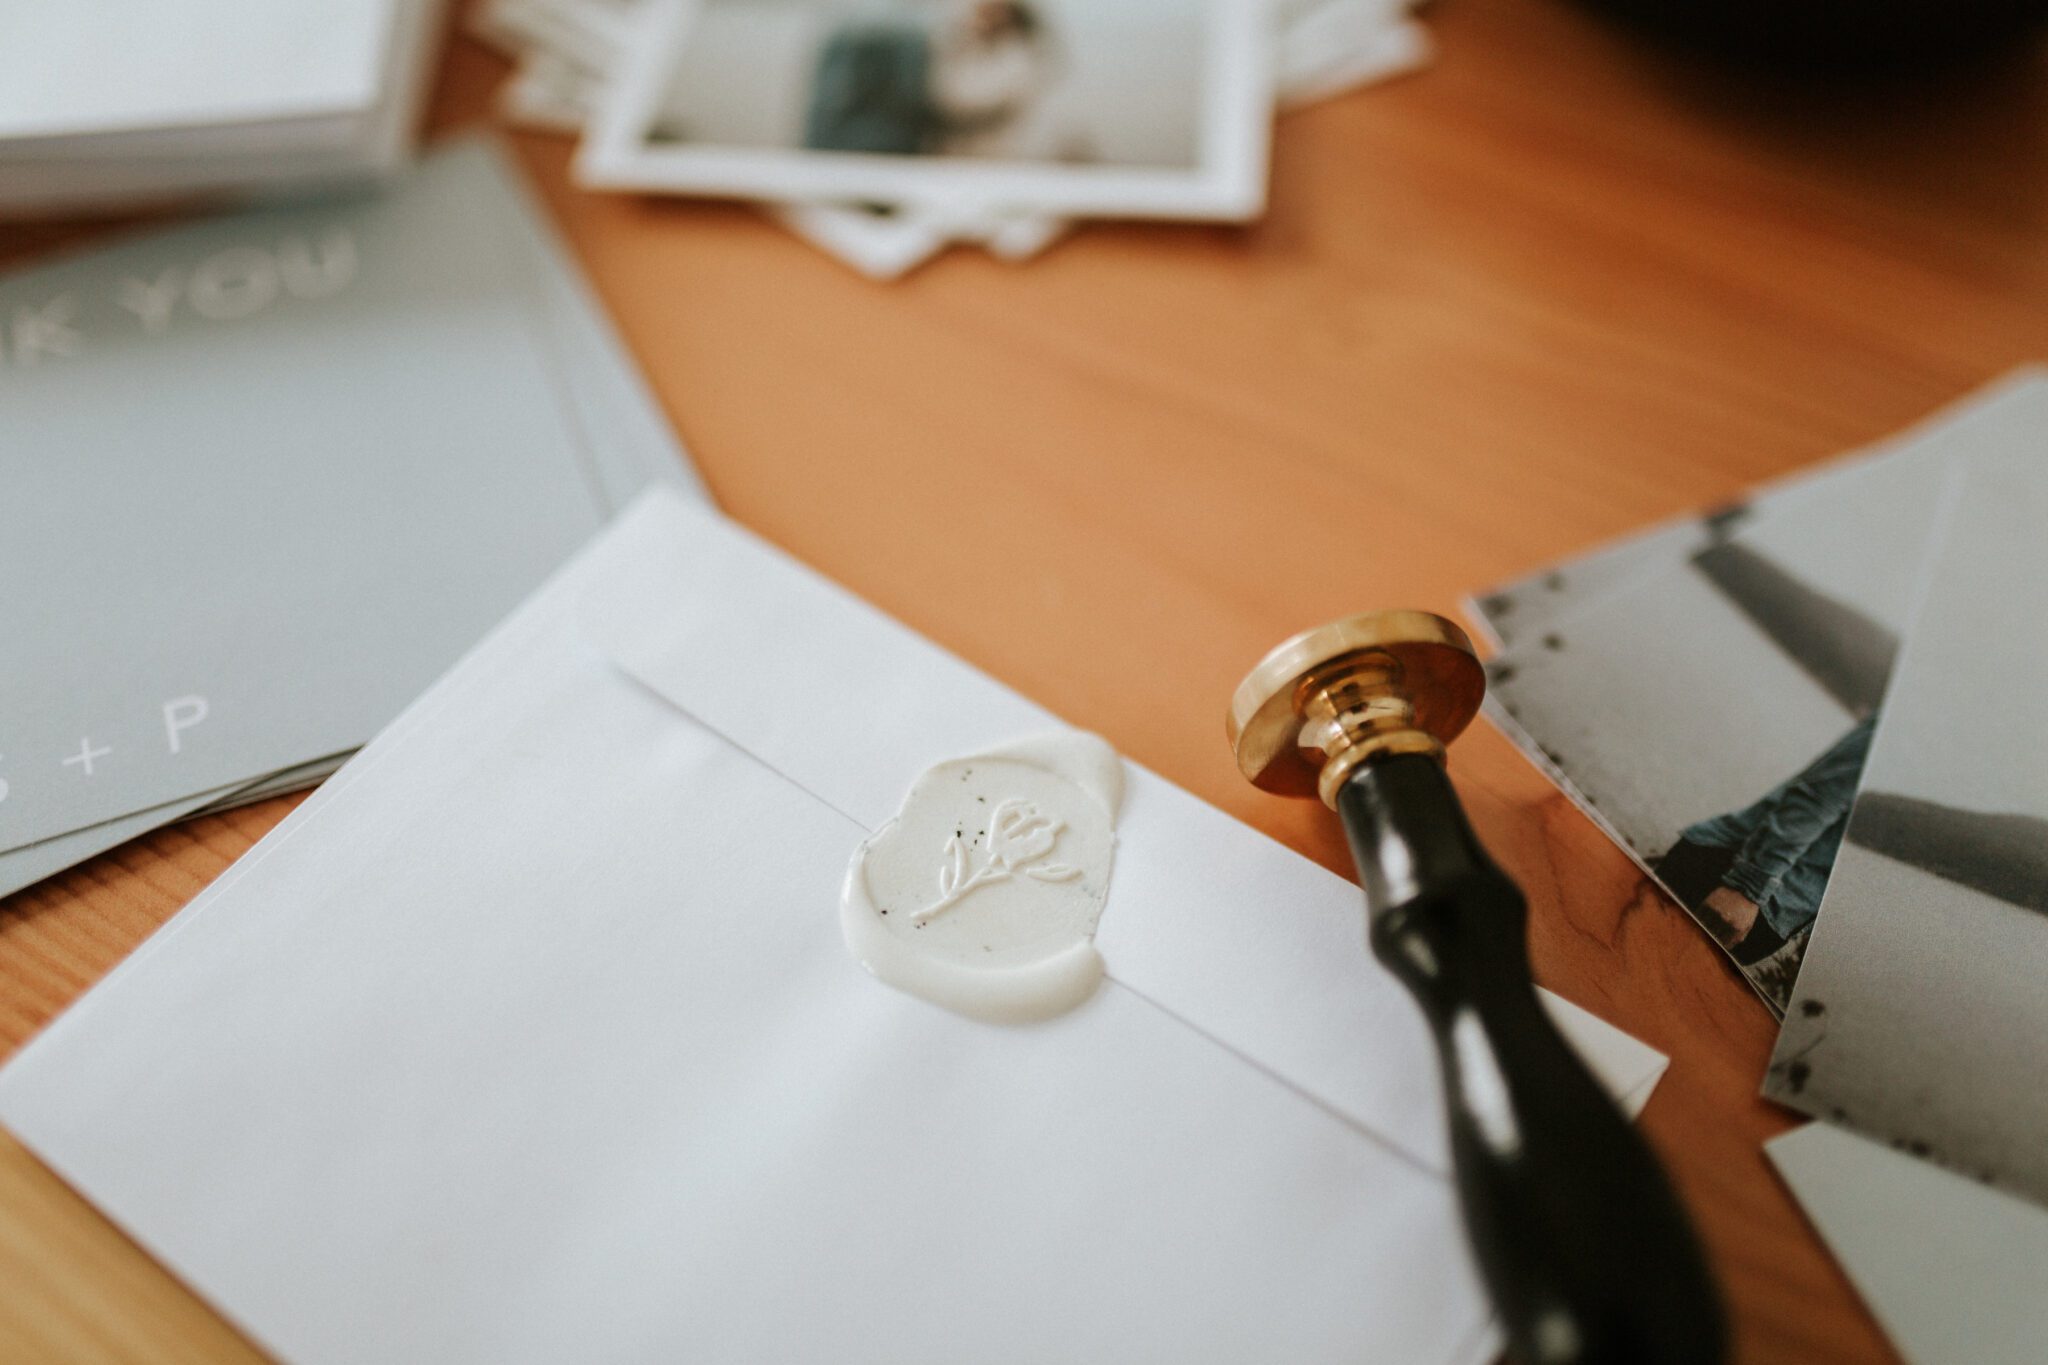
Looking to add an extra touch to your wedding invitations or stationery? Wax seals are the perfect way to make your details feel extra special and personal.
Whether you’re a DIY bride or a creative vendor, making wax seals is surprisingly easy and so much fun! Follow this step-by-step guide on how to make the perfect wax seal, and you’ll be creating your own gorgeous wax seals in no time!
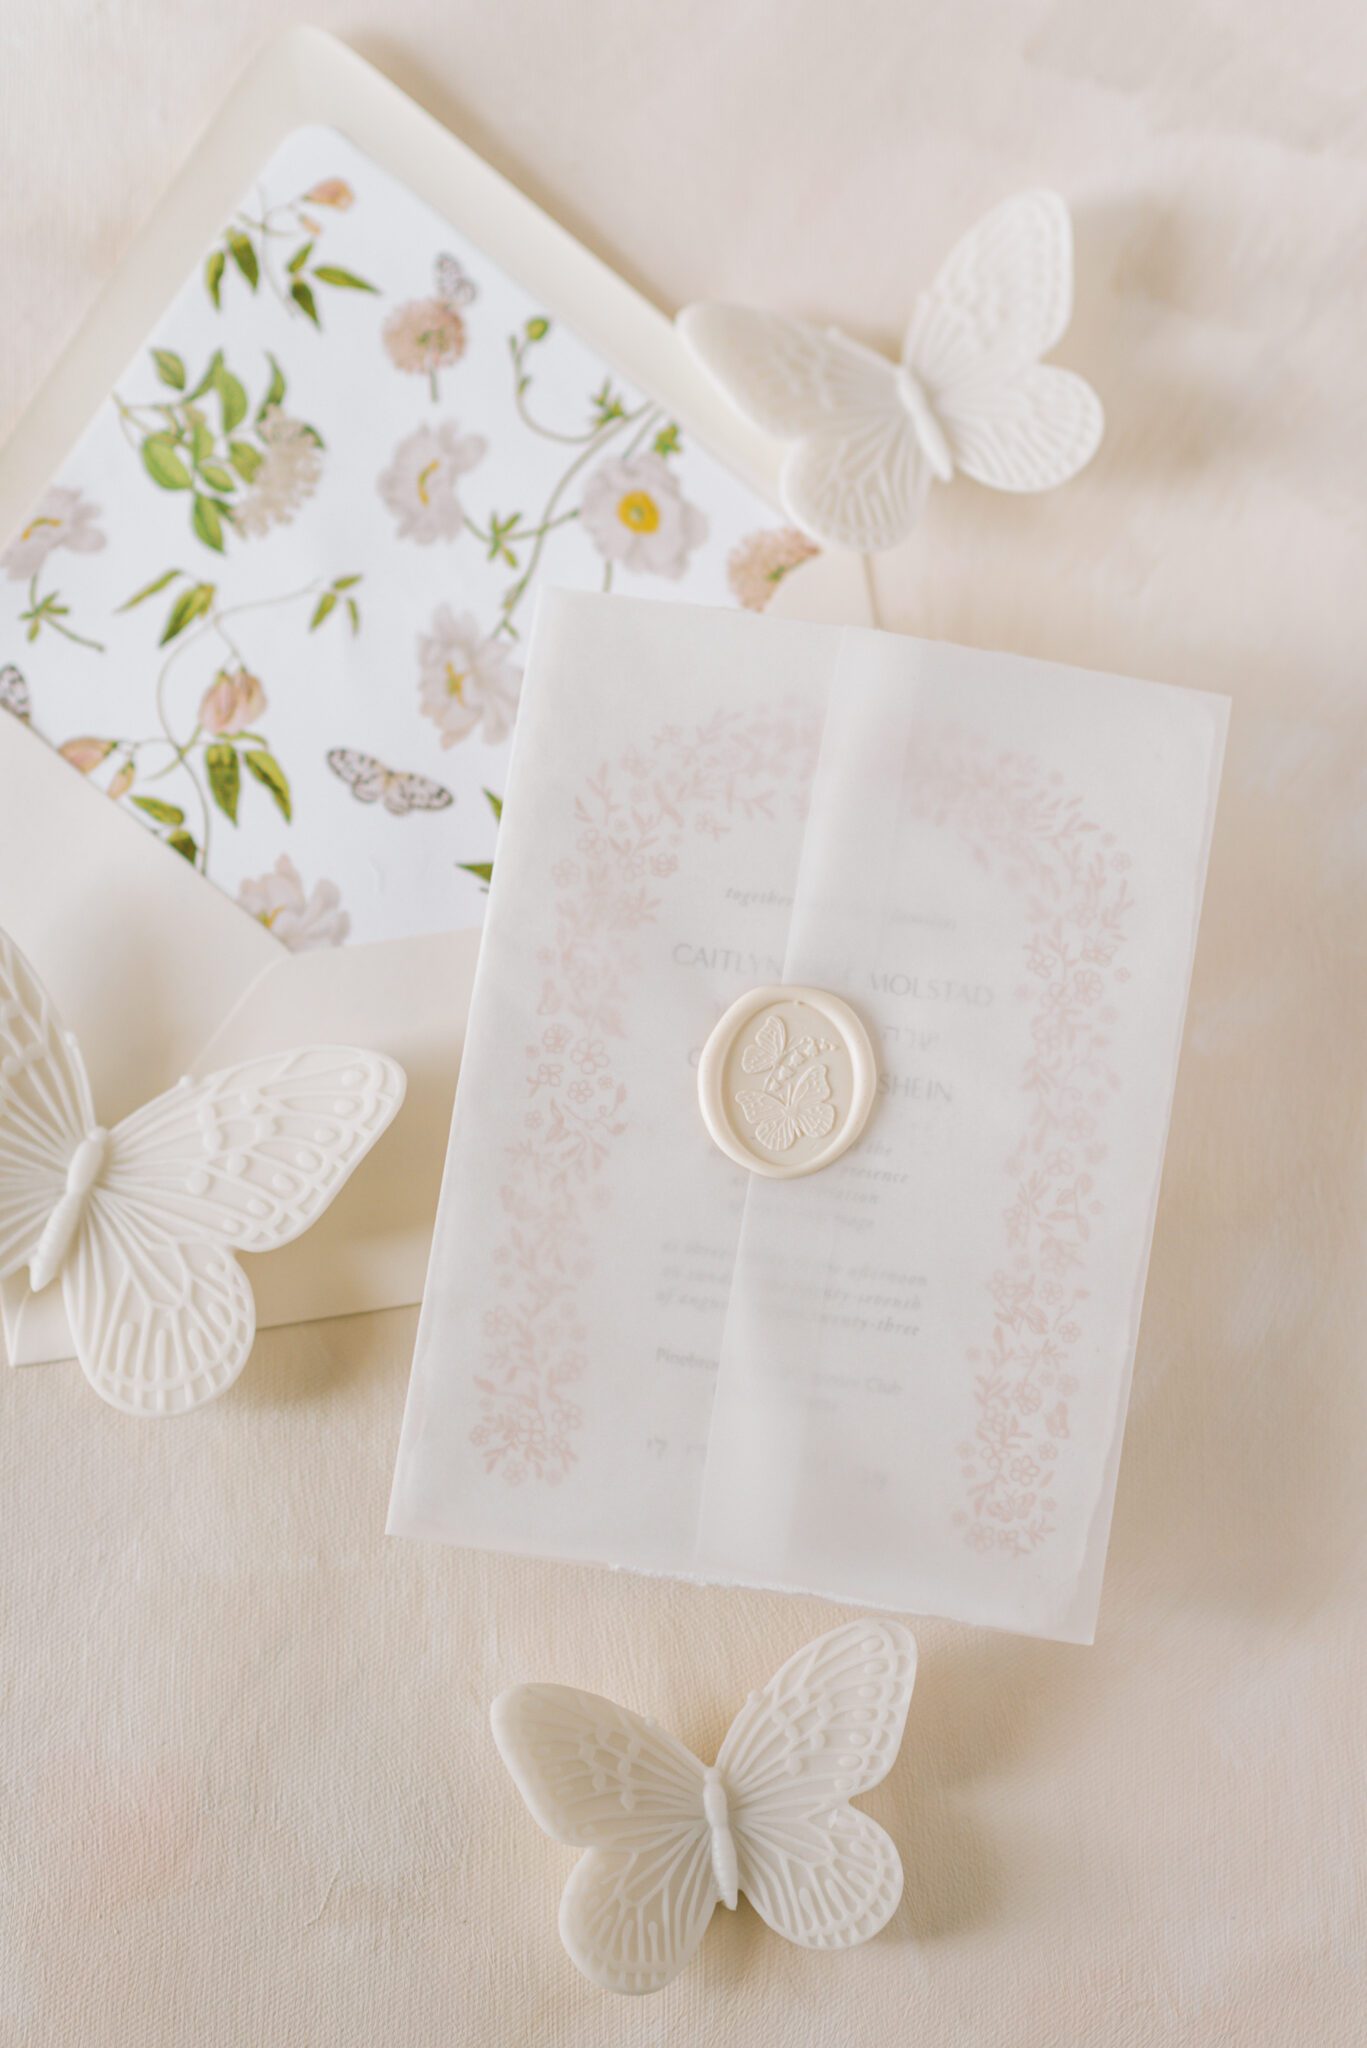
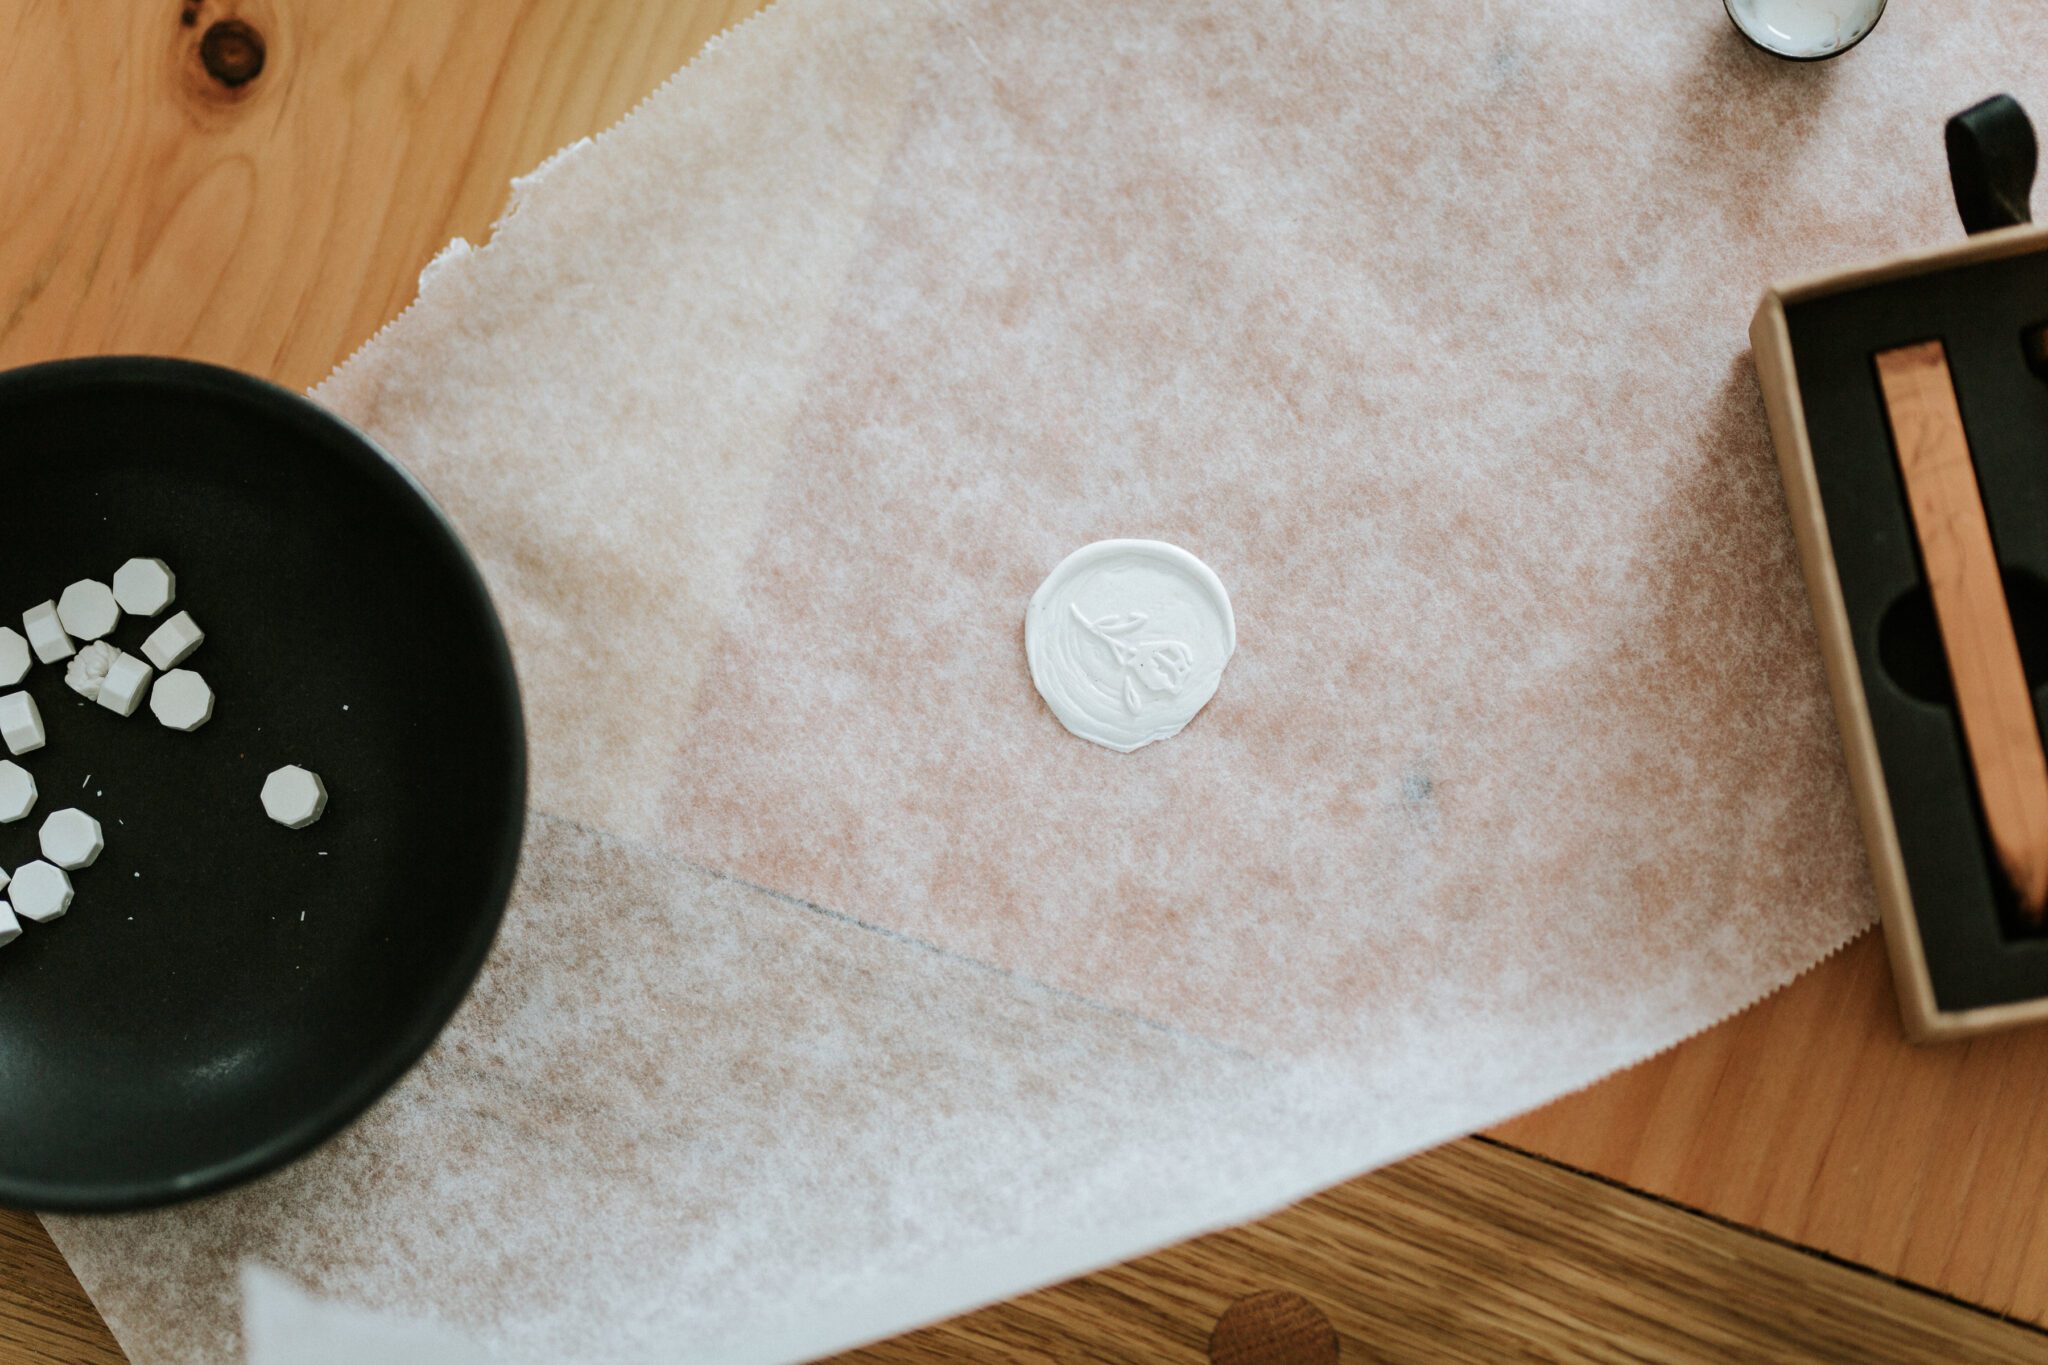
Photography: Melanie Gauer, Styling: Rebekah Brontë, Stationery: PaperOcelot Studios
here’s what you’ll need
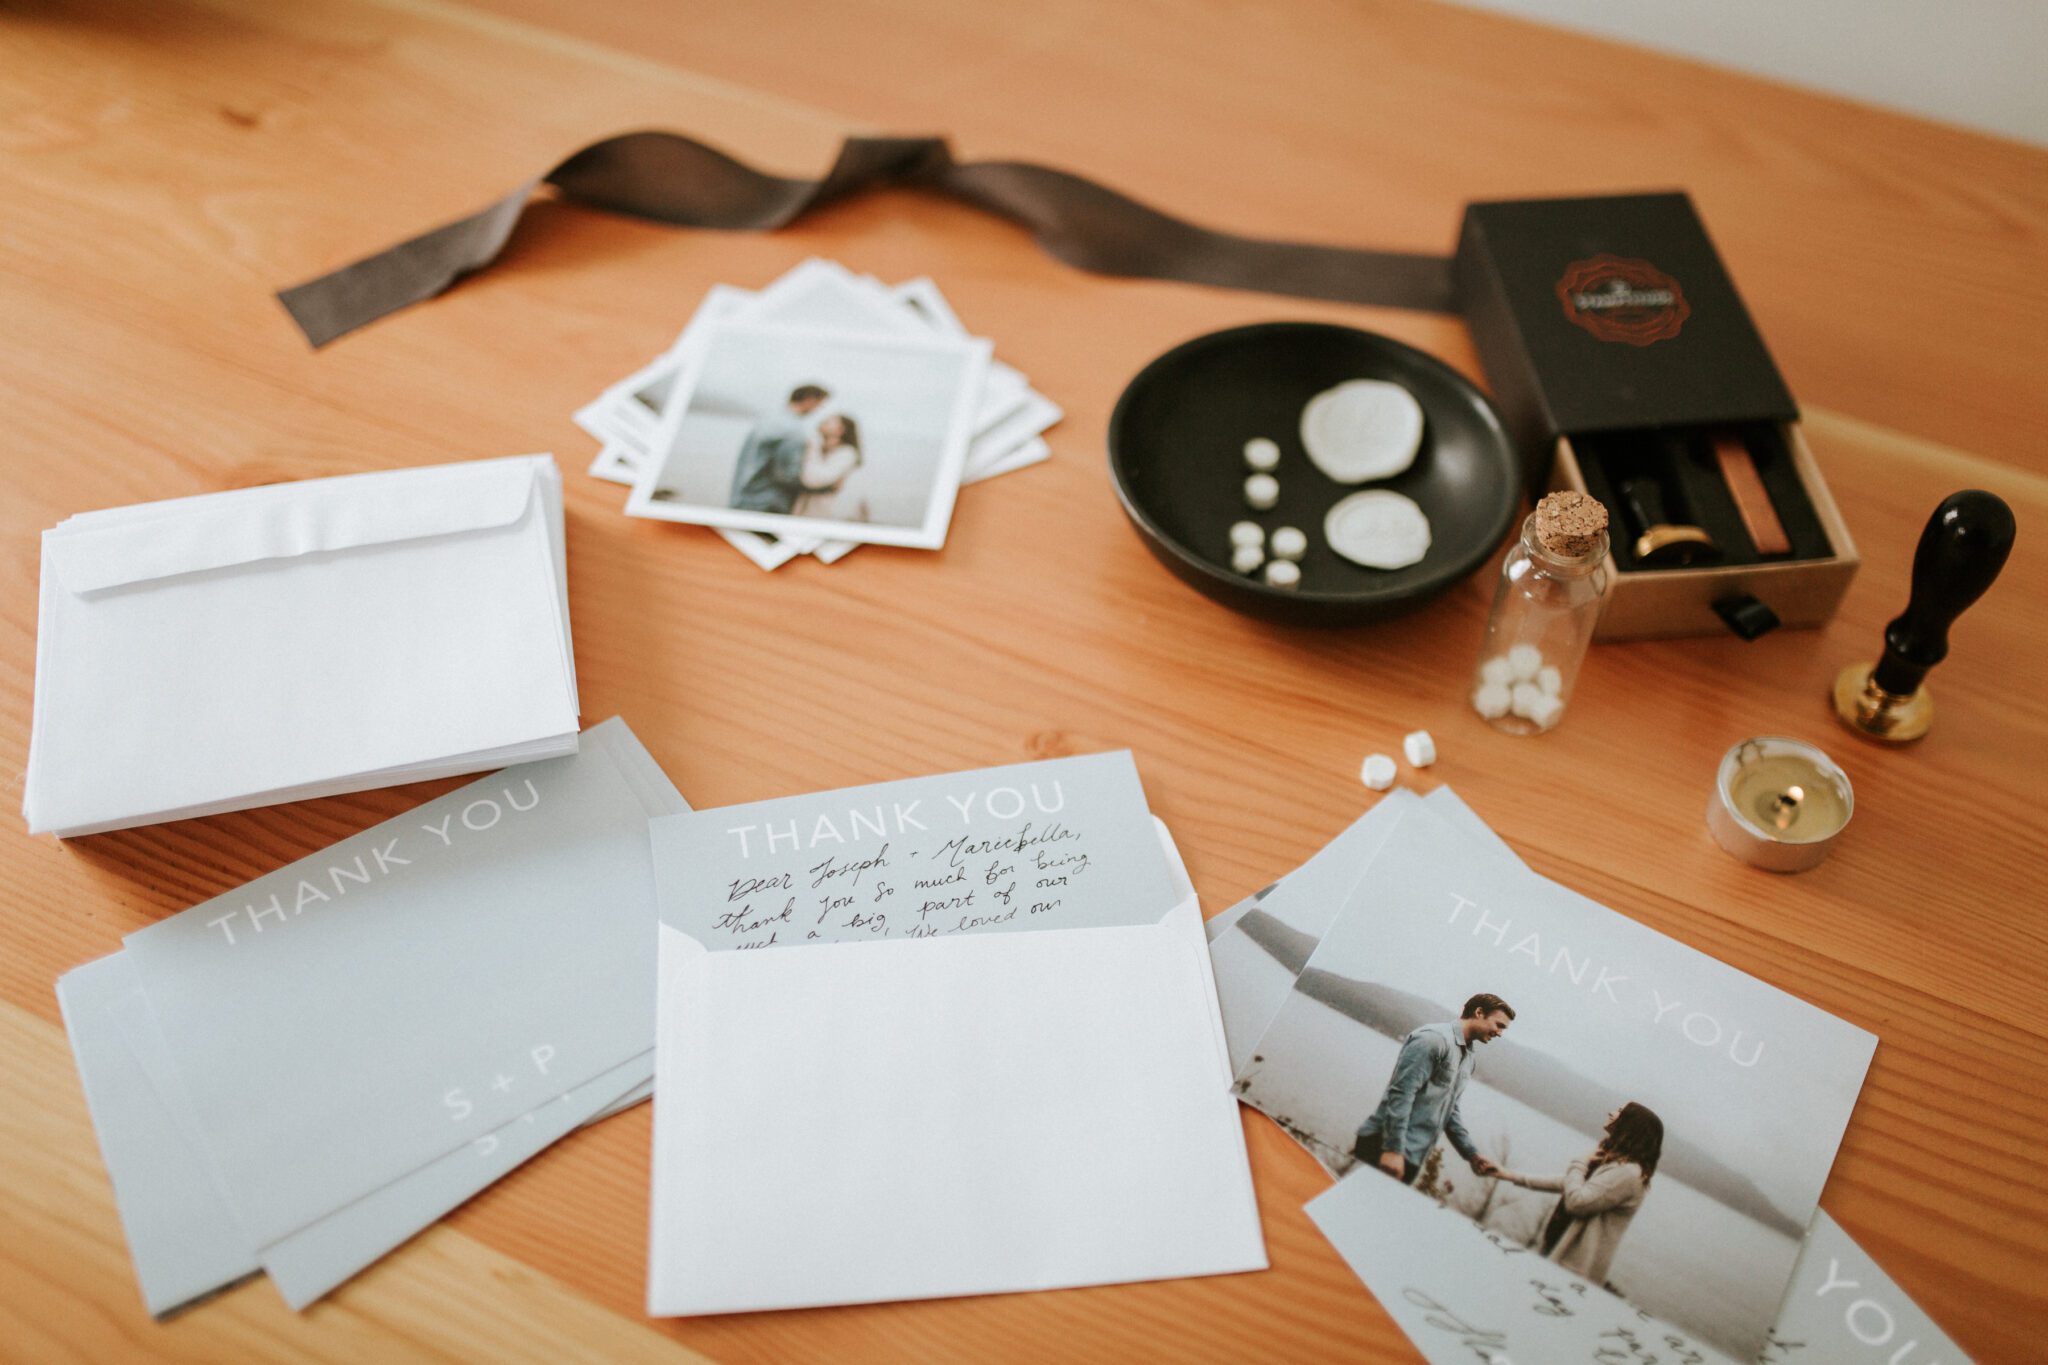
The Supplies List
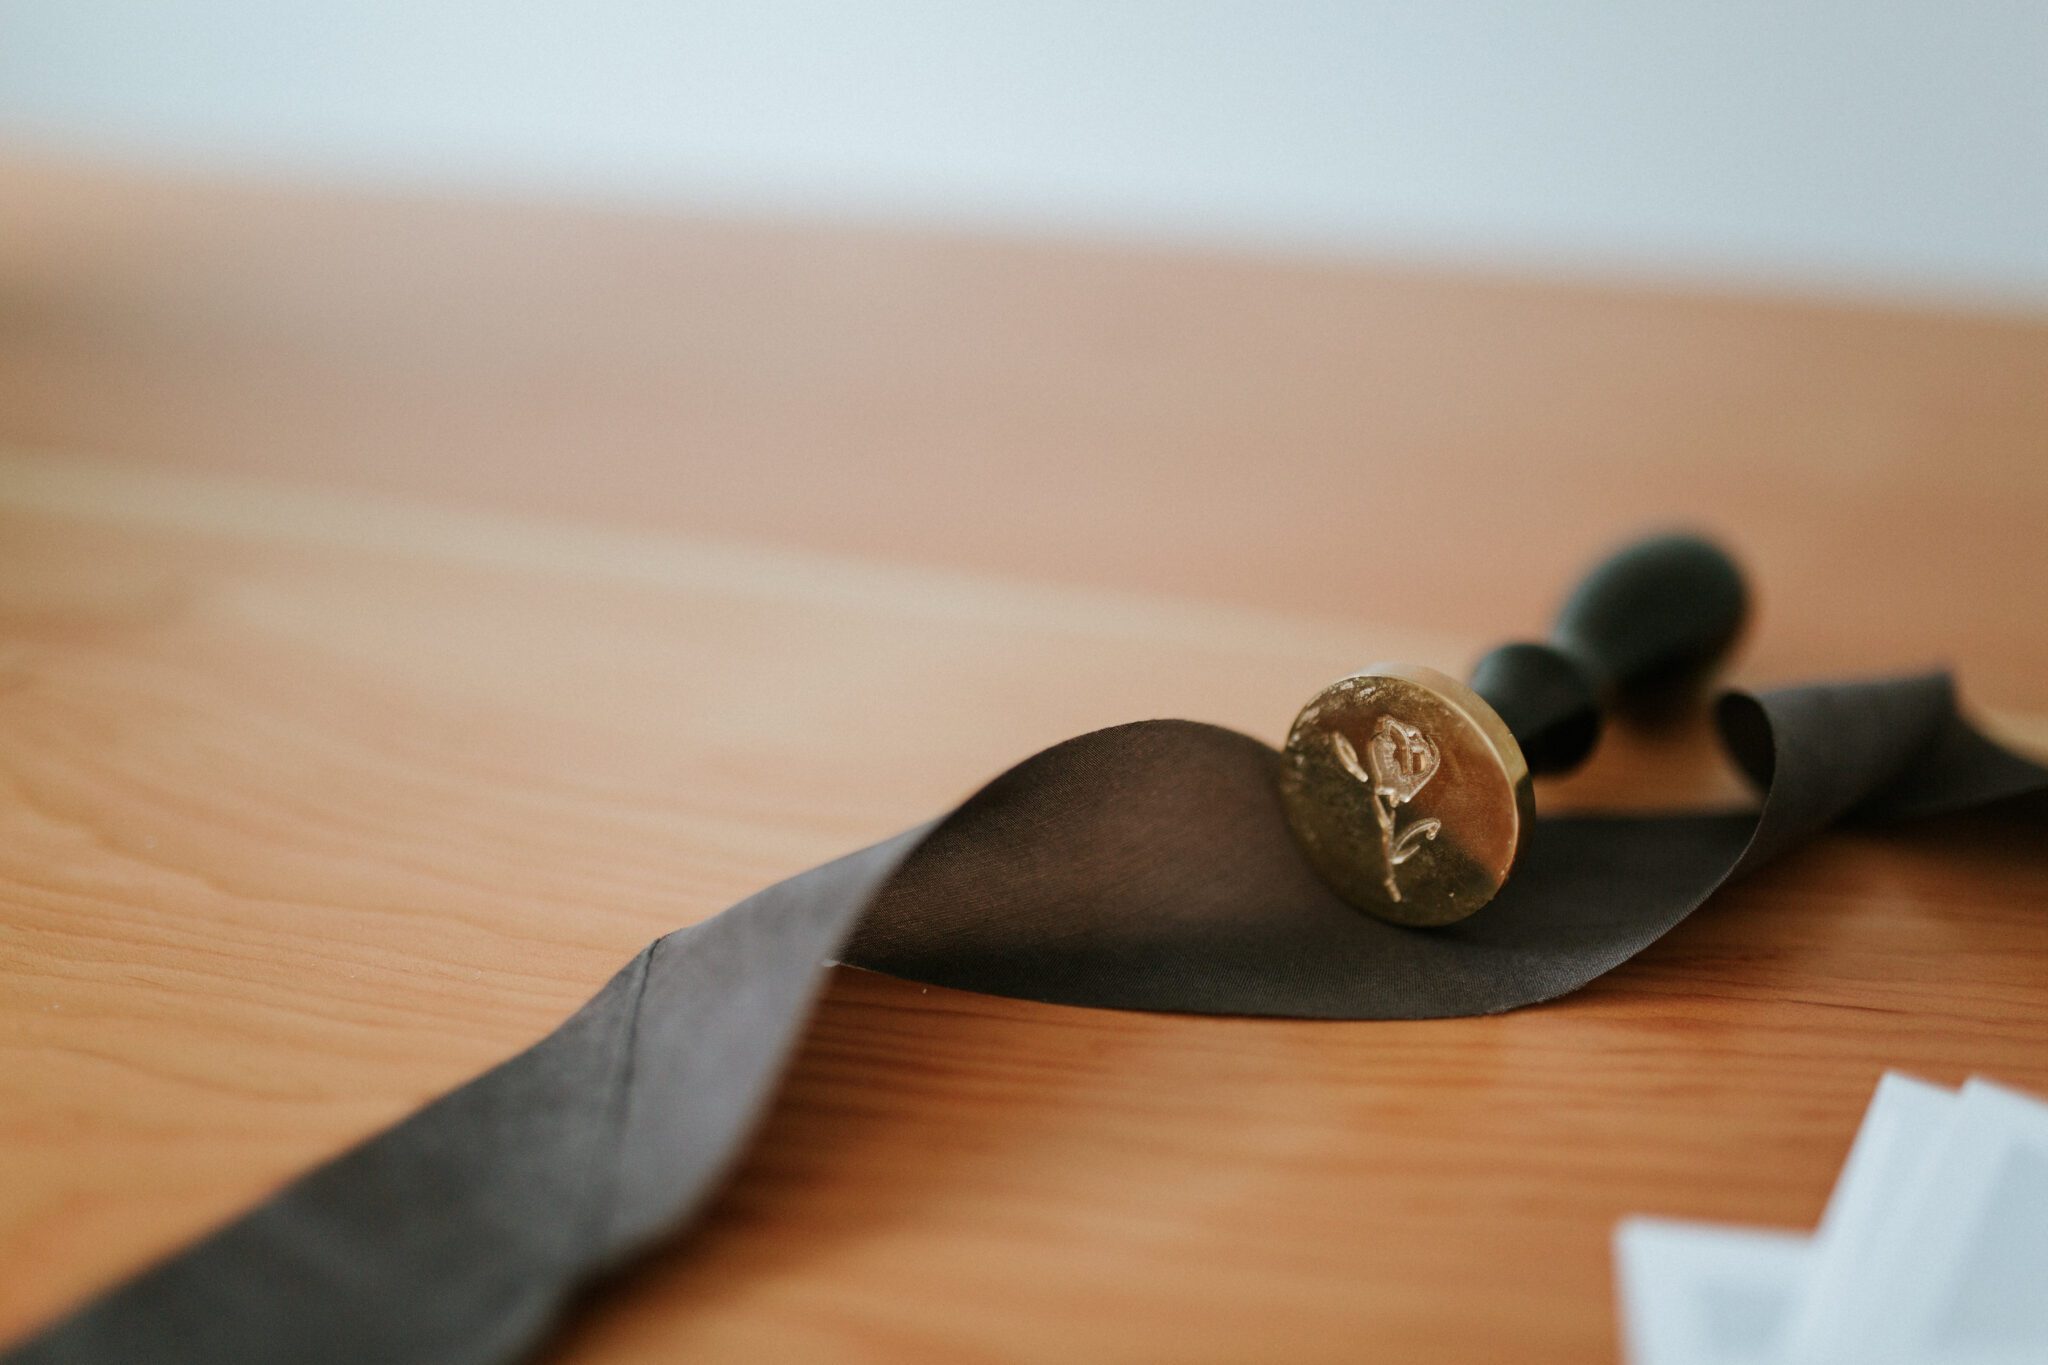
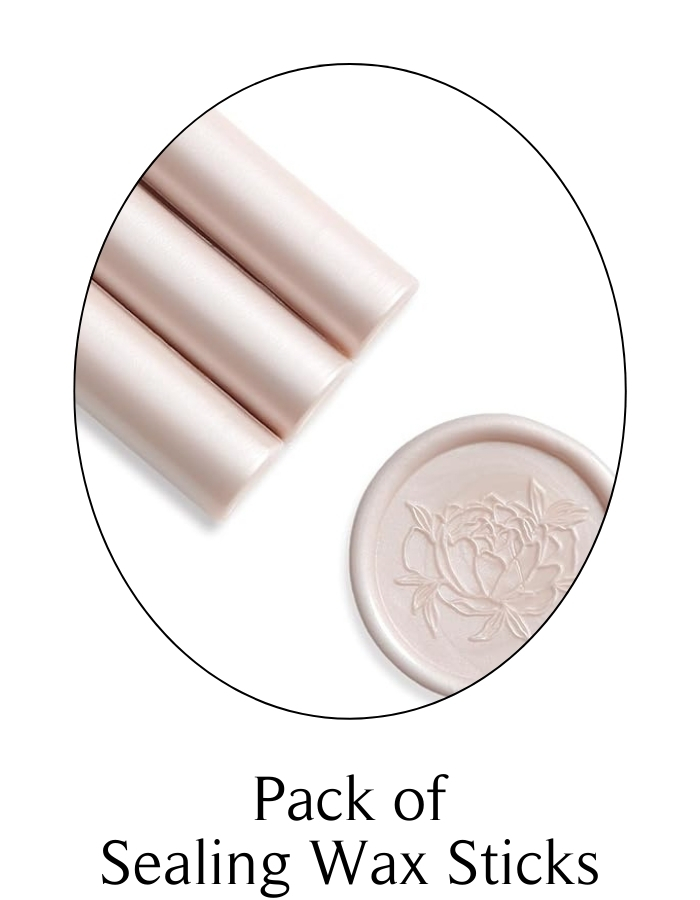
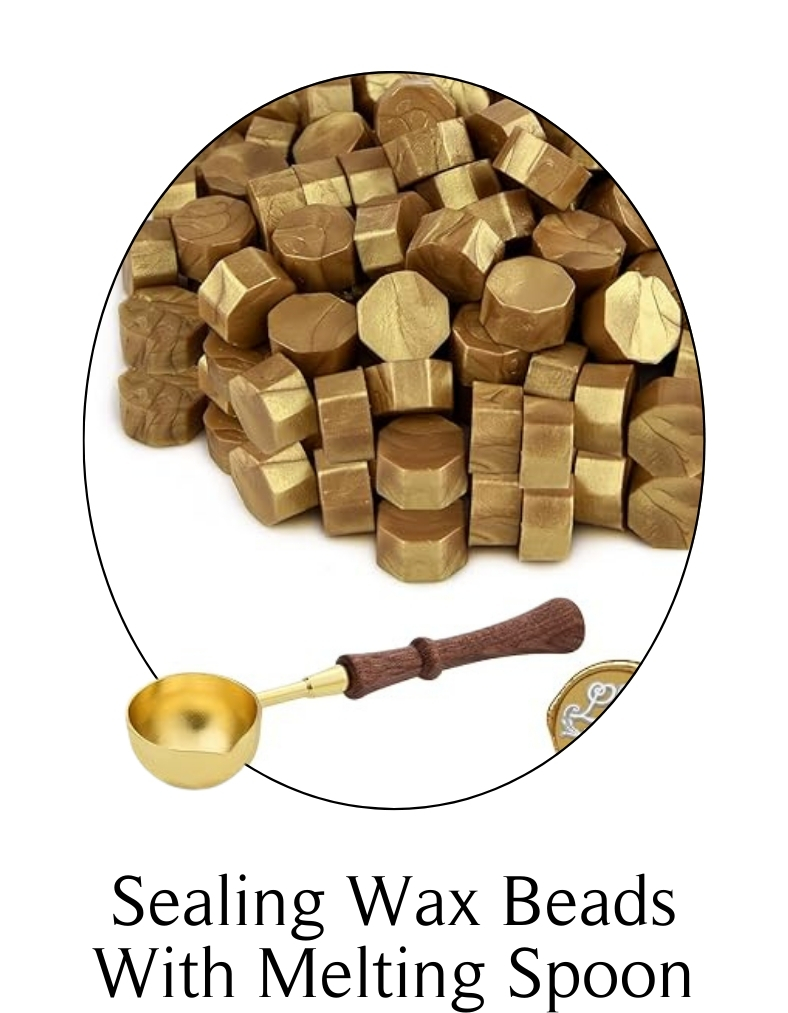
- Wax Sticks or Wax Beads: Choose from a variety of colors and finishes like matte, metallic, or pearlized.
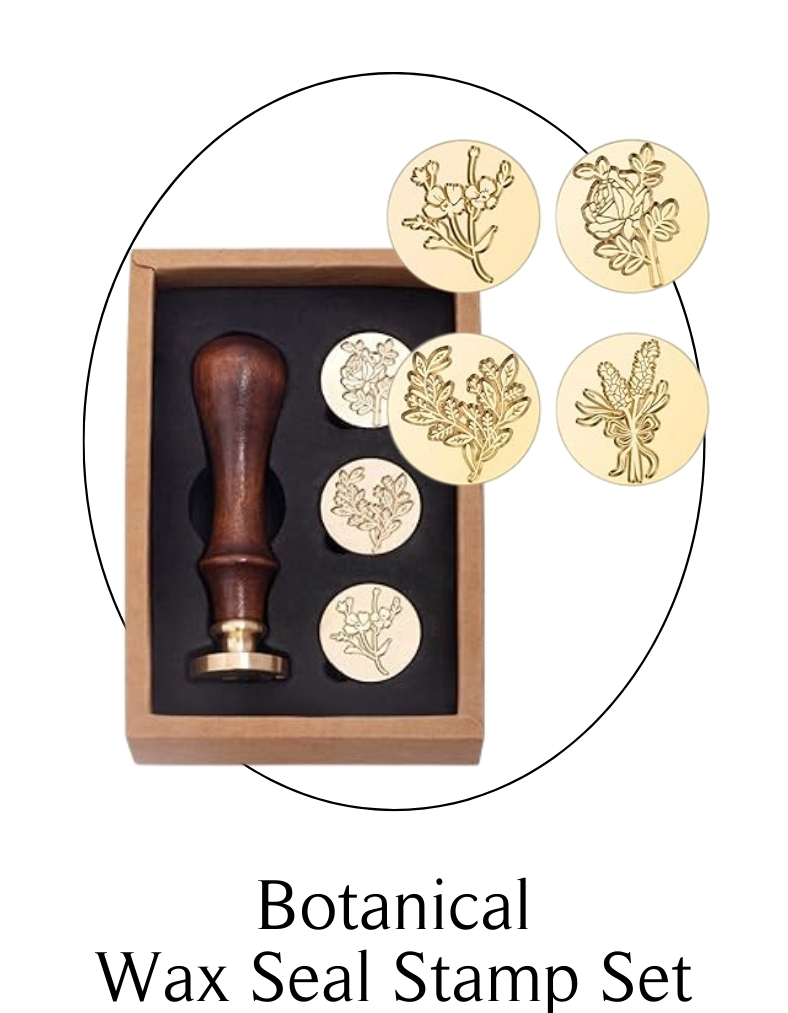
- Wax Seal Stamp: Personalize with your monogram, a floral motif, or any design that matches your wedding theme.
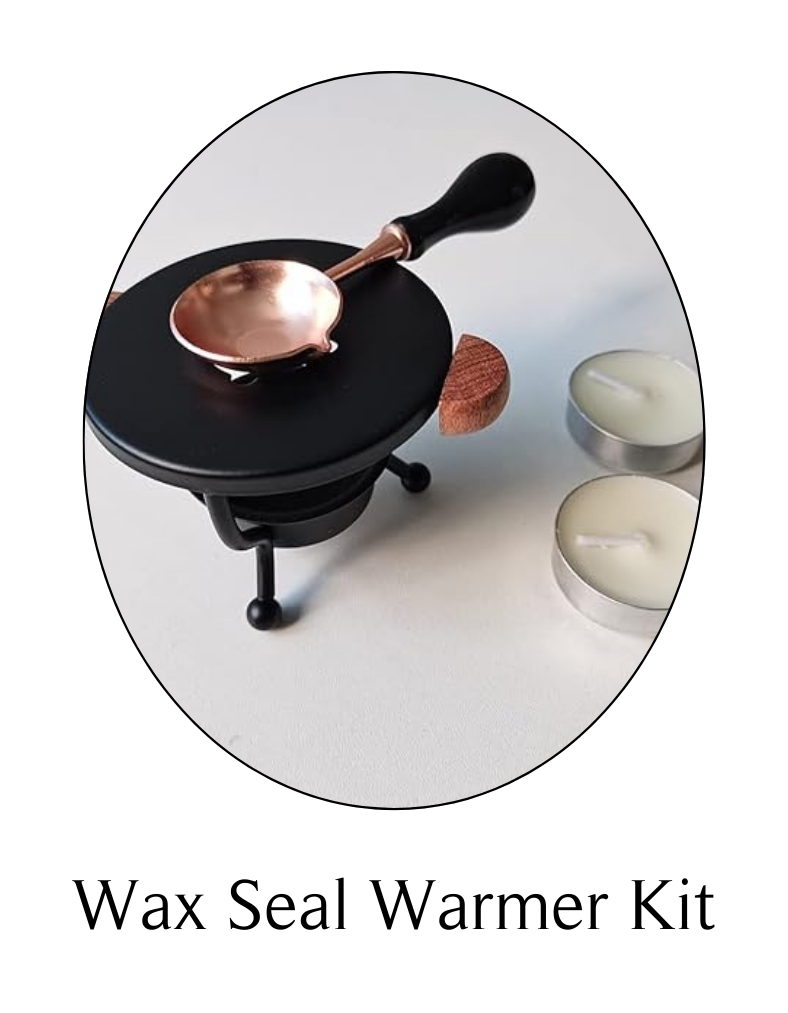
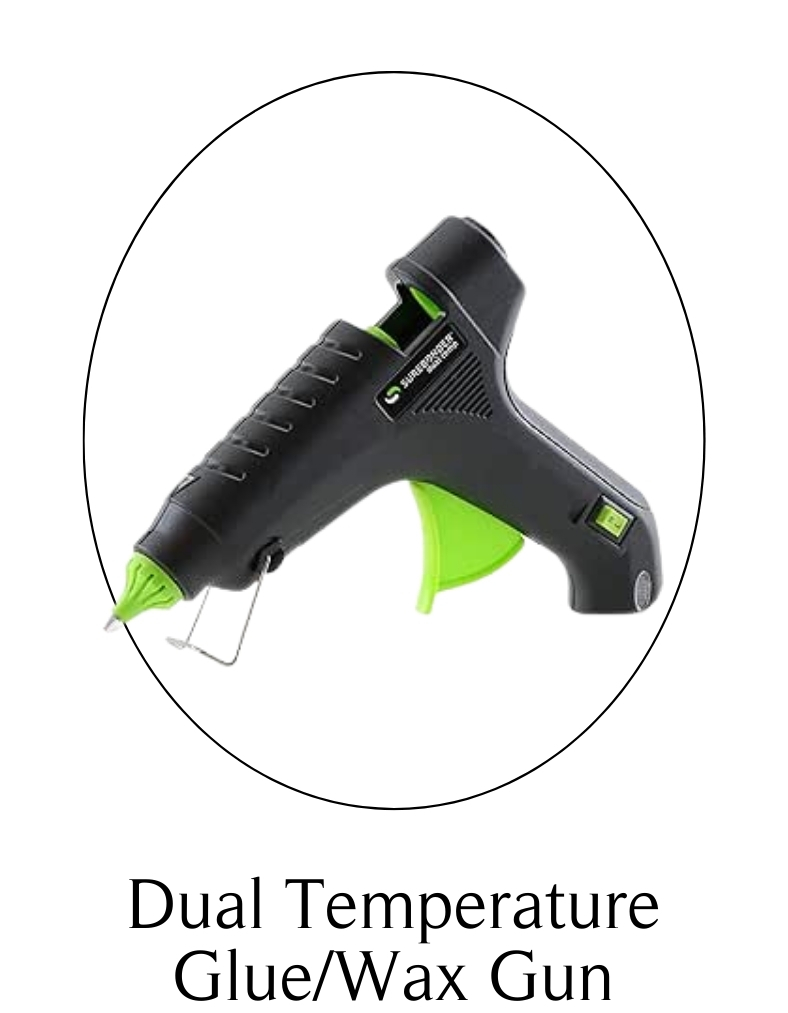
- Heat Source: A wax melting spoon and tealight candle, or a low-temperature glue gun for wax sticks.
- Non-stick Surface: Parchment paper, silicone mat, or a chilled marble slab.
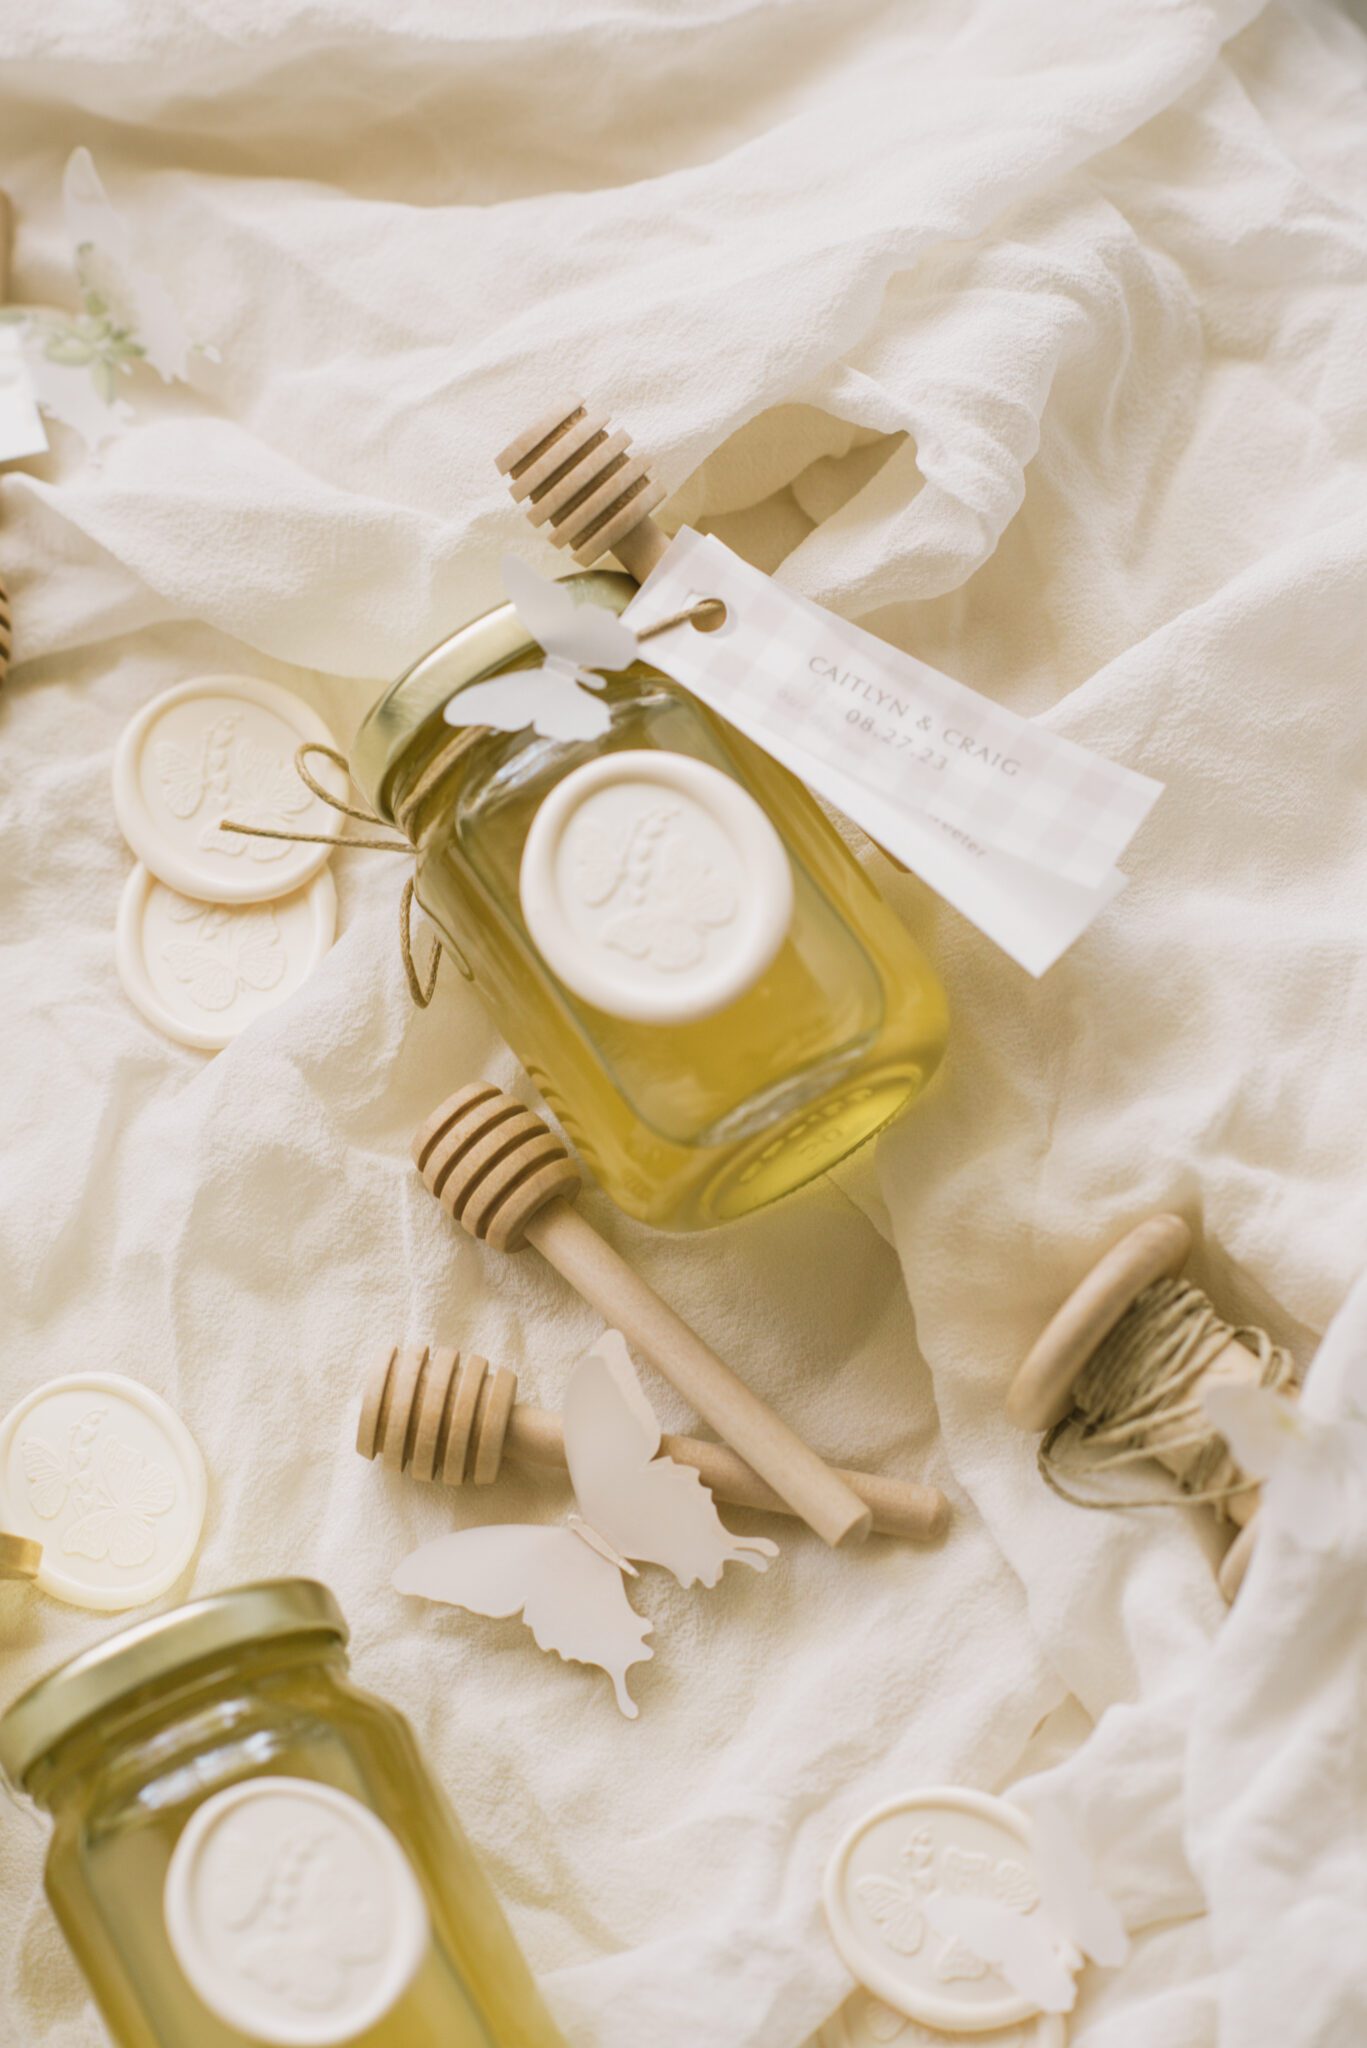
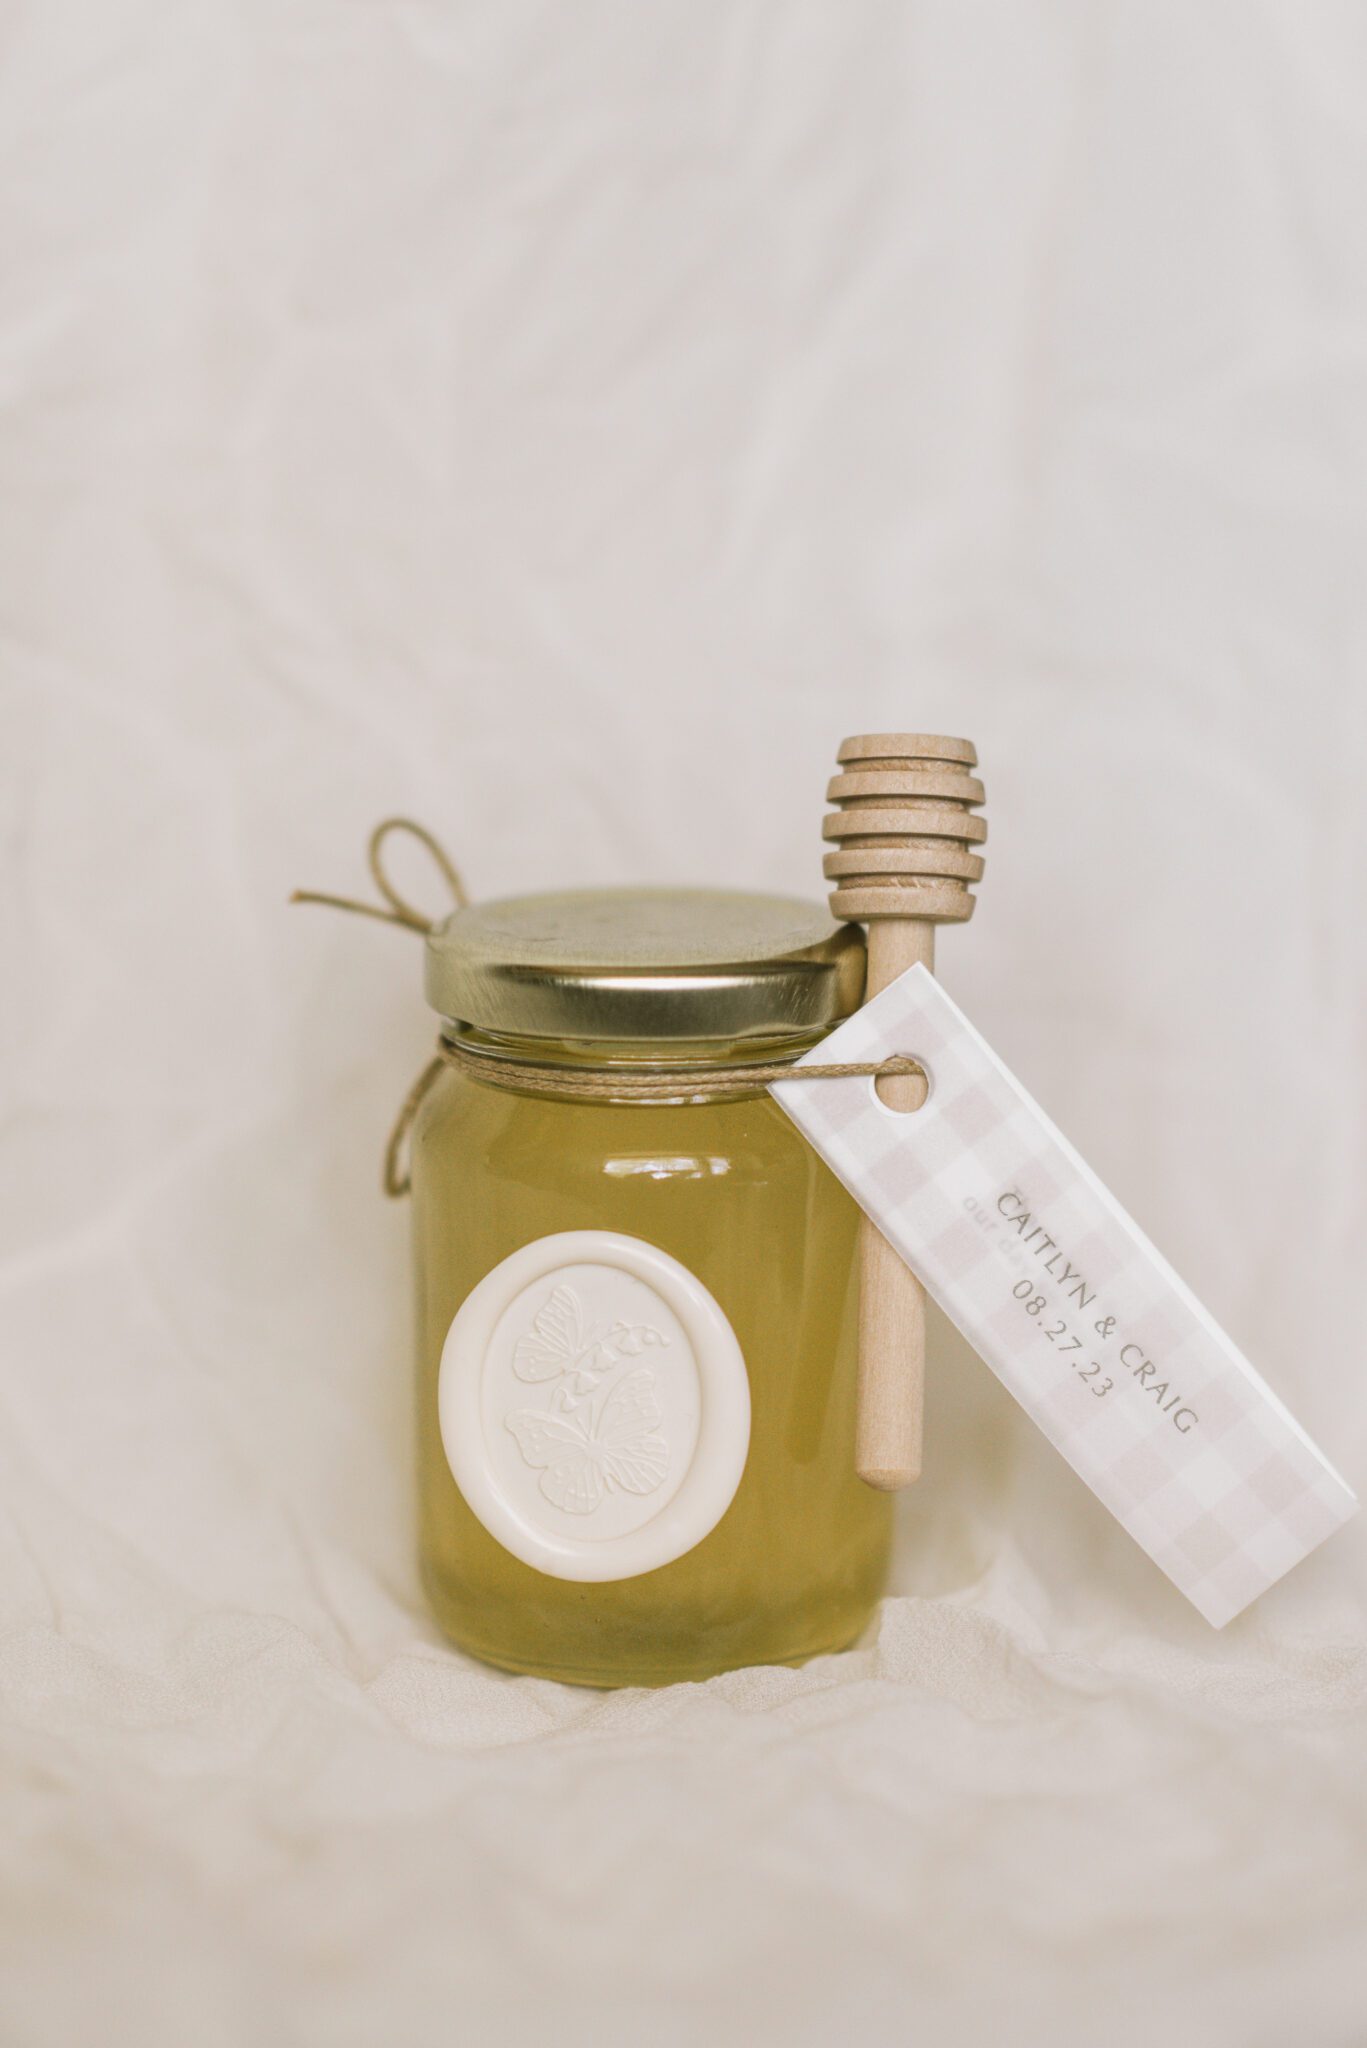
- Optional Accessories: Dried flowers, metallic ink, or glitter for extra flair.
before you start making wax seals…
Choose Your Stamp Design, Wax Colour & Wax Style
Stamp Design & Wax Colour
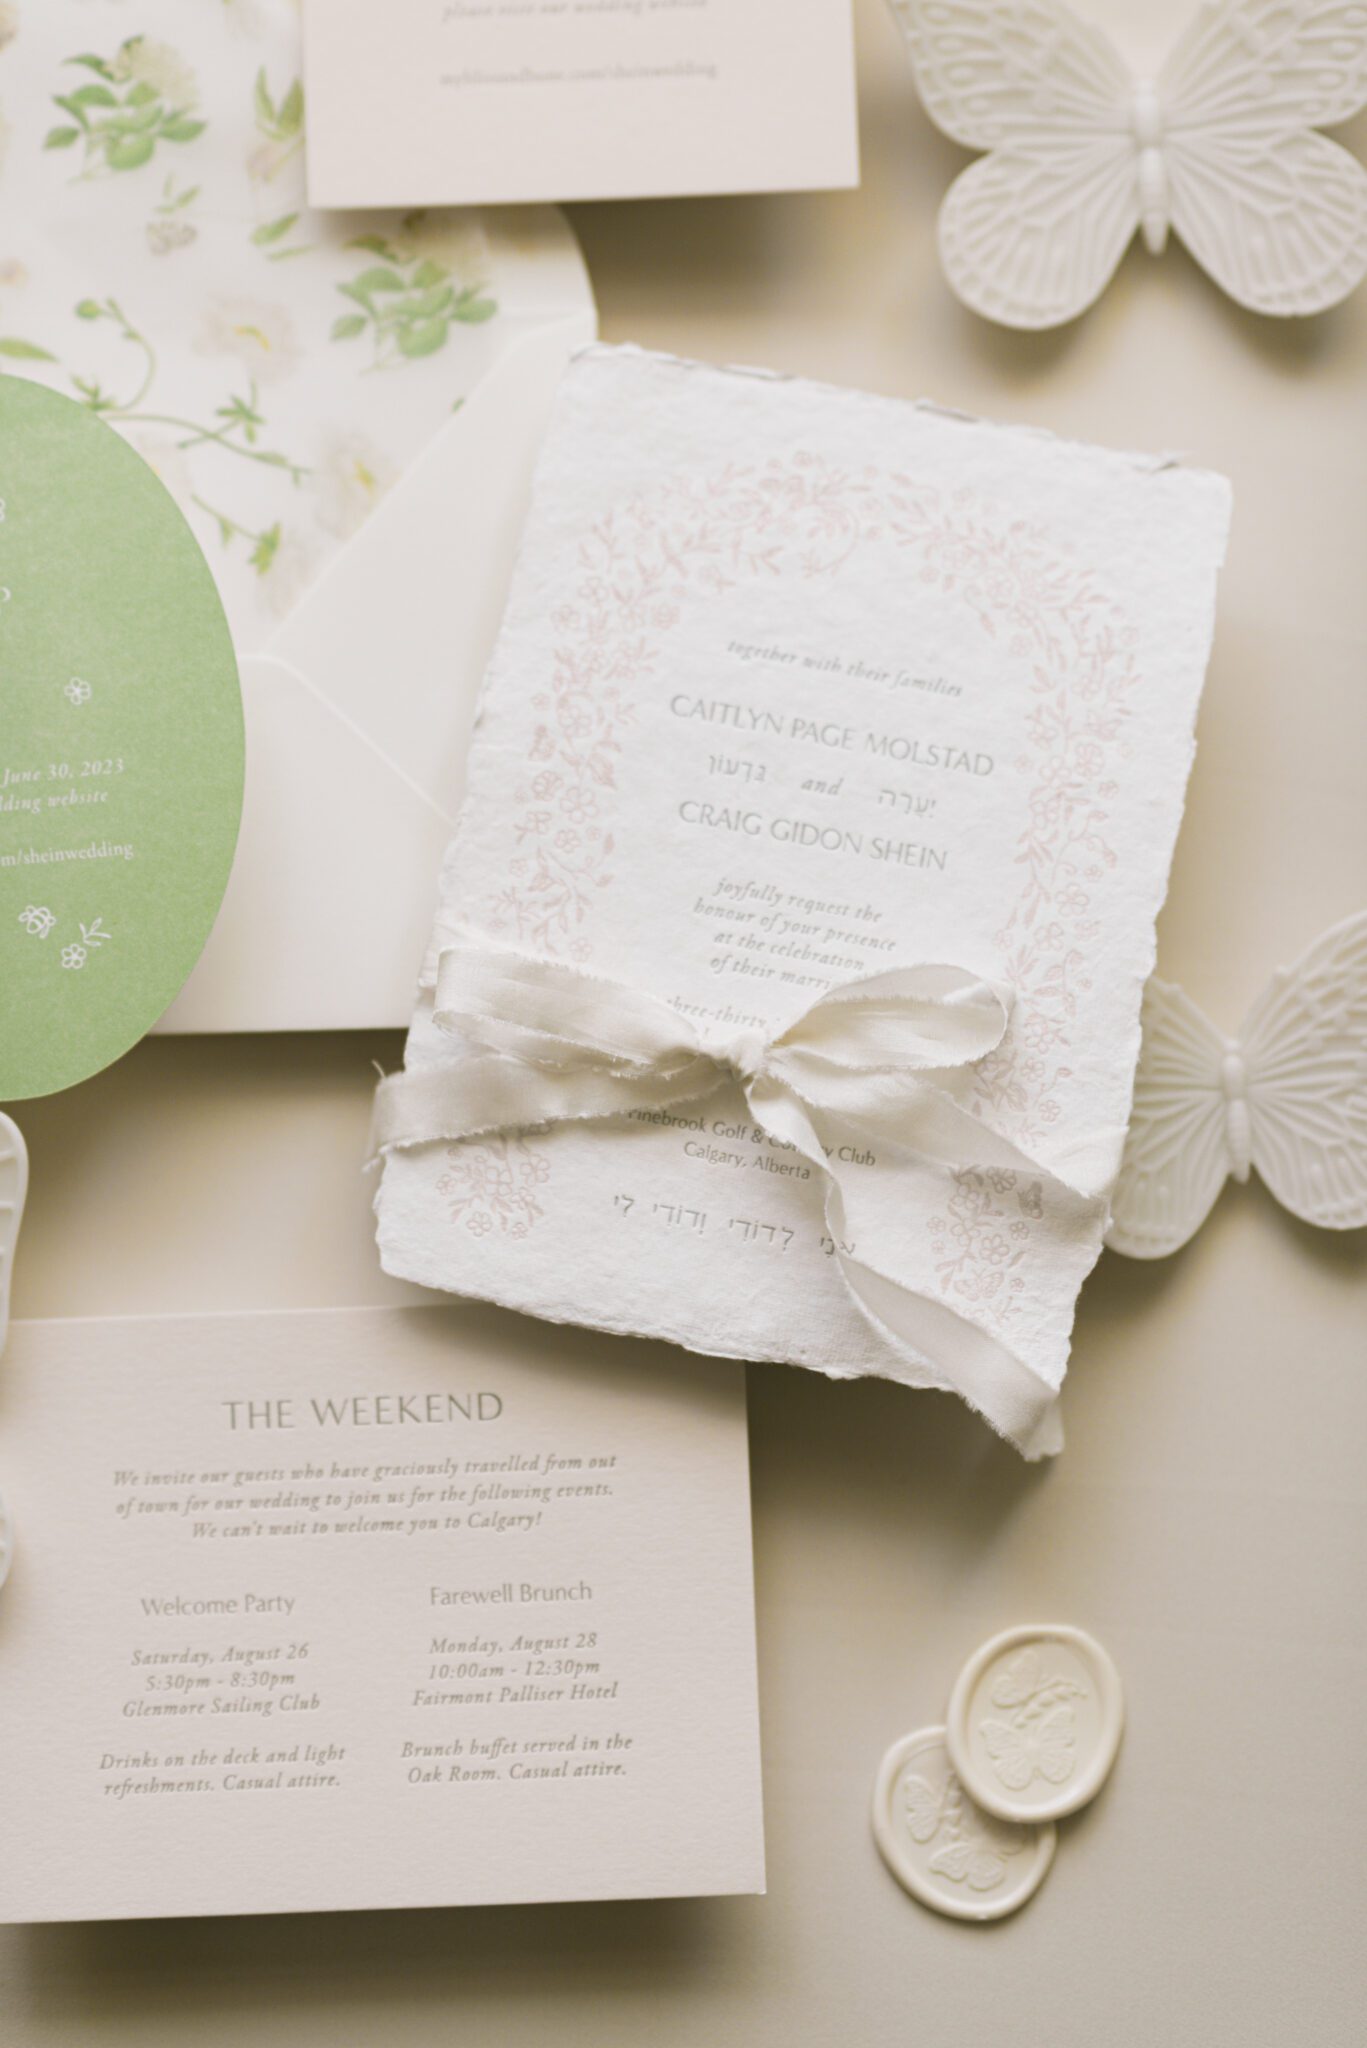
Choose a wax colour and stamp design that coordinates with your envelope and style of invitations or letters. Artisaire has a beautiful selection of stamp designs and wax colours – you can even order custom-designed stamps to suit your stationery perfectly!
Our favourite places to shop for seals and sealing wax are: Artisaire, Stamptitude, and Amazon! Check out some of our favourite wax seal supplies that can be shipped to your home right away!
Wax Style/Melting Method
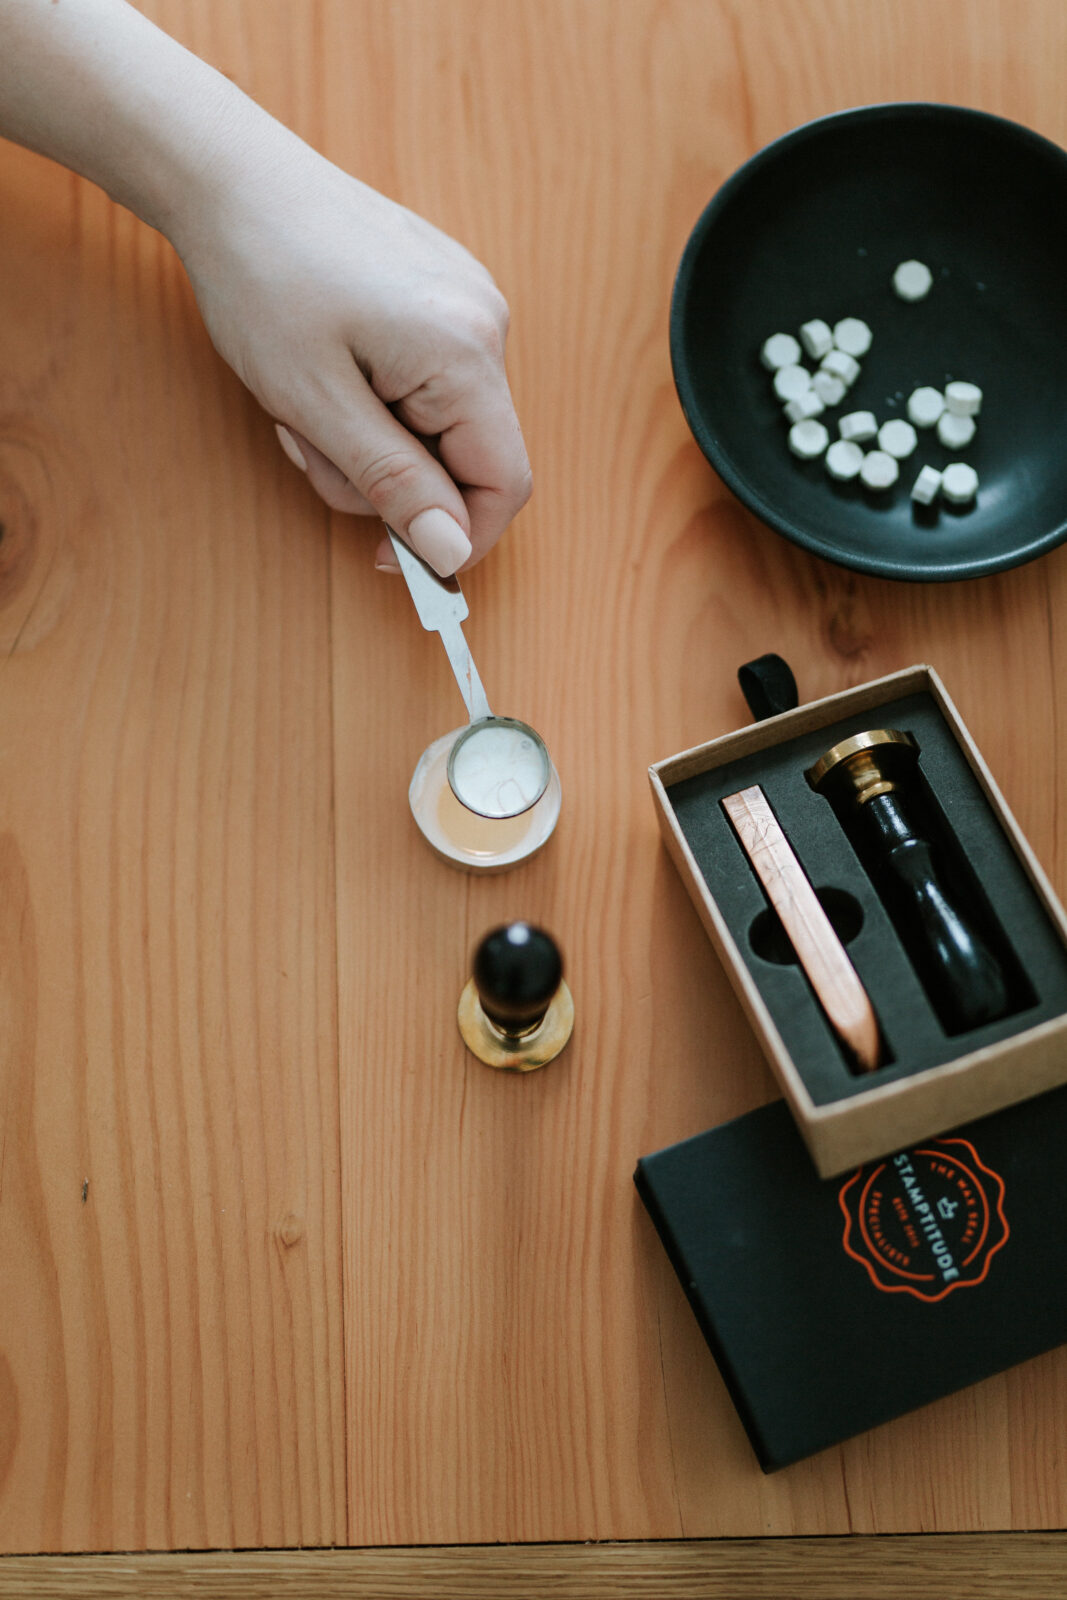
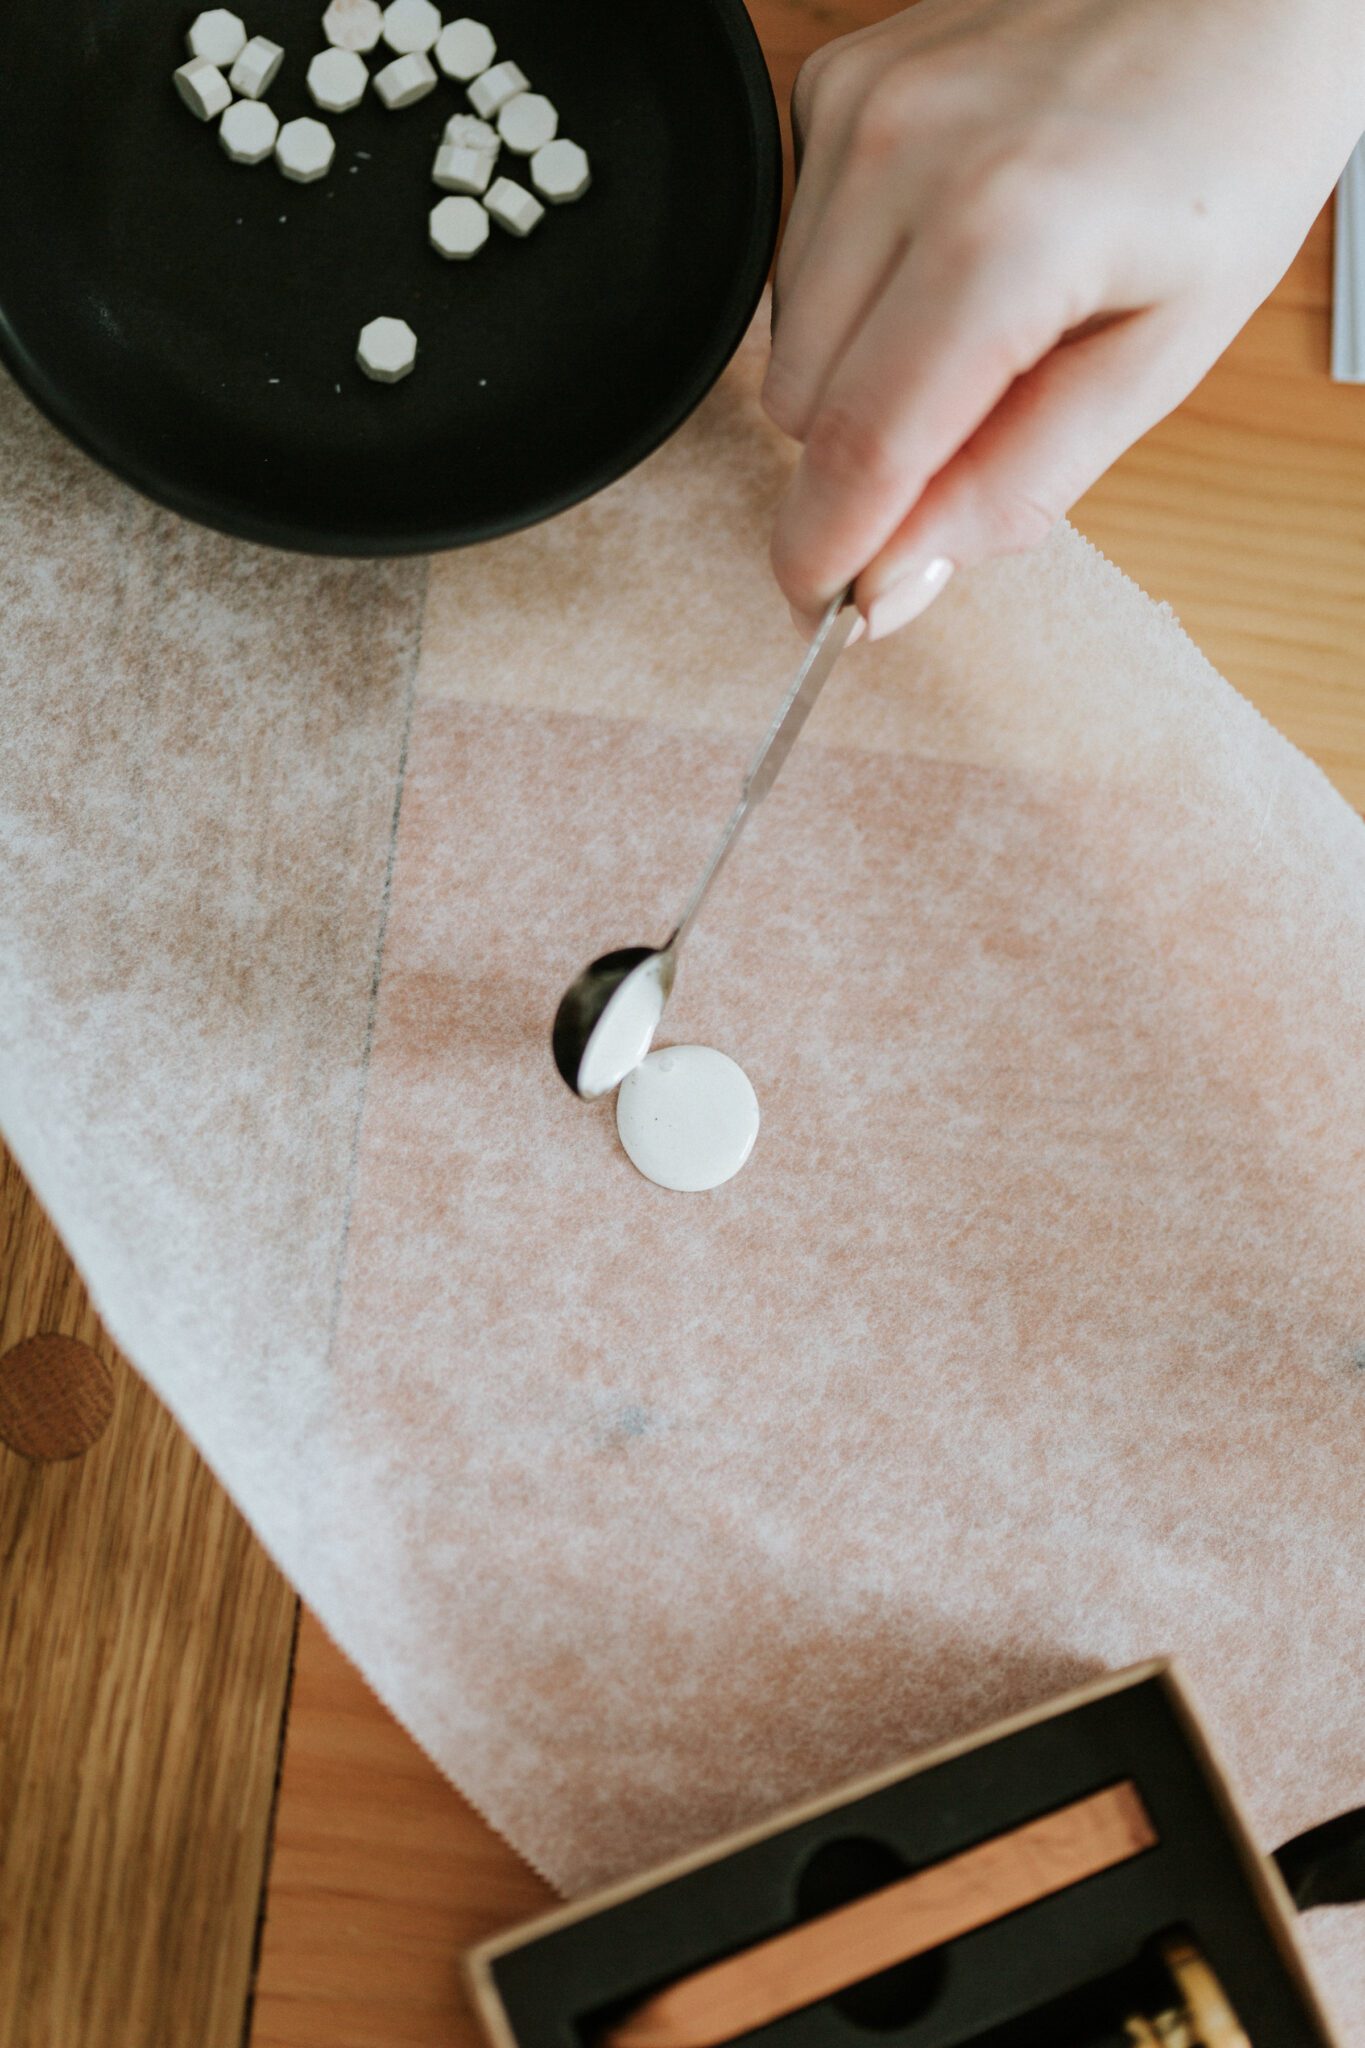
Wax can be bought in small beads, longer sticks, or in glue gun sticks. For smaller projects, I recommend using small wax beads, which are easy to measure and melt over a tealight candle in a melting spoon. Use 3-4 beads for each seal. For larger projects, consider wax sticks with a sealing wax gun for a faster and more efficient application.
Here’s Your Step by Step Guide on How To Make The Perfect Wax Seal
step one
Melt The Wax
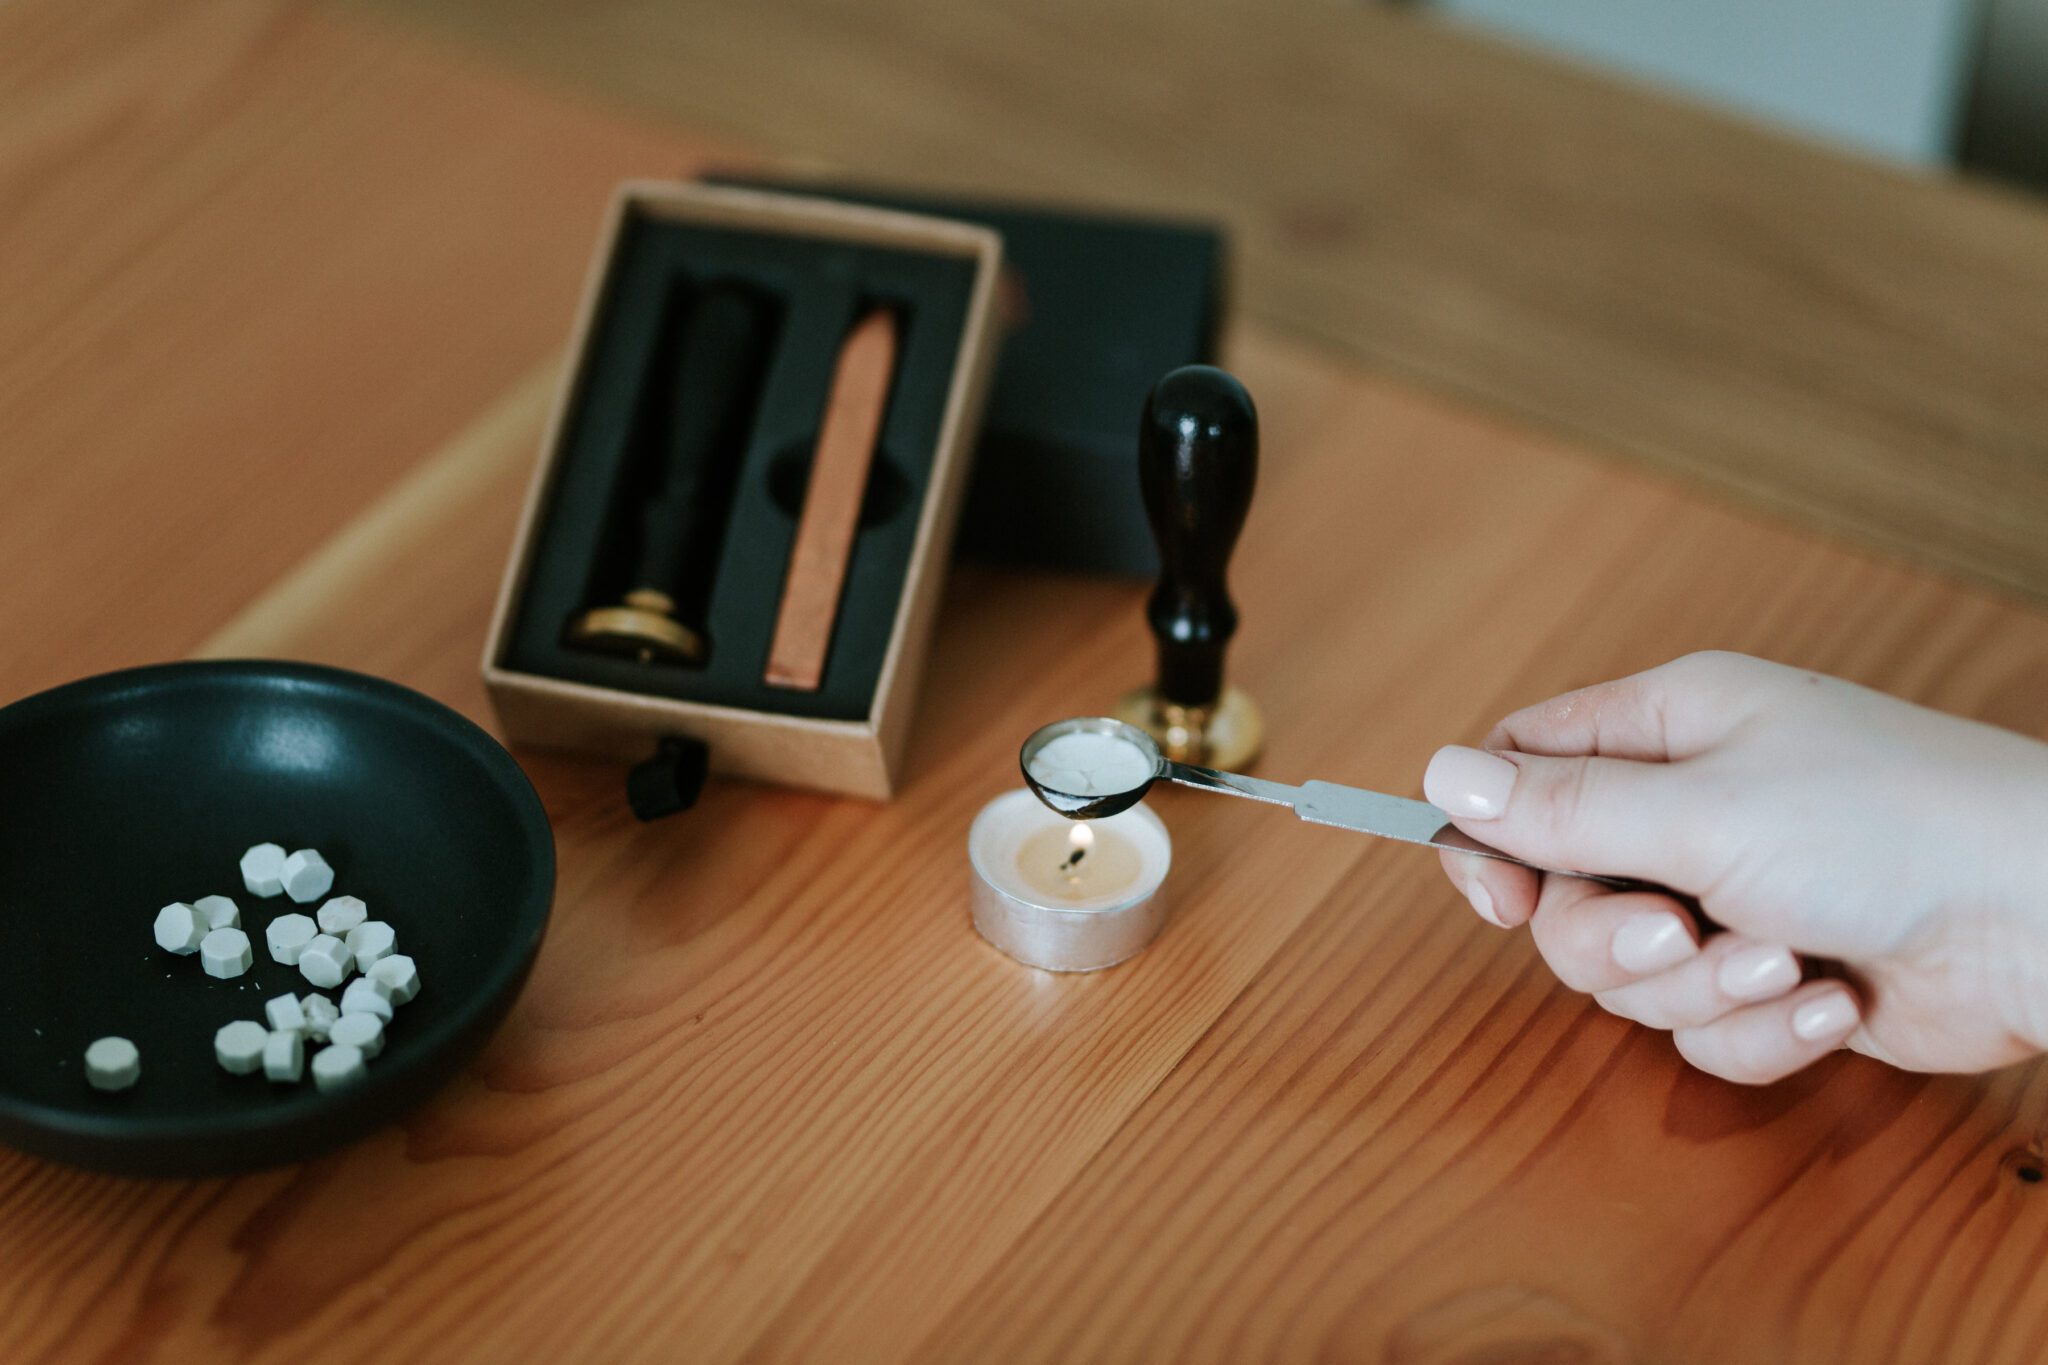
Place your wax beads or stick in the melting spoon and hold it over a tealight candle. Stir gently to avoid overheating. If using a wax gun, simply load the stick, turn on the gun, and wait for the wax to melt. Be careful not to burn or overheat the wax, as this can affect its finish and colour.
step two
Pour The Wax
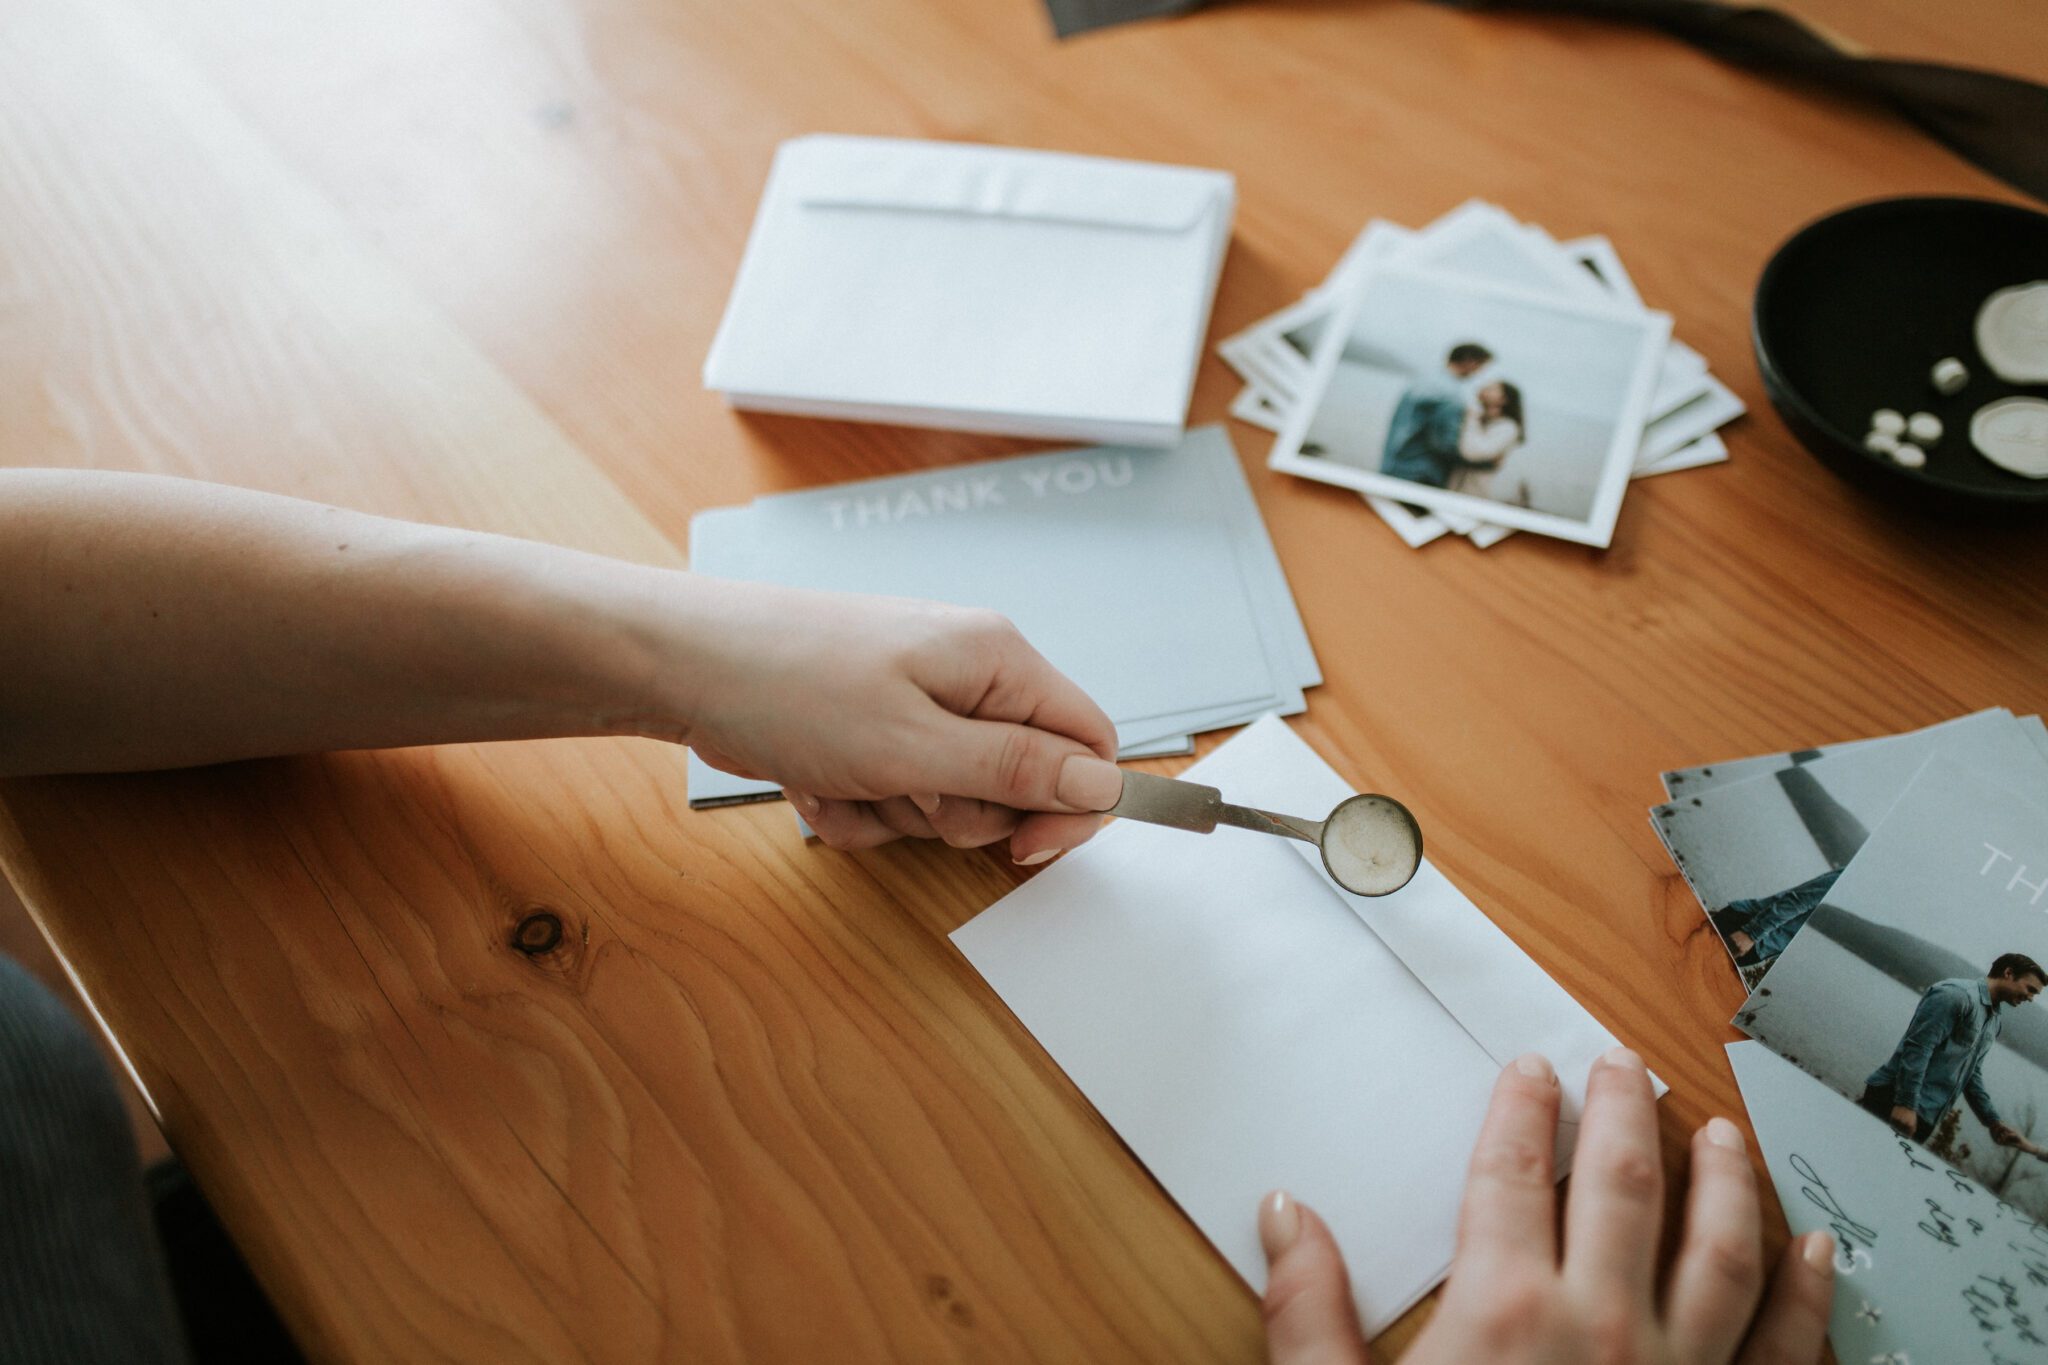
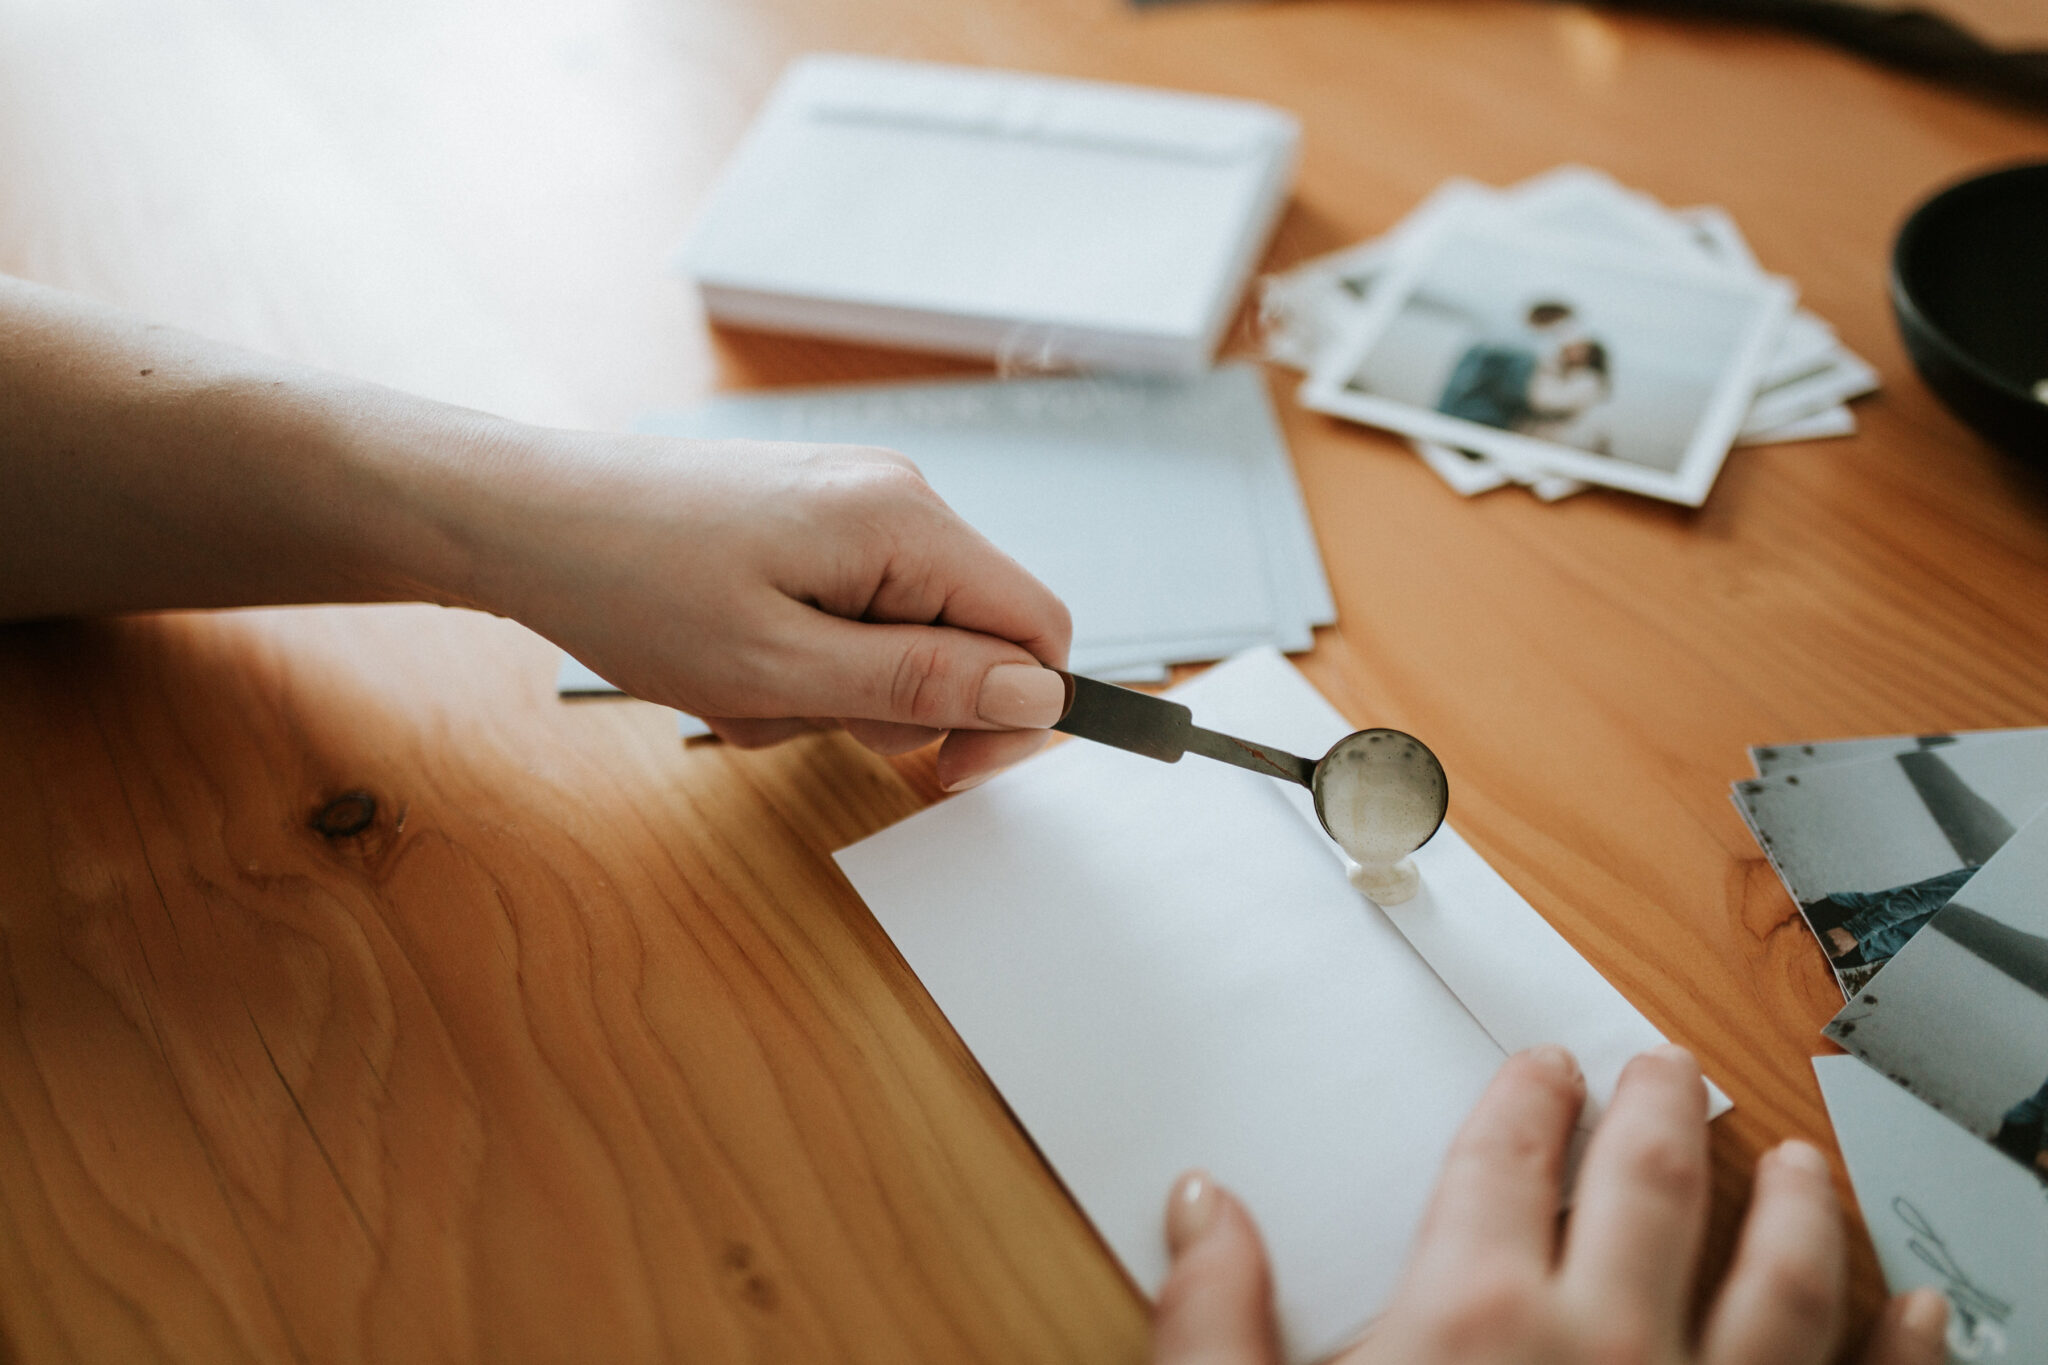
Pour the melted wax onto your chosen surface (e.g., an envelope or parchment paper). Aim for a circular puddle about the size of your seal stamp.
Using parchment paper, a silicone mat or cold marble is a great method for making pre-made seals that you can attach adhesive backings to later on.
step three
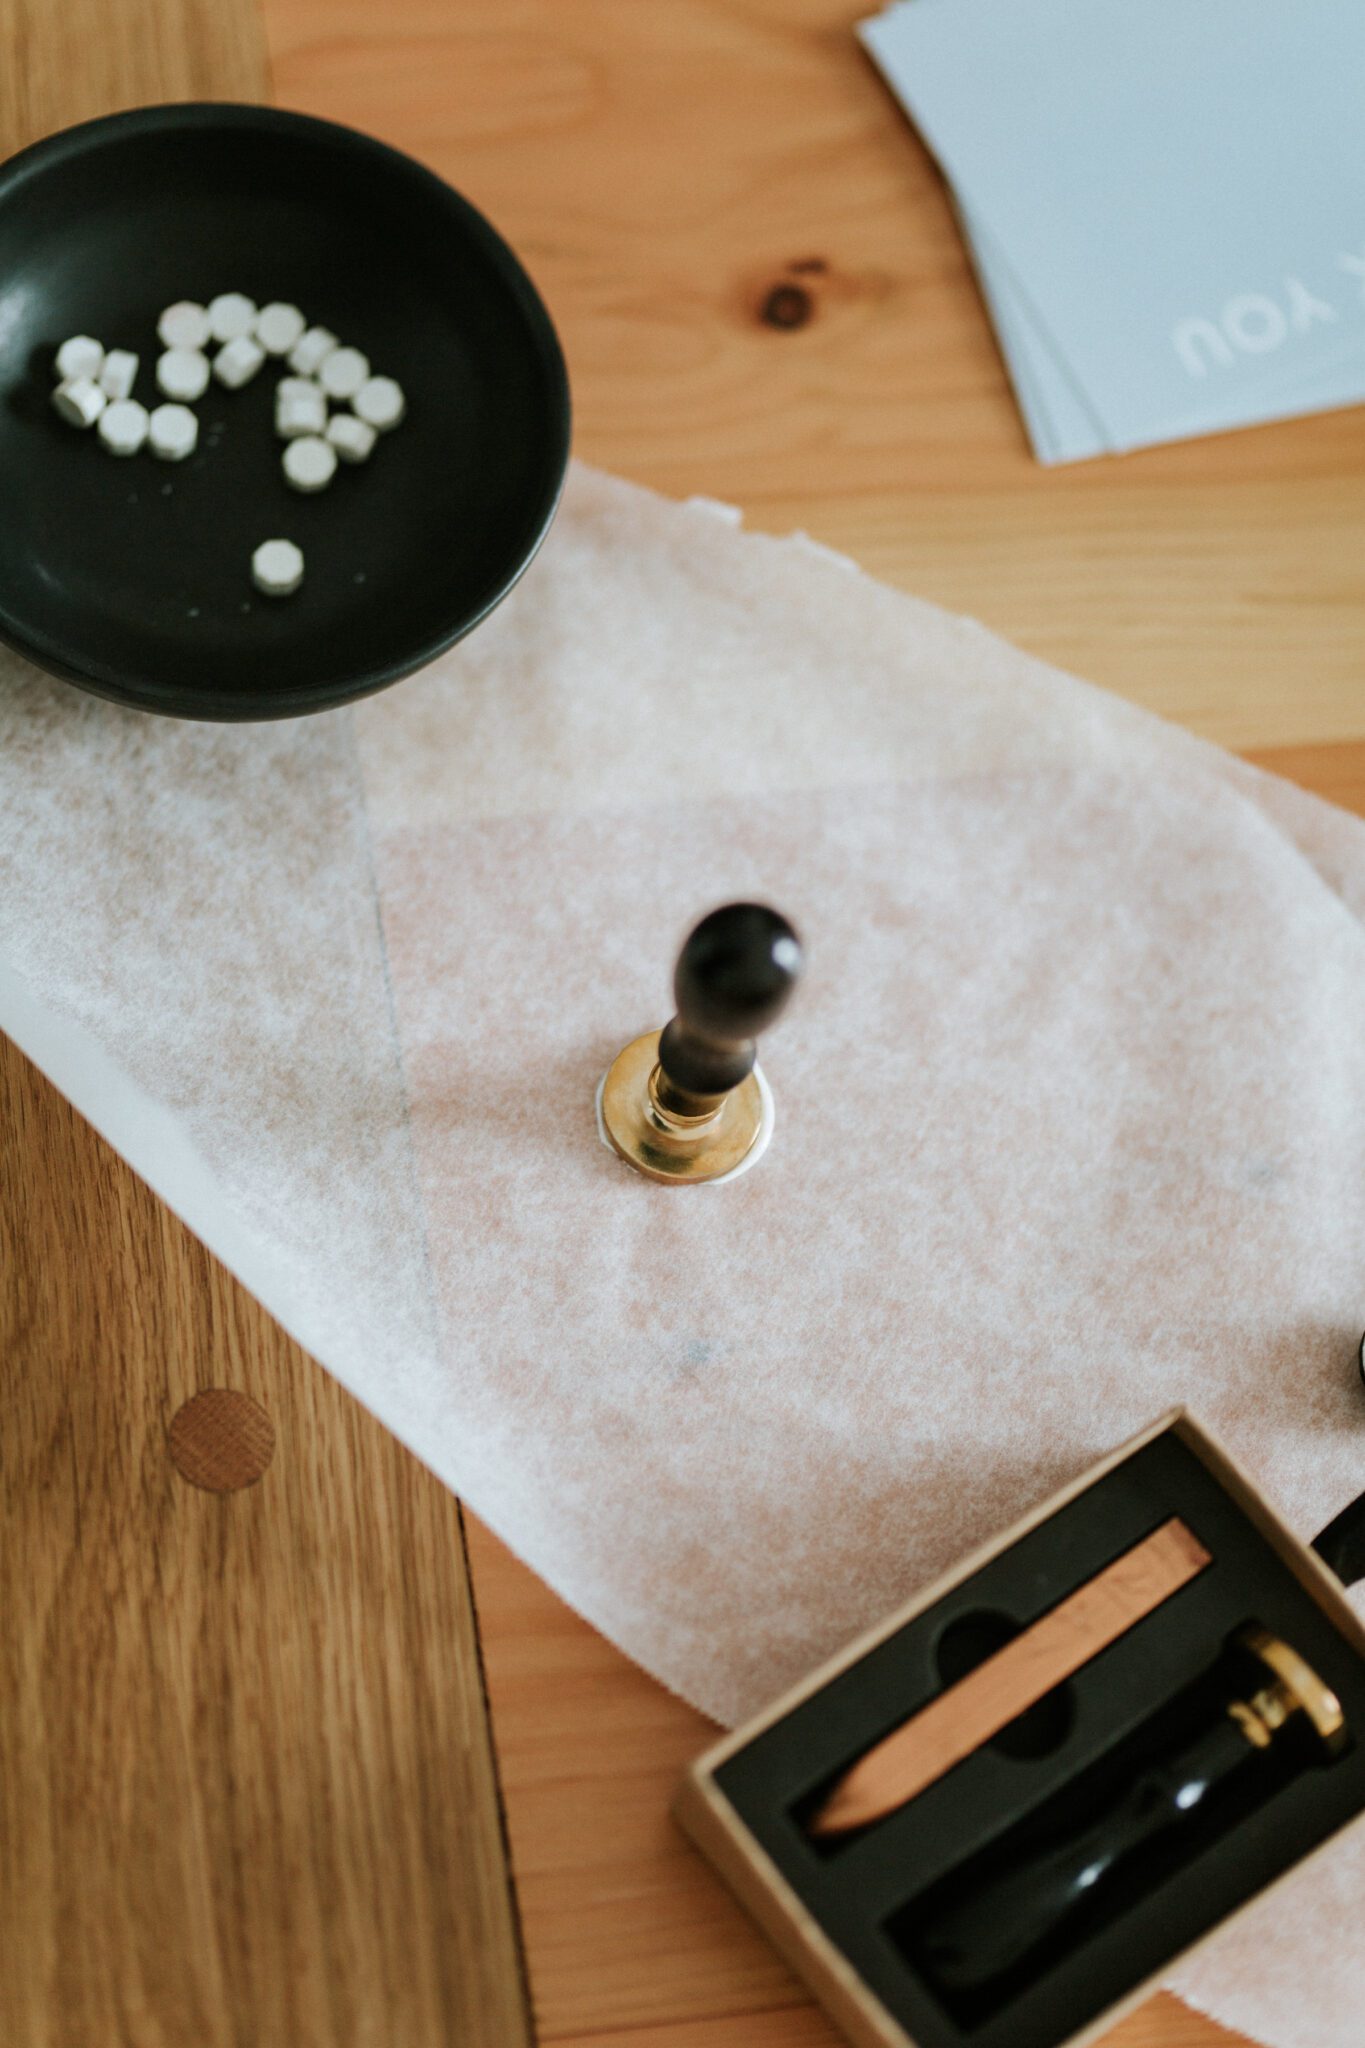
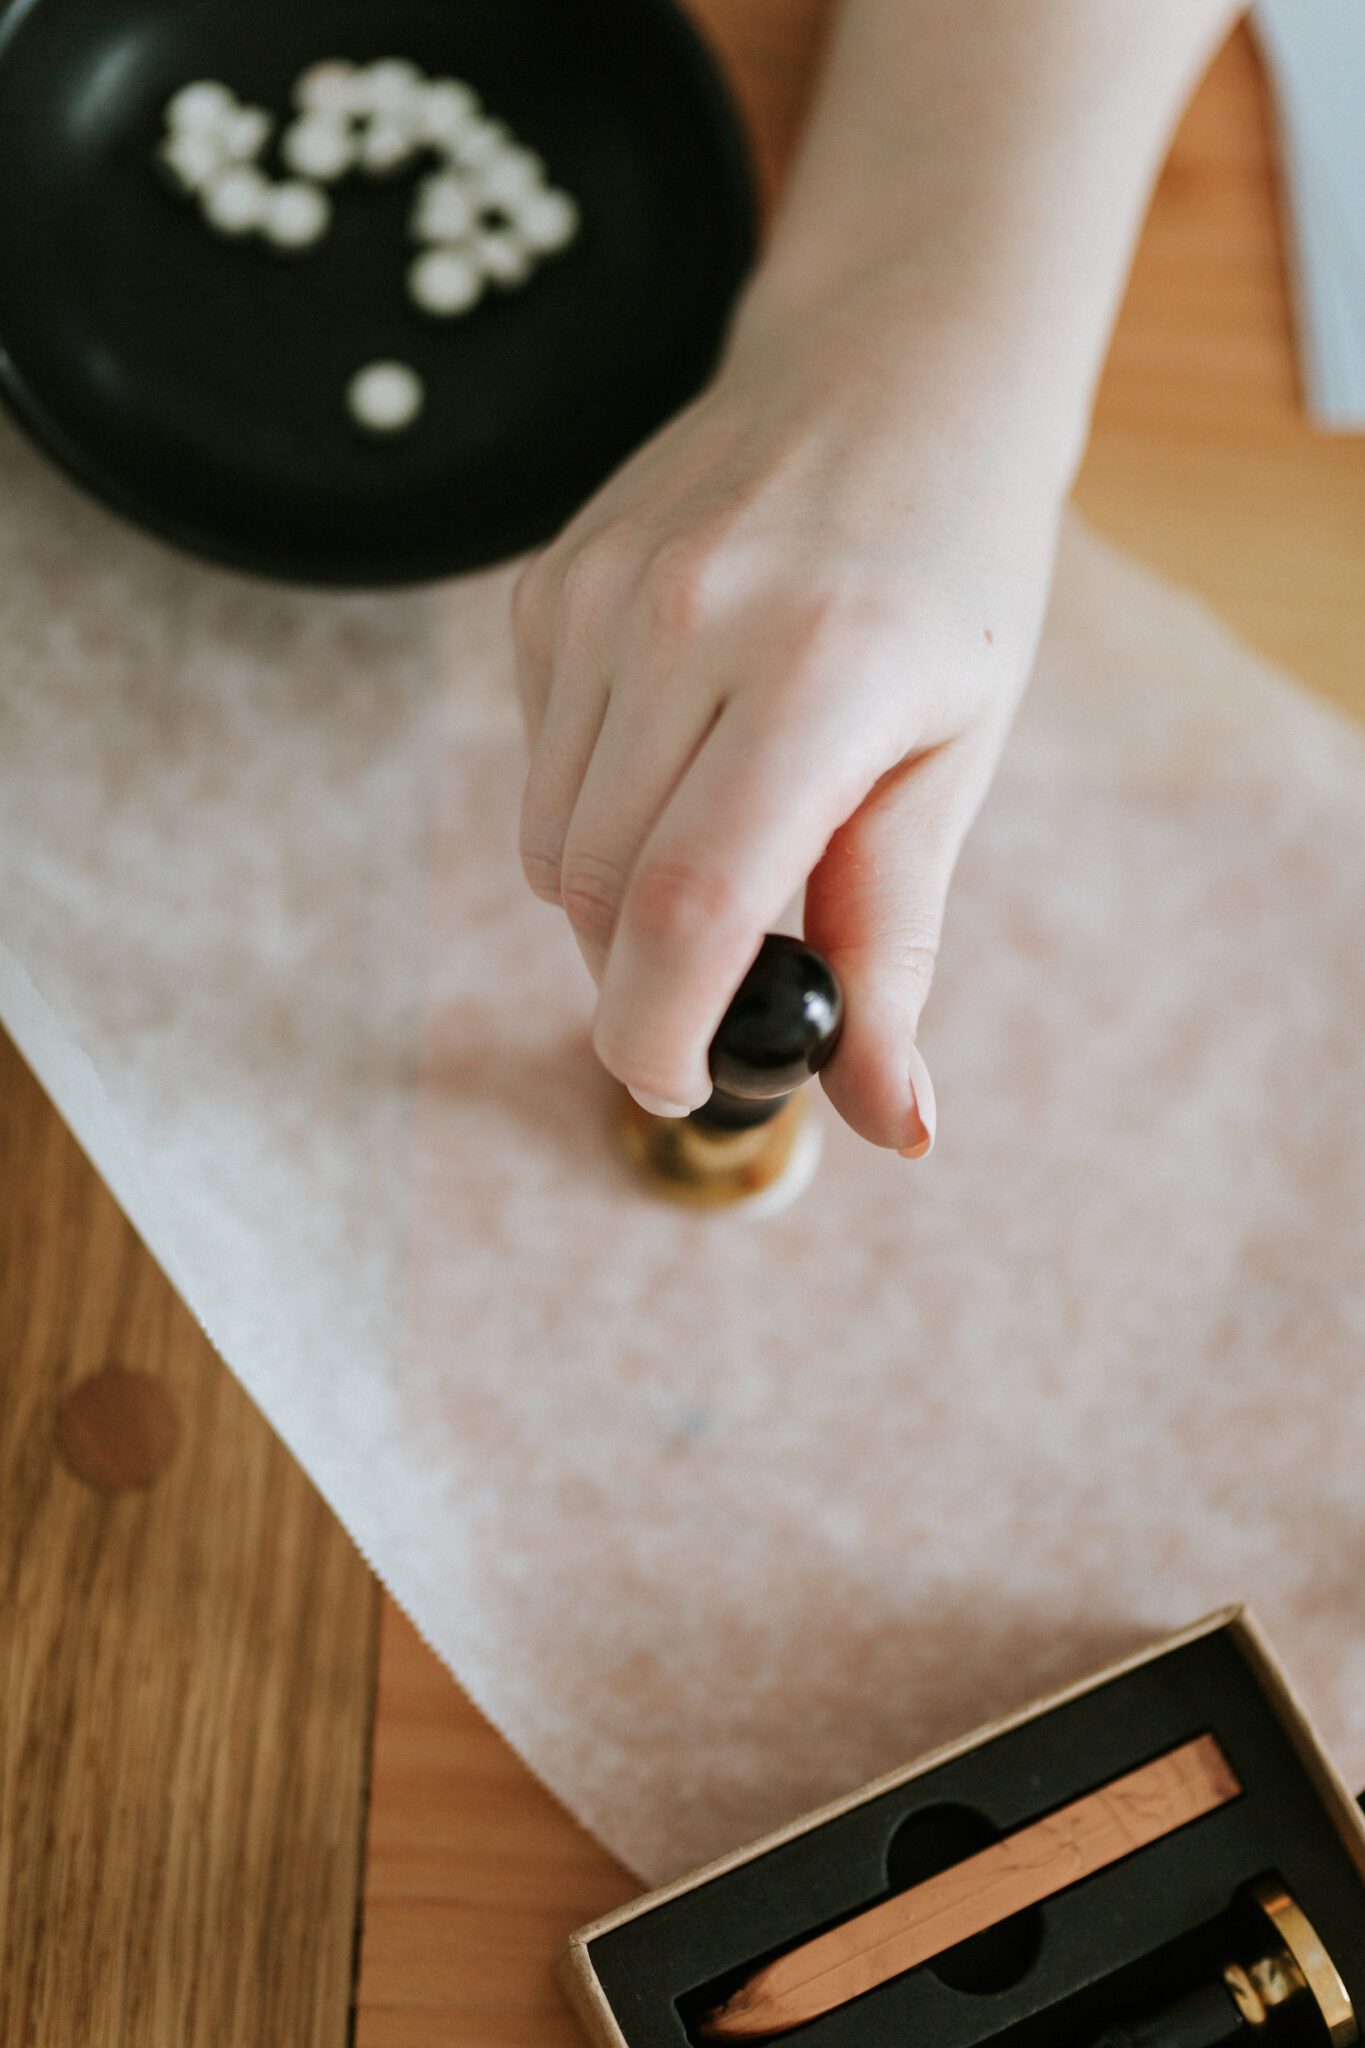
Press The Stamp & Let It Cool

Press your wax seal stamp firmly and evenly into the center of the wax puddle. Let it sit for 10-30 seconds to allow the wax to cool and solidify properly.
Tip: Chill your wax seal stamp on ice or cold marble to make the cooling process happen quicker!
step four
Remove The Stamp

Gently lift the stamp straight up to reveal your beautifully embossed design. If you’re making seals on a non-stick surface, let them cool completely before peeling them off.
See? Making wax seals isn’t as intimidating as it looks! Once you get the hang of it, you’ll find it’s such a fun and creative process. Plus, it’s a simple way to add a little luxury and personality to your wedding or event details. Give it a try and let us know how it goes! Don’t forget to tag us @bronte.bride if you share your creations on Instagram—we’d love to see them!
Pro Tips for The Perfect Wax Seals:
- Test First: Practice on parchment paper to perfect your technique before sealing important items. If you’re a beginner, order more wax than needed to give you a few practice tries.
- Mix Colours: Combine two wax colours for a marbled effect or a unique gradient look.
- Add Other Elements: Brush metallic ink over the embossed design for extra dimension, or add dried petals to the poured wax before stamping!
- Work Quickly: Wax hardens fast, so ensure you have your stamp ready as soon as you pour the wax.
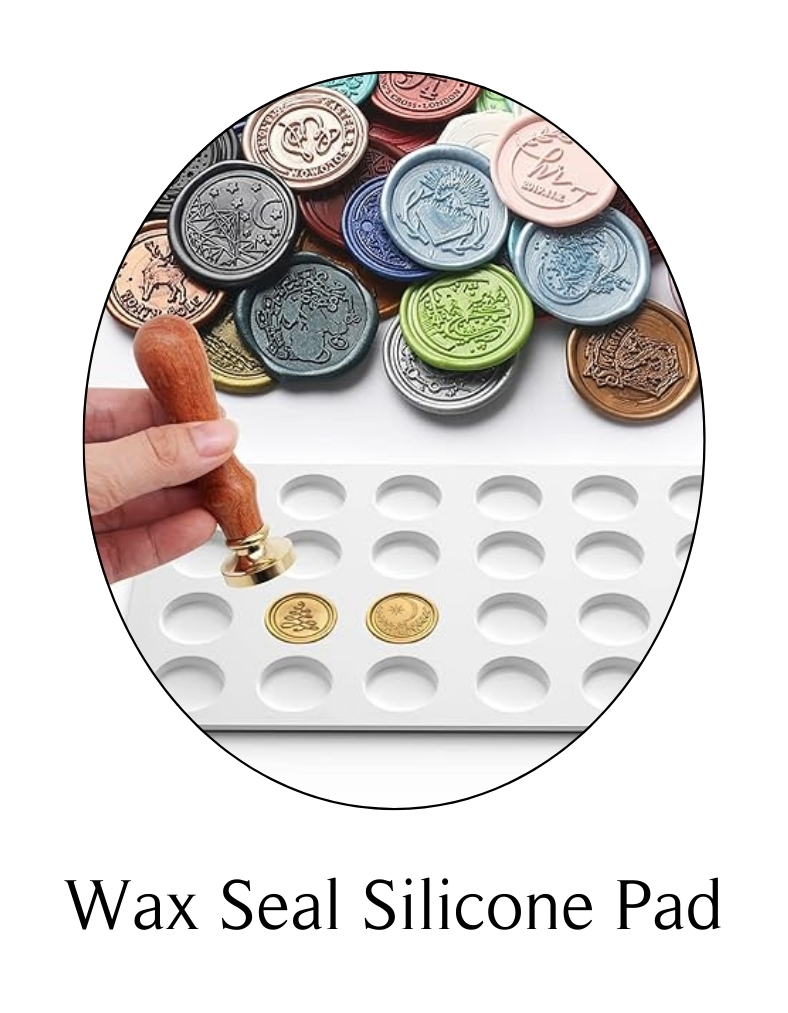
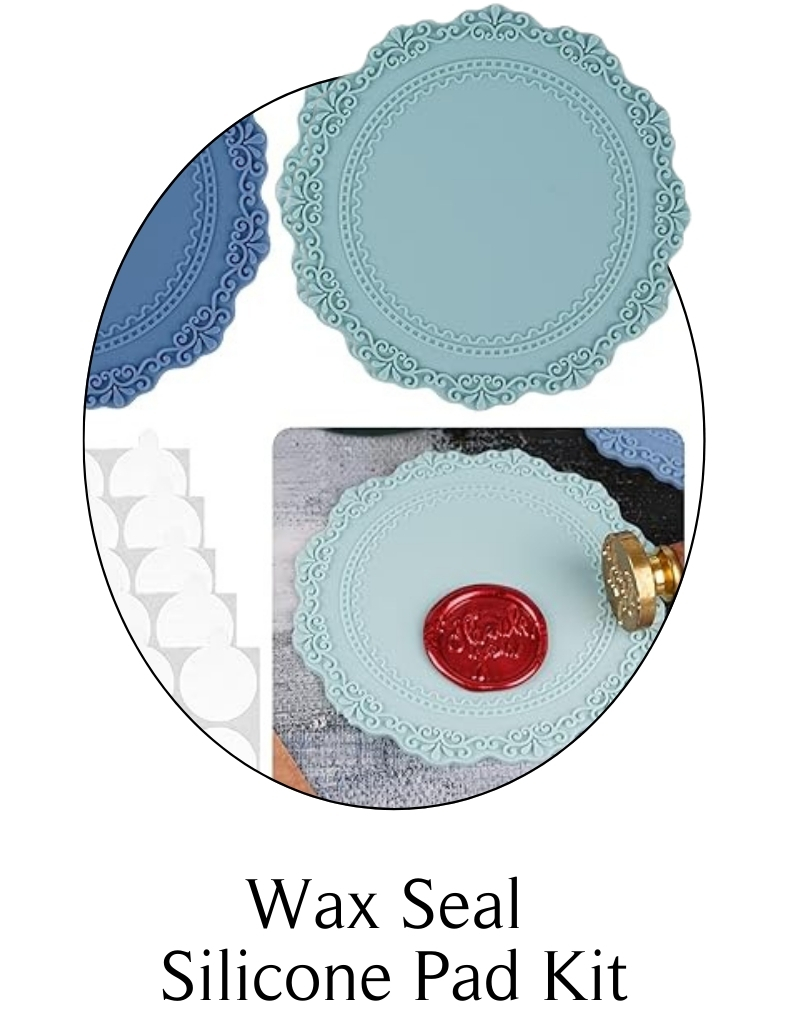
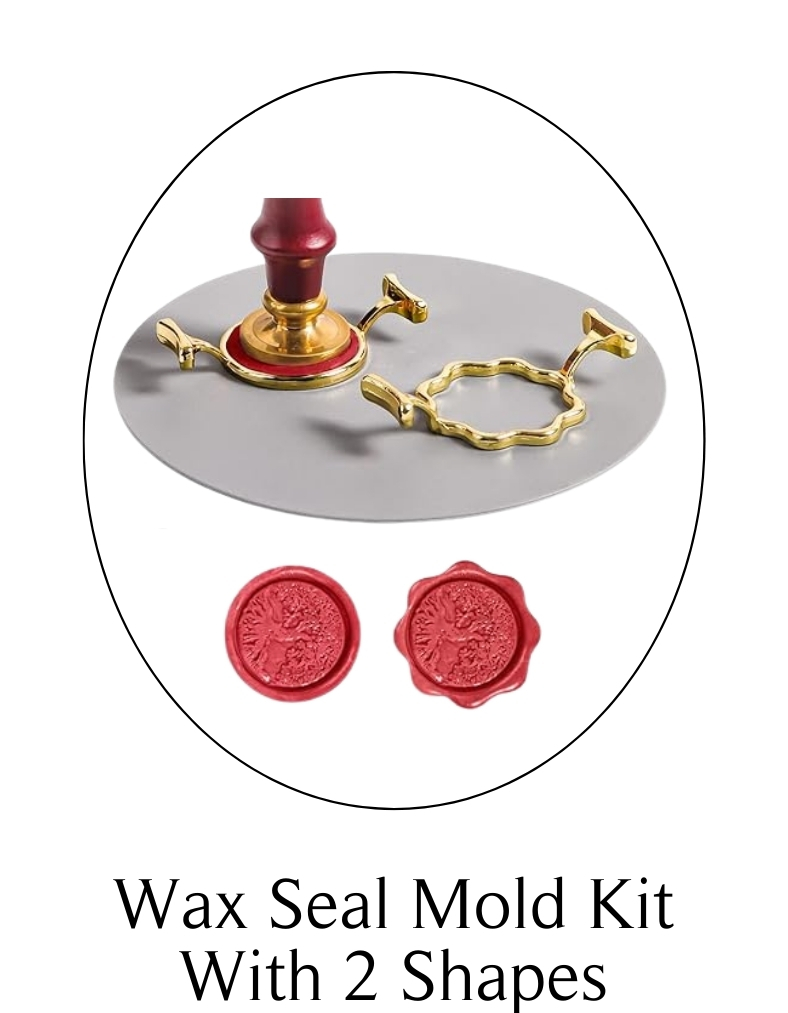
- Use Tools for The Perfect Shape: If you want your wax seals to be the perfect shape every time, consider purchasing a silicone mold mat or a wax seal shaper mold like the ones below!
If you’ve got an Amazon Prime account, then you’re set for shopping success! (Mostly meaning you’ll be able to get most of these options delivered sooner and/or for free with Prime Shipping!) If you don’t have a Prime account yet, don’t fret! Click here to sign up for a free trial of Amazon Prime.
*Disclaimer: Brontë Bride Ltd. may receive a small commission when you click on our links and make a qualifying purchase. This, however, has no bearing on our reviews and comparisons.


comments